


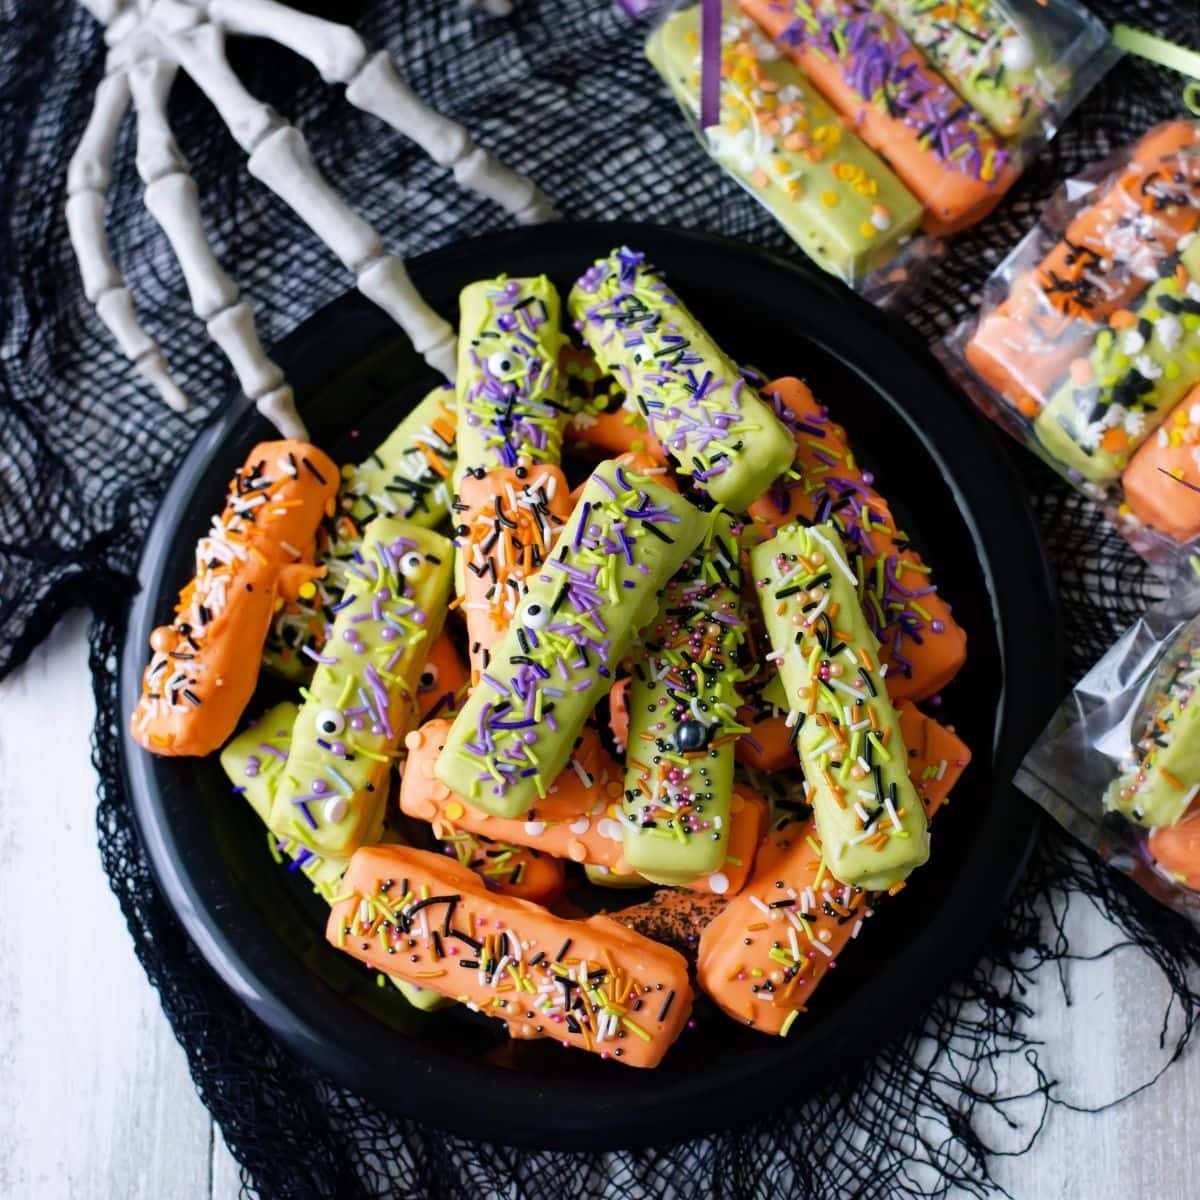
Easy no bake Halloween Wafer Cookie Treats are simple to make. No cookie decorating or candy making skills needed. It is so easy to make these cute and fun Halloween treats.
This is a fun and easy no-bake Halloween recipe that the kids can do and be so excited that they made these cute treats.
And it only takes about 30 minutes to make them.

These Halloween decorated wafer cookies are one of the easiest no-bake cookies you will ever make.
They are so easy to make that the kids can get involved and help make them.
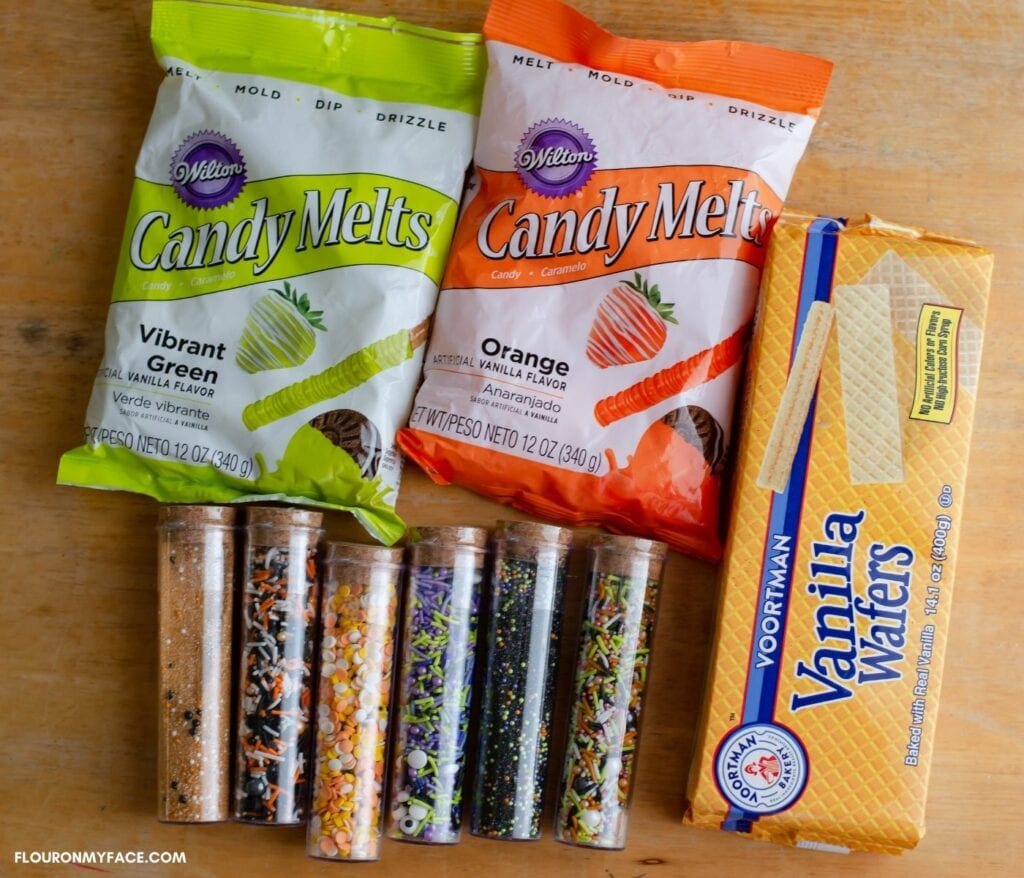
You only need a couple of supplies to make these fun cookies.
You start with store-bought wafer cookies, a couple of bags of colored candy coating and Halloween theme colored sprinkles.
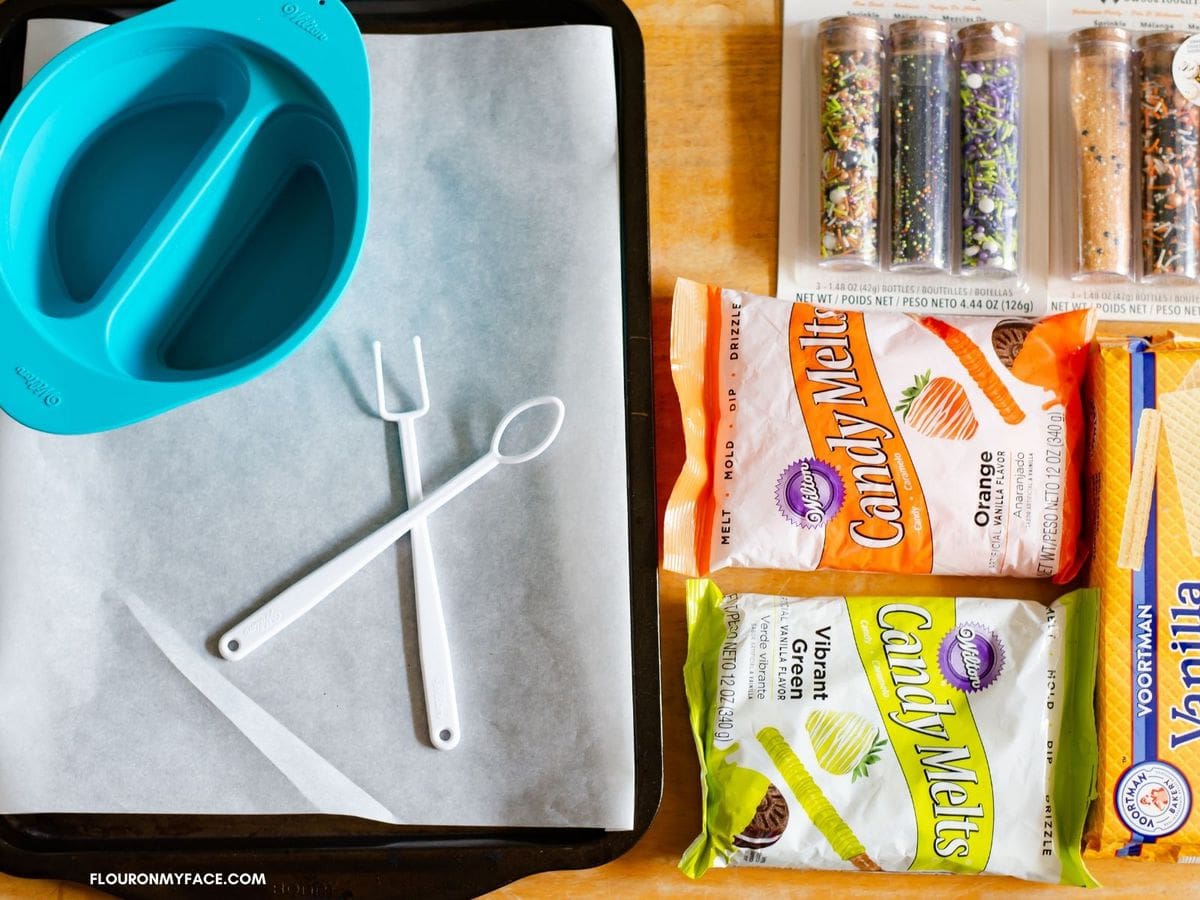
Most of the other supplies you probably already have in your kitchen. You'll need a plastic container to melt the candy melts in.
I used a double sided candy melting container.
You'll need two packages of different colored melting candy. I used orange and vibrant green candy melts.
And you'll need a variety of Halloween colored sprinkles to decorate the dipped vanilla wafers in.
You can also use this method to make dipped Halloween Oreo cookies instead of dipped wafer cookies.
Dipping cookies in melted chocolate or candy melts
Melting chocolate or colored candy melts to make these no-bake candy-coated Halloween cookies is pretty easy.
As long as you melt them very slowly in the microwave. The hardest part of the process is melting the candy melts to the correct consistency.
You will want the candy melts to be melted completely with no lumps and thin enough so the excess candy coating will drip off the cookies as you carefully tap the fork on the side of the bowl or container.
Why I use Wilton Candy Melts instead of Chocolate to dip my cookies?
I have been dipping cookies in candy coating for many years. When I first started making candy dipped cookies and cake pops I struggled with melting chocolate to the perfect consistency.
Many frustrating times I overheated the chocolate and it seized (overheated and burnt beyond use).
Until I started using this method with candy melts.
Chocolate is very easy to overheat and ruin the entire bowl and have to throw it away.

Wilton Candy Melts are made specifically to be melted in the microwave.
They can still be overheated and ruined but the candy melts are easier to work with as long as you heat them slowly in the microwave.
The more you work with melting candy coating the easier it gets for you to see exactly when the candy coating is melted to the perfect consistency.

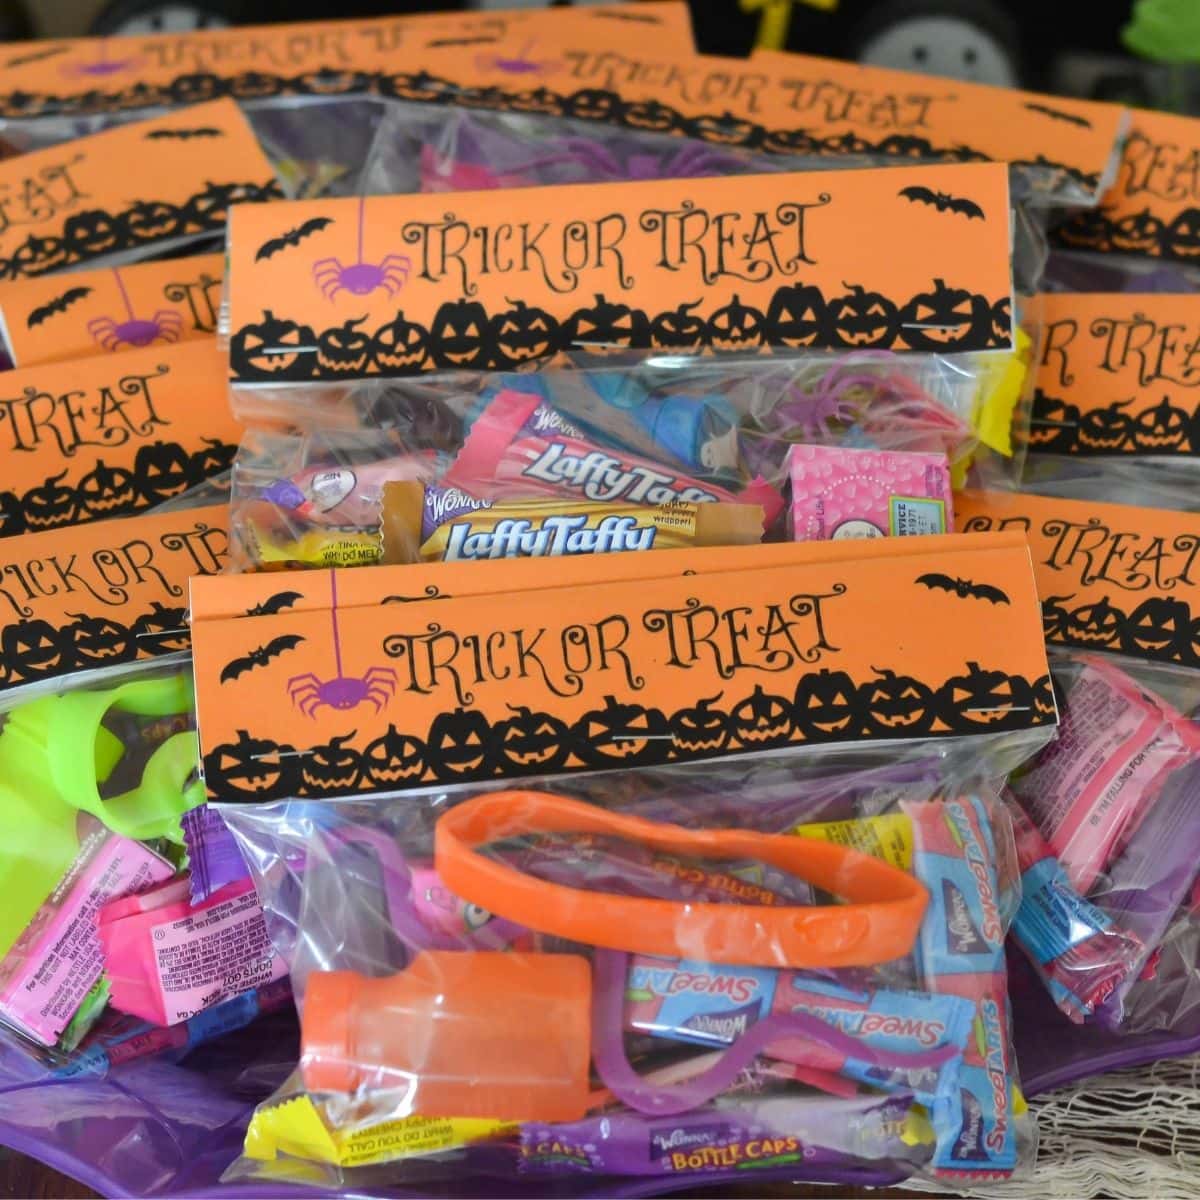
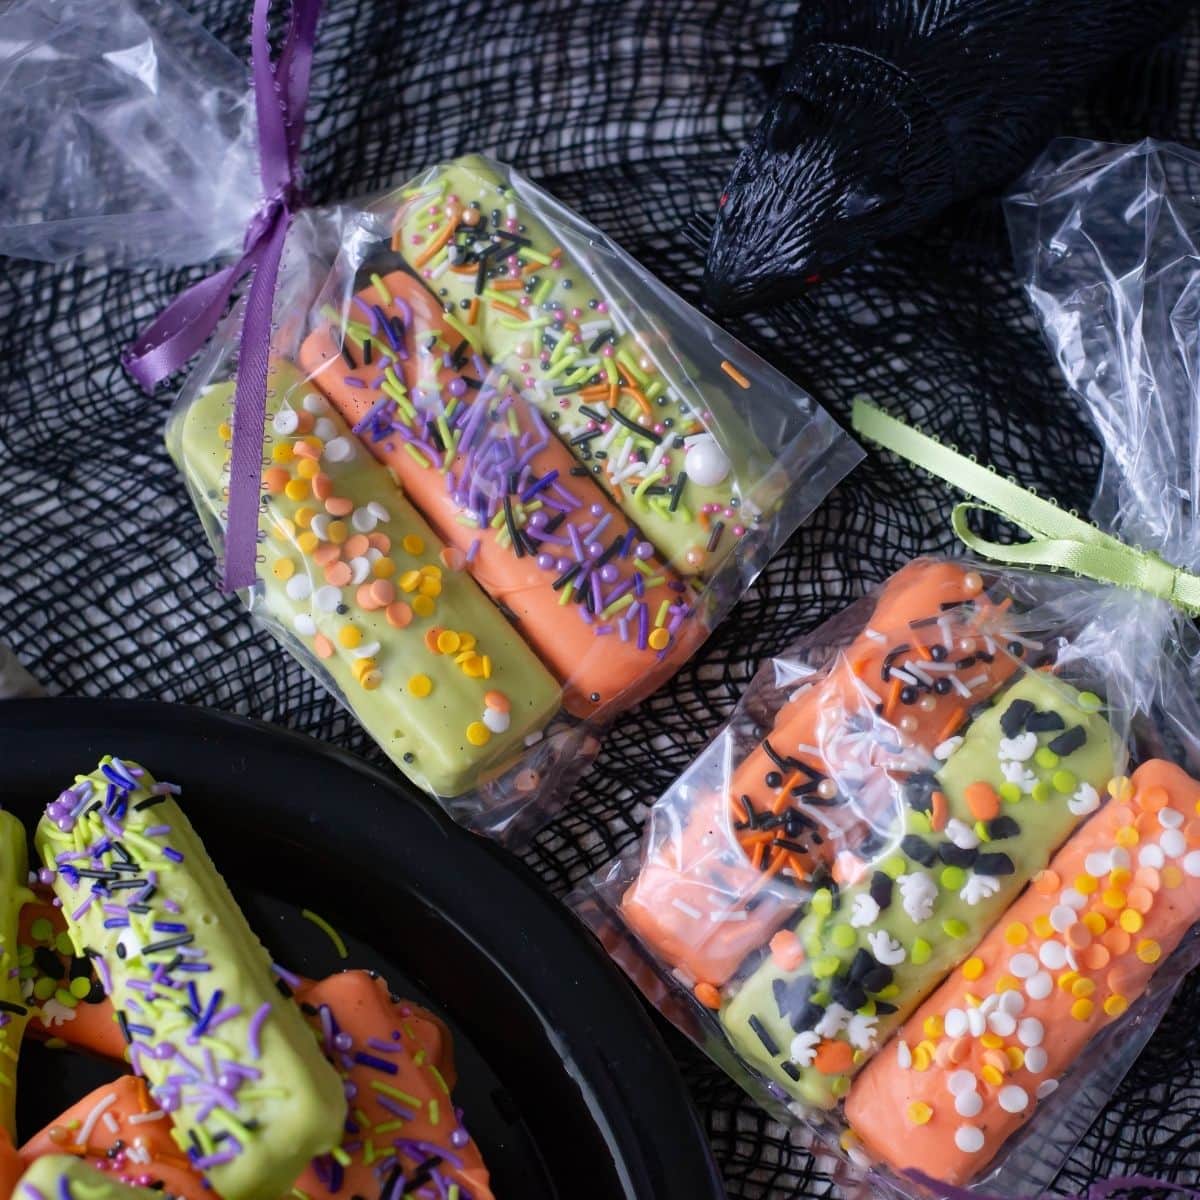
Free Halloween Treat Bag Printable
I like to package up Halloween treats in baggies and attach this printable Halloween treat bag topper.
Some years I pack the Halloween treat bags full of fun Halloween goodies for all the trick or treaters who come to my door.
Other years I make up special Halloween goodie bags for my grandchildren.
When they come to my house trick or treating I give them special Grammy Halloween treat bags filled with homemade Halloween goodies like these Halloween Wafer Cookies I made.
How To Make Halloween Wafer Cookie Treats
- 12 oz bag Wilton Candy Melts Orange
- 12 oz bag Wilton Candy Melts Vibrant Green
- 14 oz package Vanilla Wafers
- Sprinkles (I used Sweet Tooth Fairy Sprinkle Mix)
- 1 to 2 tablespoons Crisco vegetable shortening or Wilton candy wax
Directions
- Line the baking or cookie sheets with non-stick parchment paper.
- Place the entire bag of candy melts in a candy melting container or bowl. If you are using a divided candy melting container like I have place each color of candy melts in one section of the container. If you are using a bowl pour one color of candy melts in the bowl to melt at a time.
- Add 1 tablespoon of Crisco vegetable shortening or Wilton Candy Wax to the container with the candy melts.
- Heat the bowl of candy melts for 30 seconds in the microwave. Remove and mix. The candy melts will not have melted much at this point. Return the bowl to the microwave and heat at 30-second intervals mixing the candy melts after every 30 seconds until they are completely melted and smooth. Add more shortening as needed to thin the melting candy melts.
- Once the Wilton candy melts have reached a thin enough consistency use a candy dipping tool or a kitchen fork to dip one wafer cookie into the melted candy coating at a time. Lift the candy-coated wafer cookie from the melted candy coating and carefully tap the fork on the side of the container so the excess melting candy will drip back into the container.
- Place the dipped cookie on the parchment paper covered cookie sheet and immediately sprinkle the top with your choice of sprinkles or nonpareils.
- Repeat with the remaining cookies. If the candy coating starts to harden warm it in the microwave for about 20seconds to thin it out.
- Allow the candy-coated wafer cookies to harden on the cookie sheets. (see tips)
- Makes 30 to 40 decorated Halloween cookies.
Helpful Tools to make Halloween Wafer Cookies
(affiliate links below)
Wilton Orange Candy Melts
Wilton Vibrant Green Candy Melts
An extra large baking sheet or 2 smaller cookie sheets
nonstick Parchment Paper
Wilton Candy Dipping Tools (or a fork)
Sweet Tooth Fairy 348302 Halloween Party Sprinkle Mix
Sweet Tooth Fairy 348303 Boo Bash Sprinkle Mix
Wilton Divided Candy Melting Container or 2 deep narrow bowls (See my How To Make Cake Pops post for more info and tips on the secrets to dipping anything in chocolate)
Pro Recipe Tips for Halloween Wafer Cookies
- Set up a work area on a counter or kitchen Island.
- Open all of the sprinkle containers so they are ready to go before melting the candy melts.
- Lining the baking sheet or cookie sheets with parchment paper makes it easier to pick up the finished and decorated wafer cookies. You don't want to damage the pretty cookies.
- The divided candy melting container makes it easy to work with two colors of candy melts at the same time.
- Add 1 to 2 tablespoons of Crisco or wax as you are melting the candy melts. You want the melted candy melts to be thin enough to coat the wafer cookies but thick enough to leave a nice coating on the cookies.
- The candy coating will take anywhere from 1 hour to overnight to harden depending on the temperature of the room you are working in. Here where I live in Florida it is hot and humid most of the year. I like to let the candy coating harden overnight.
- You may speed up the hardening process by placing the trays in the refrigerator but this will introduce moisture and again depending on the conditions of where you live moisture may form on the candy coating from the change in temperature. If this happens allow the cookies to dry naturally or place a fan on low to blow on the cookies. If you attempt to pick the cookie up while it is moist it will leave fingerprint marks on the candy coating everywhere you touched it.
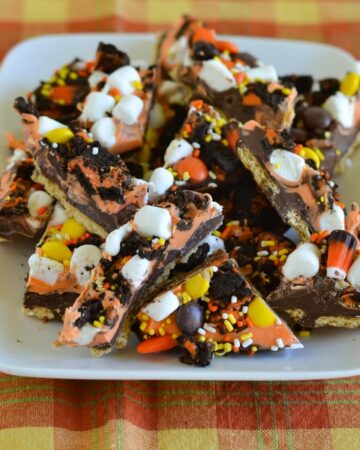
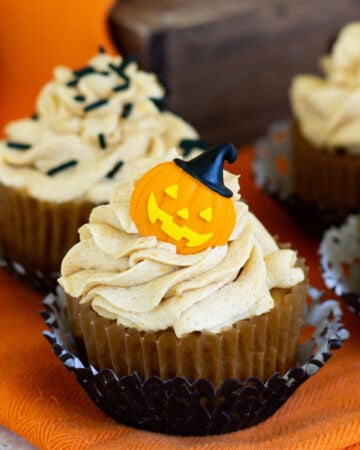
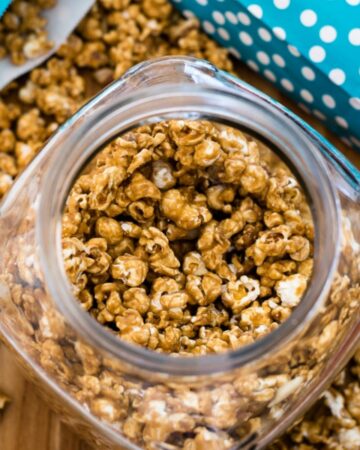
More Halloween Treats
Print the Halloween Wafer Cookies recipe below.

Halloween Wafer Cookies
Ingredients
- 12 oz Wilton Candy Melts Orange
- 12 oz Wilton Candy Melts Vibrant Green
- 14 oz Vanilla Wafers
- Sprinkles (I used Sweet Tooth Fairy Sprinkle Mix)
- 1 to 2 tablespoons Crisco vegetable shortening or Wilton candy wax
Instructions
- Line the baking or cookie sheets with non stick parchment paper.
- Place the entire bag of candy melts in a candy melting container or bowl. If you are using a divided candy melting container like I have place each color of candy melts in one section of the container. If you are using a bowl pour one color of candy melts in the bowl to melt at a time.
- Add 1 tablespoon of Crisco vegetable shortening or Wilton Candy Wax to the container with the candy melts.
- Heat the bowl of candy melts for 30 seconds in the microwave. Remove and mix. The candy melts will not have melted much at this point. Return the bowl to the microwave and heat at 30-second intervals mixing the candy melts after every 30 seconds until they are completely melted and smooth. Add more shortening as needed to thin the melting candy melts.
- Once the Wilton candy melts have reached a thin enough consistency use a candy dipping tool or a kitchen fork to dip one wafer cookie into the melted candy coating at a time. Lift the candy-coated wafer cookie from the melted candy coating and carefully tap the fork on the side of the container so the excess melting candy will drip back into the container.
- Place the dipped cookie on the parchment paper covered cookie sheet and immediately sprinkle the top with your choice of sprinkles or nonpareils.
- Repeat with the remaining cookies. If the candy coating starts to harden warm it in the microwave for about 20 seconds to thin it out.
- Allow the candy-coated wafer cookies to harden on the cookie sheets. (see tips).
Video
Recipe Expert Tips
- Makes 30 to 40 decorated Halloween cookies.
- Use Halloween themed sprinkles for decorations.
- Set up a work area on a counter or kitchen Island.
- Open all of the sprinkle containers so they are ready to go before melting the candy melts.
- Lining the baking sheet or cookie sheets with parchment paper makes it easier to pick up the finished and decorated wafer cookies. You don't want to damage the pretty cookies.
- The divided candy melting container makes it easy to work with two colors of candy melts at the same time.
- Add 1 to 2 tablespoons of Crisco or wax as you are melting the candy melts. You want the melted candy melts to be thin enough to coat the wafer cookies but thick enough to leave a nice coating on the cookies.
- The candy coating will take anywhere from 1 hour to overnight to harden depending on the temperature of the room you are working in. Here where I live in Florida it is hot and humid most of the year. I like to let the candy coating harden overnight.
- You may speed up the hardening process by placing the trays in the refrigerator. But this will introduce moisture and again depending on the conditions of where you live moisture may form on the candy coating from the change in temperature. If this happens allow the cookies to dry naturally or place a fan on low to blow on the cookies. If you attempt to pick the cookie up while it is moist it will leave fingerprint marks on the candy coating everywhere you touched it.
Nutrition
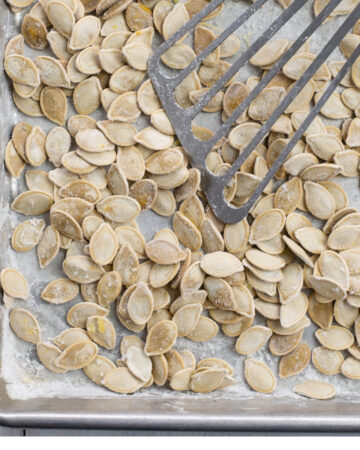
Save those pumpkin seeds! and use my Easiest Way To Clean and Roast Pumpkins Seeds to enjoy homemade salted pumpkins seeds.
More fun Halloween treats from Flour On My Face
Tru Moo Halloween Orange Scream Milk Shake
Kerryanne
Thank goodness for fun no bake recipes, Arlene!!
Thank you for sharing your Halloween Wafer recipe at Create, Bake, Grow & Gather this week. I'm delighted to be featuring it at today's party and pinning too.
Kerryanne
Ashley
I mean, come on! How stinkin' cute!! This is a dessert even I could make! Thanks for sharing with us at #HomeMattersParty!
Arlene Mobley
Thank you Ashley! The kids will love them!
Jenny
Great Idea to make the cookies super cute and fun for Halloween. I'll be featuring this tomorrow at Merry Monday. Hope to see you at the party!
Jodie Fitz
These look super yummy and would be perfect for school lunches! Would love if you'd join us and share at Reader Tip Tuesday - we are open and growing all week long!
Marisa Franca
I love this recipe -- it kind of reminds me of another cookie you dipped and then it looked adorable. You can make these for Christmas, Easter, Independence Day -- wow I keep thinking of ways to make them holiday cookies with little effort.
Denise
Such cute treats! I love all the colors. I like your tips for melting chocolate... I've not much experience with chocolate and I've had that problem of getting the right consistency. Great post!
Veena Azmanov
This is such a cool idea Arlene. The kids would get very excited. Plus candy melts are easier to work with than chocolate. Perfect kids project too.
Jolina
These look so fun! And I love working with candy melts. They're so easy to handle and the end result is always so pretty (or spooky in this case lol).
Gloria
These look like fun Halloween treats. Perfect to take to school parties. I think I would even make a batch and hand them out to "special kids"....like your favourite grandchildren LOL!! I know they would love them.