


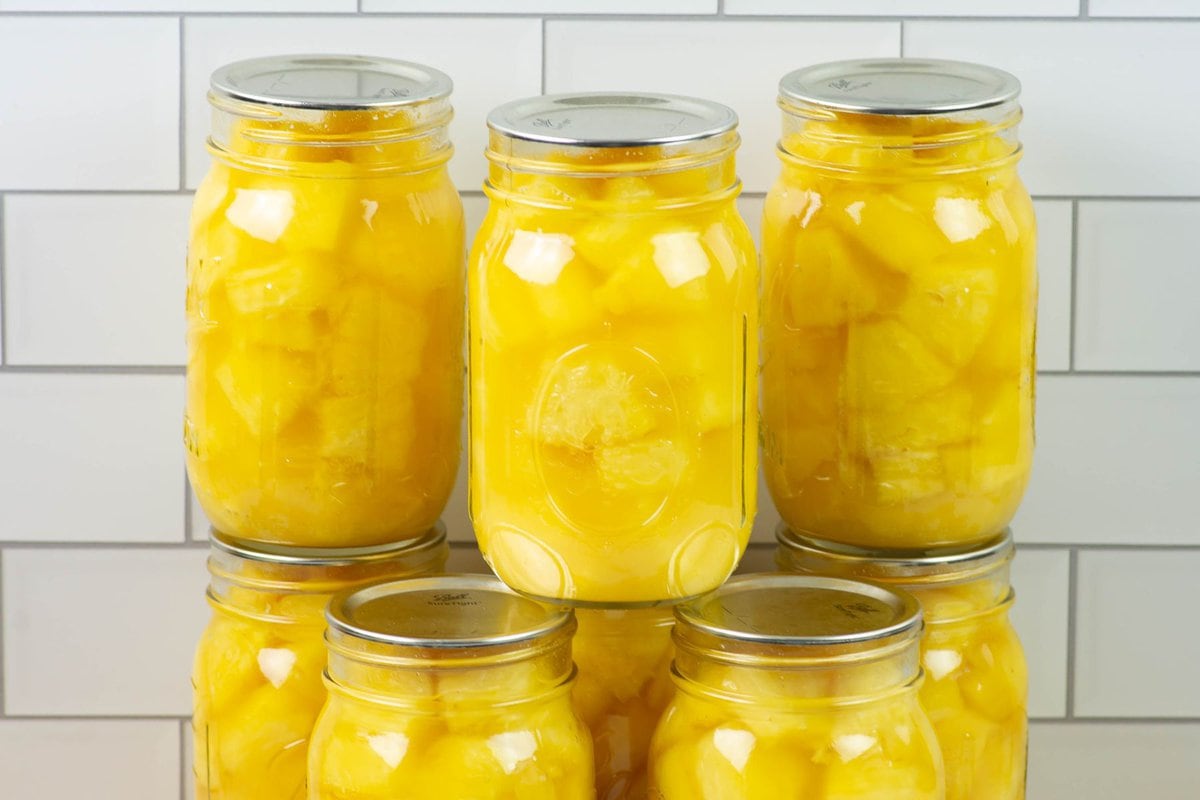
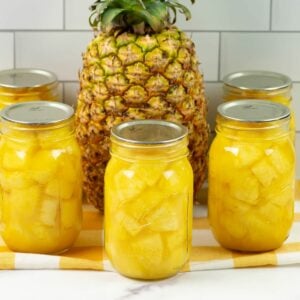
Canning pineapple chunks at home in juice is a very easy canning recipe that is perfect for first time canners or experienced canners.

You can find fresh pineapple on sale and turn it into canned pineapple chunks or tidbits that will last in your pantry for 18 months.
Below you will find the easy step by step directions to make canned pineapple that you can use in your favorite pineapple recipes all year long.
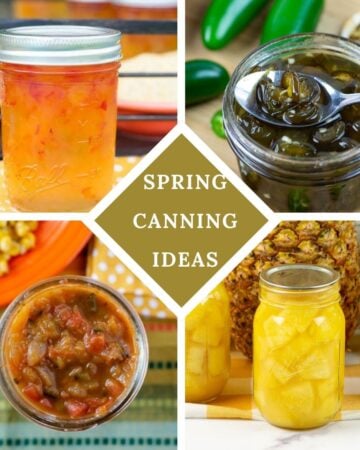
Check out these Spring Canning Ideas for more canning recipes.
Ingredients
When canning pineapple all you need is 2 ingredients. Fresh pineapples and pineapple juice.
Pineapple can also be canned in plain filtered water or you can make a light or heavy syrup.
In this canned pineapple recipe I will show you how to can pineapple chunks in pineapple juice from the fresh pineapples.
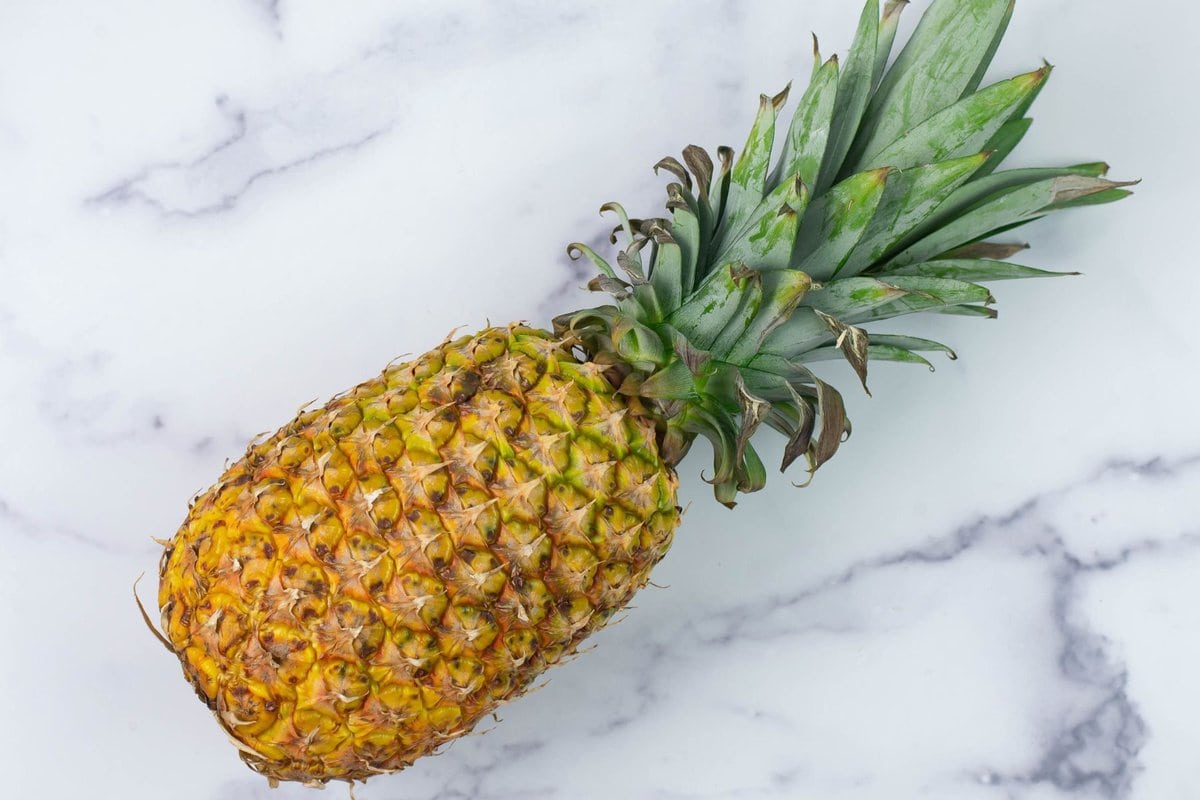
- ripe fresh pineapples
- pineapple juice
- water to wash off the outside of the pineapples
Basic canning equipment needed
- 9 pint jars with new flat lids and bands
- a cutting board
- multiple bowls or plastic containers to use while cutting the pineapple into chunks.
- a pot to process the canned pineapple in using the hot water bath method. I use the Ball freshTECH Electric Water Bath Canner because I have a flat top stove.
- a large ladle to fill the jars with liquid.
- a wide mouth funnel helps keep spills and drips at a minimum.
- A jar lifter to safely lift the hot processed jars from the canner.
- a canning bubbler to remove air pockets and bubbles from the jars.
- damp paper towels to wipe the jar rims
- towels or dish cloths to place the canning jars on while filling and when removing them from the canner.
You will also need a metal pineapple corer or sharp knife to process the whole pineapples into chunks or tidbits.
Raw pack or hot pack method
Canned fresh pineapple can be made using the raw or hot pack method.
- What is the raw pack method of canning: Raw pack method is when you fill canning jars with the raw fruit and then fill the jars with a hot liquid before processing.
- What is the hot pack method of canning: The hot pack method is when you heat the fruit in a liquid for a short time and then fill the jars with the hot liquid and hot fruit before processing.
I decided to use the raw or cold pack method of canning pineapple because my pineapples were very ripe and soft.
During the water bath canning process the pineapple will cook slightly in the boiling water. I used the raw pack method because I didn't want the my very ripe pineapple chunks to get too soft.
Canning Recipe Prep
- Scrub the outside of the pineapples well under cold running water using a vegetable brush or cloth.
- Prepare your canning jars and equipment.
- Set up your canning station so you have everything you will need within arms reach.
Step by Step Recipe Directions
Follow along with these easy step by step directions to canning fresh pineapple.
Step 1: Cutting the pineapple
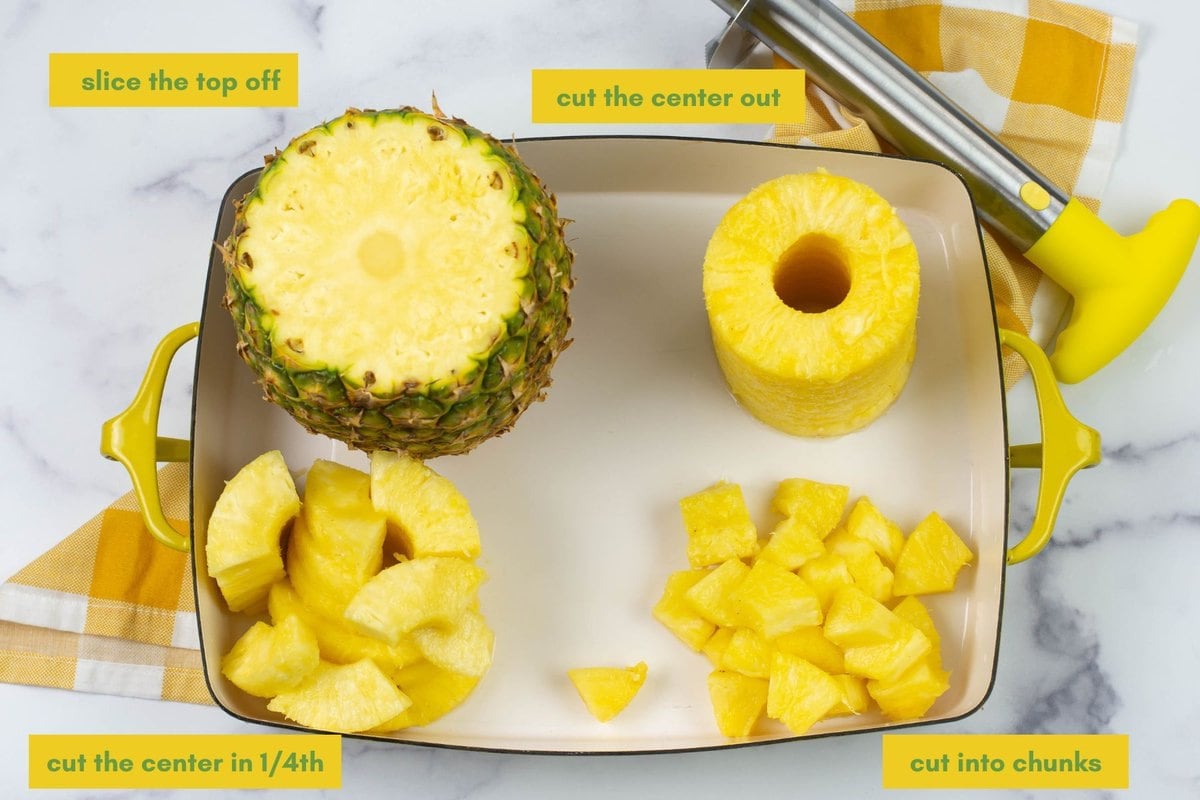
- Core the pineapple using a pineapple corer or by carefully cutting the peel away from the pineapple flesh using a sharp knife. Cut the eyes out and remove the tough core if using a knife. A pineapple corer will do all of this work for you. Buy one!
- When using a pineapple corer cut the top off the pineapple making sure you cut a big enough piece off so the outside edges of the large round blade of the corer will be centered and be placed within the area of pineapple flesh inside the rind. Place the round center blade over the tough fibrous pineapple core. Begin twisting the handle in a circular motion while pushing down.
- Twist until you have hit the inside bottom of the pineapple.
- You will feel a resistance when you have reached the bottom of the pineapple and the blade of the corer will not want to move.
Step 2: Cutting pineapple chunks and prepping your canning pot
- Pull the corer up and remove the pineapple fruit from the center of the pineapple peel.
- Twist the handle off and carefully push the pineapple core out of the blade and set it aside in a bowl. Save all the little extra bits of fruit and the pineapple cores in a bowl to use to make the pineapple juice.
- Fill your canning pot with hot water and place a metal rack on the bottom.
- Start heating the water so it is hot and ready for the filled jars.
How to cut pineapple chunks
- Place the stack of pineapple rings on a cutting board or inside a shallow bowl or a rimmed baking sheet to catch the juice.
- Use a sharp knife to cut the stacked slices into quarters. Then cut each quarter piece in half making perfect bite sized pineapple chunks.
- Place the chunks in a bowl. Repeat with the remaining pineapples.
Step 3: Prepare the pineapple juice or canning syrup
You have a few options for the liquid you use to can pineapple chunks in.
You can use pineapple juice, apple juice, water, or make a simple sugar and water syrup. The syrup can be light or heavy depending on how sweet you like pineapple.
You can also make unsweetened canned pineapple without any extra added sugar by using plain filtered water as the canning liquid.
I made and used pineapple juice from the extra pineapple pieces and pineapple cores to can my pineapple.
How to make pineapple juice from the leftover pineapple.
- Scrape as much pineapple flesh from the insides of the pineapple shells into a bowl.
- Cut all of the pineapple cores into small pieces.
- Place the pineapple pieces and pineapple cores into a blender or a juicer and process the fruit and pineapple cores into pineapple juice.
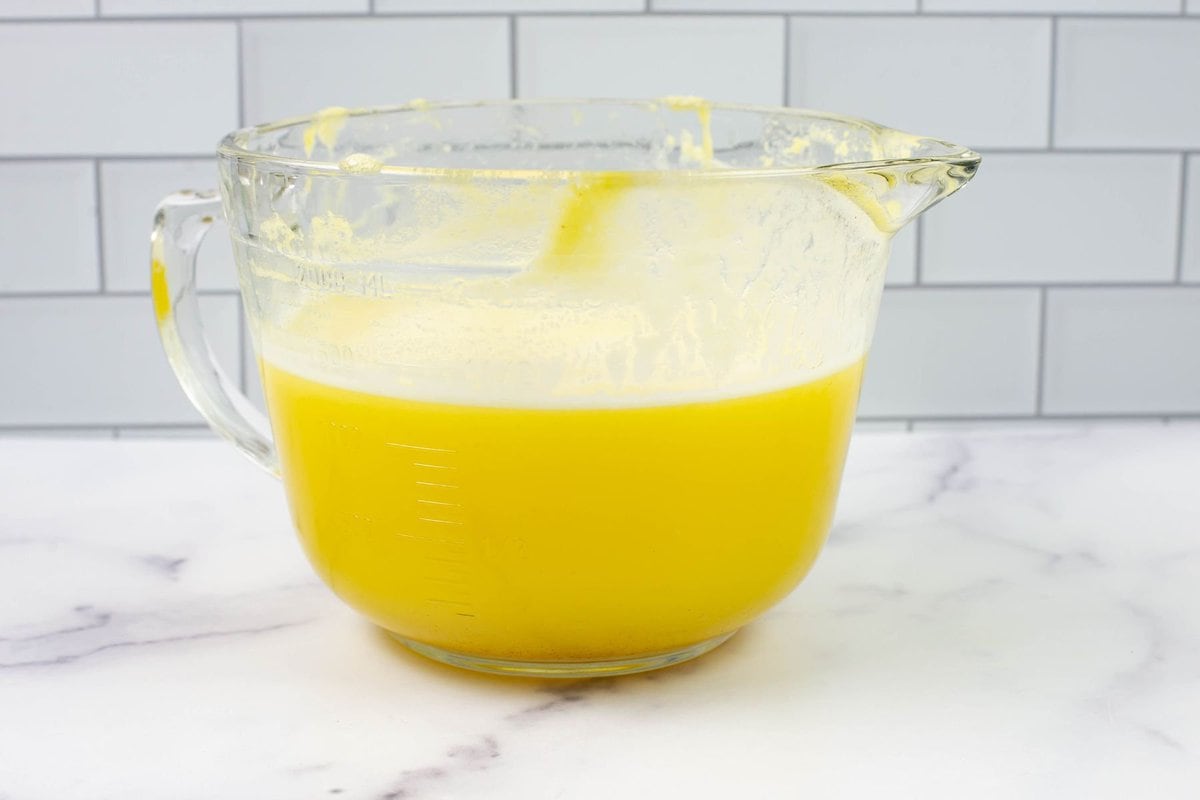
- Strain the juice through a fine mesh strainer into a large bowl or measuring bowl to remove any pulp and most of the foam that will have formed while juicing. Scoop as much foam from the top of the juice as possible.
- Measure the pineapple juice. You will need about ½ cup of juice per pint size jar of pineapple fruit. The amount of juice or liquid will depend on how tightly you have packed the jars with fruit chunks. If you do not have enough juice add enough filtered water until you have the correct amount of liquids needed. Set aside until needed.
Step 3 Filling the canning jars
How to fill the jars of pineapple chunks with the pineapple juice.
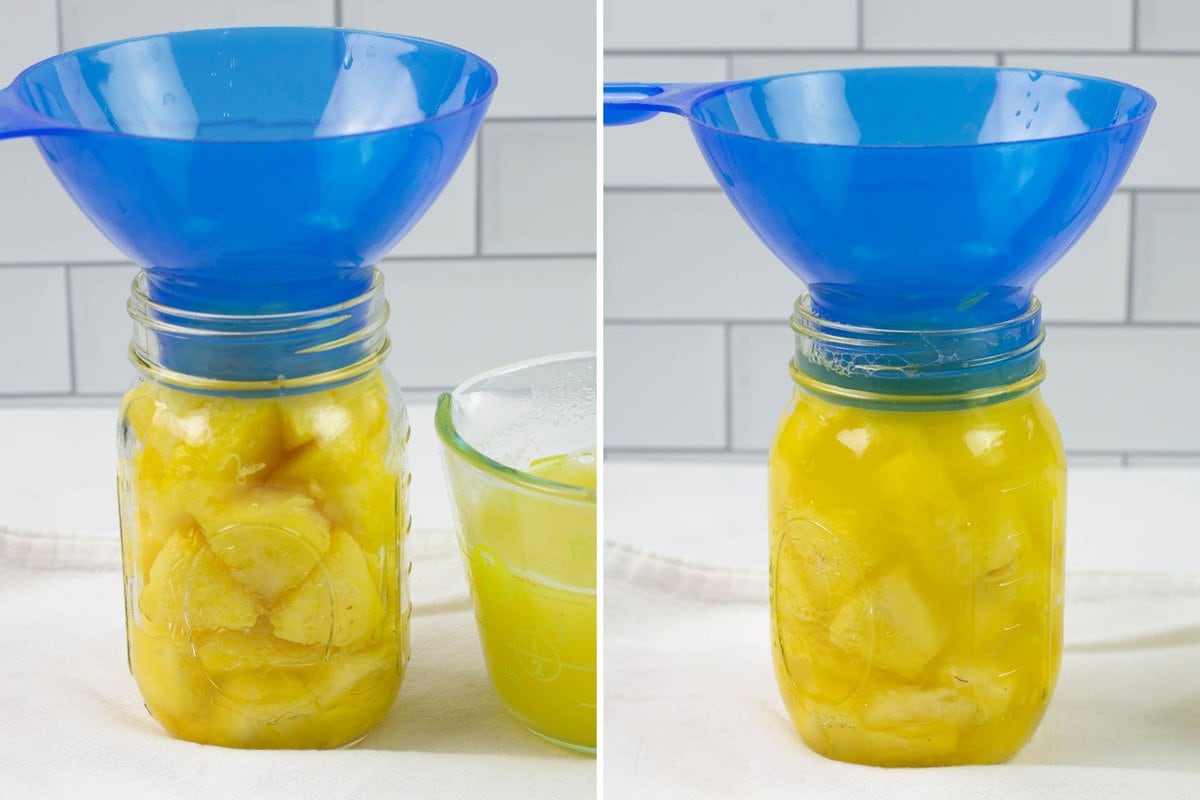
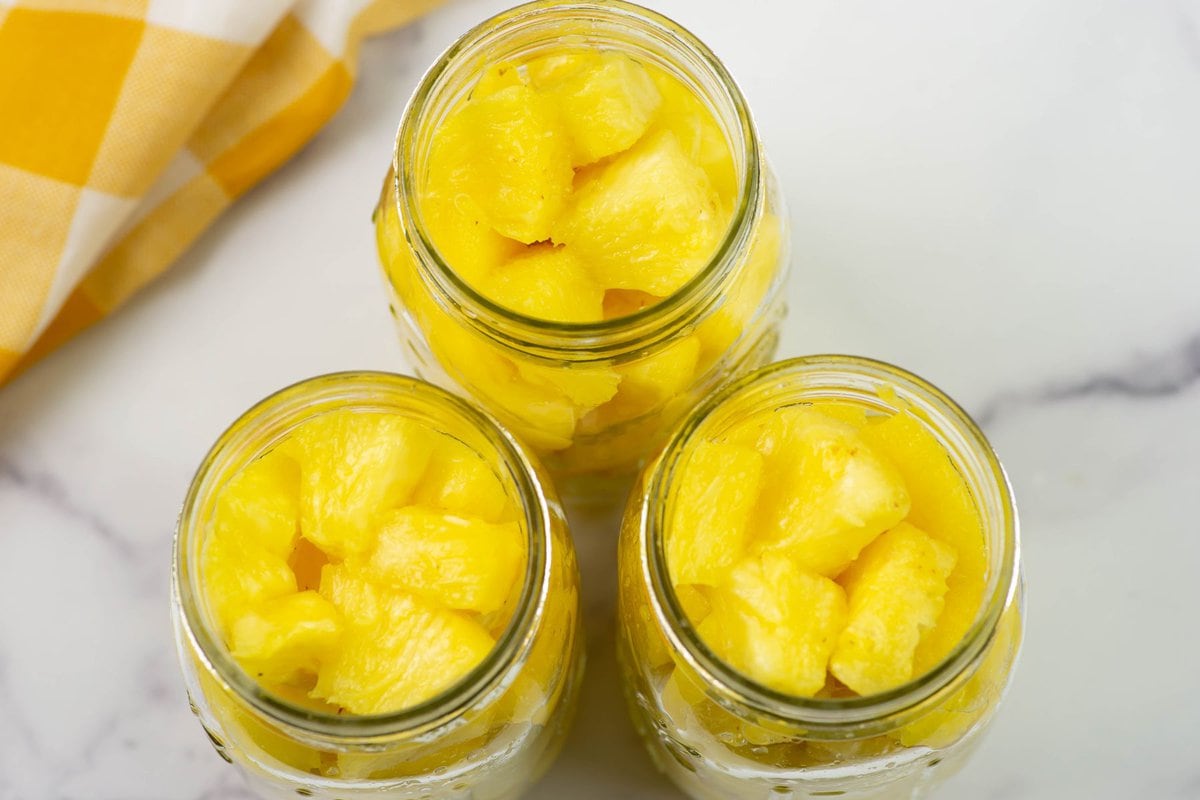
- Fill pint size jars with the pineapple chunks packing them in tightly leaving a ½ inch of headspace.
- Pour the pineapple juice into a pot and bring to a boil.
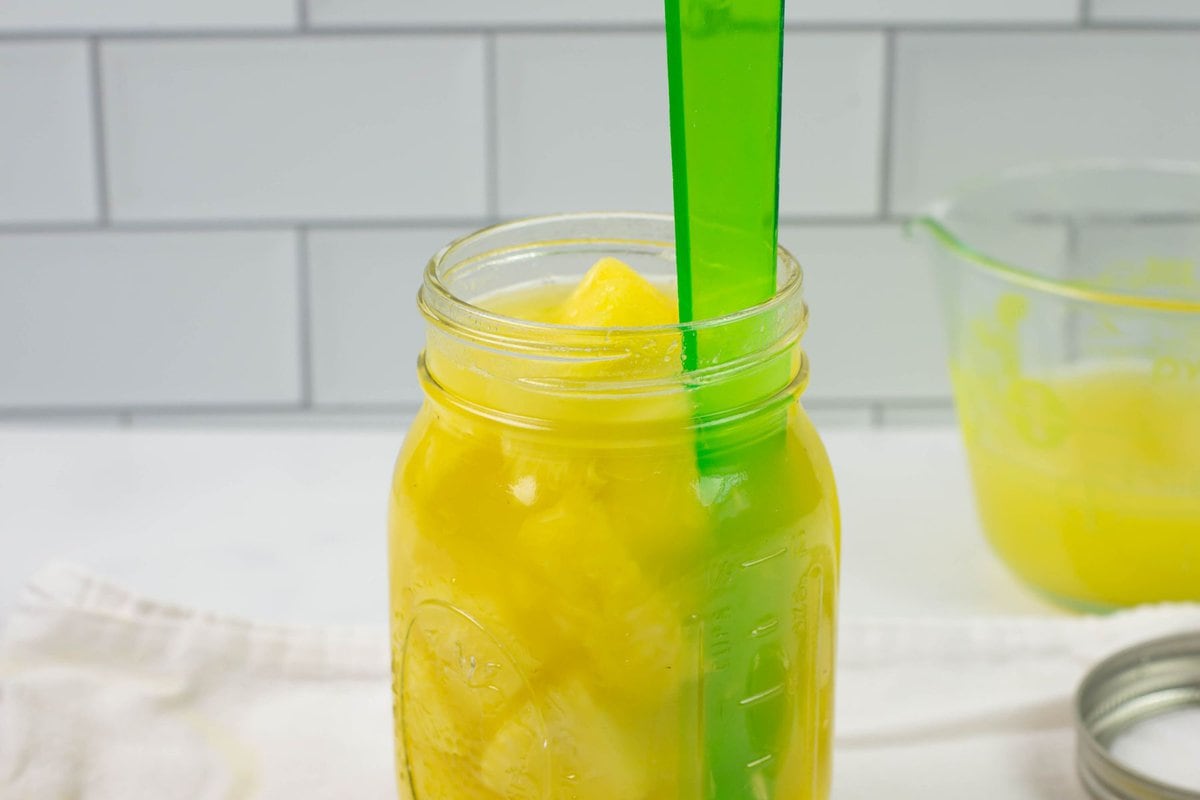
- Ladle the hot juice into the jars filling to ½ inch headspace. Use a canning bubbler, wooden chop stick or plastic knife to remove any bubbles or air pockets from around the fruit.
Add more juice to each jar to bring the headspace back up to ½ inch if needed.
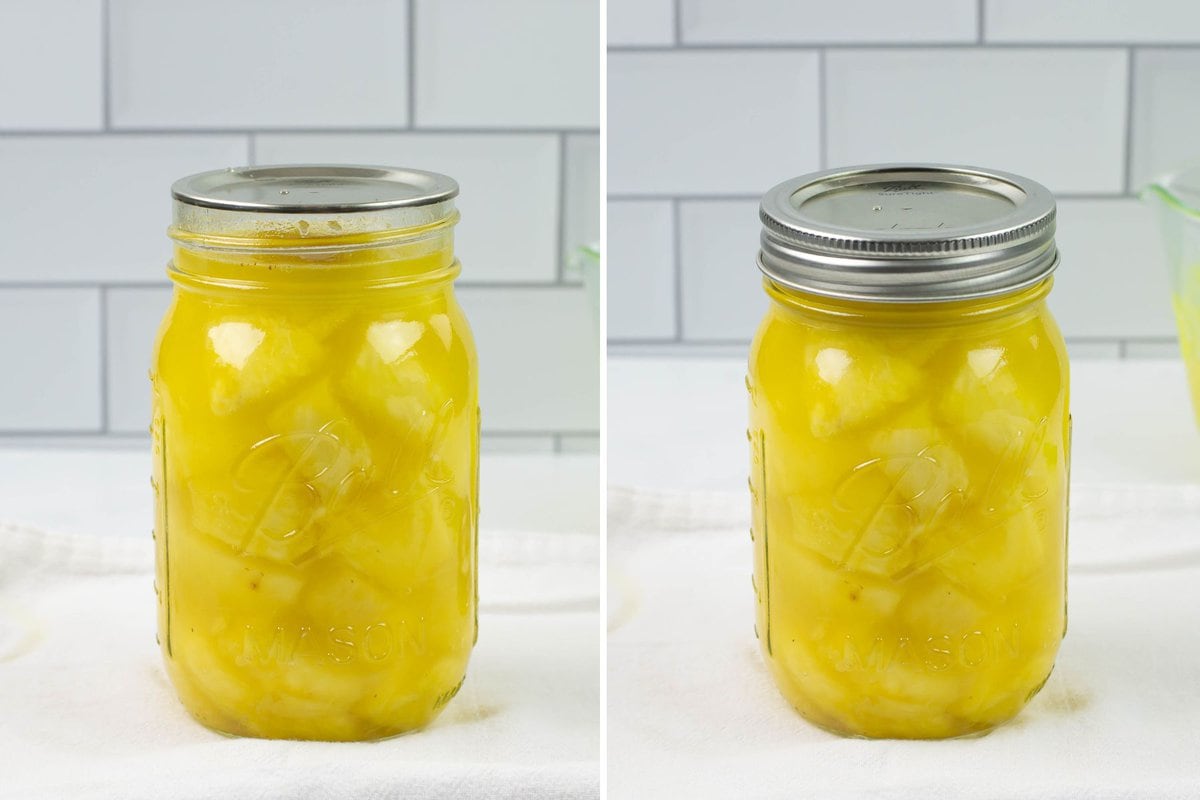
Wipe the jar rims with a damp paper towel and place a clean flat lid on. Place a band on the jar and twist the metal ring on just finger tip tight.
Processing the jars
- As you fill each jar place it in the hot water of the water bath canner. Continue filling the canner pot until you run out of room or filled jars.
- Check the water level. The water should be at least 1 inch over the top of the jar lids.
- Place a lid on the canning pot and increase the heat to high. Bring the water to a hard boil.
- Processing time: Process the jars of pineapple in the hot water bath for 15 minutes. Make adjustments for your altitude if needed.
- Set a timer: After 15 minutes of a hard boil turn the heat off and remove the lid from the canner. Wait 5 minutes before removing the jars from the canning pot. Place the hot jars on a thick towel in a safe area on your counter.
- Allow the jars to sit undisturbed for 12 to 24 hours to allow the the contents to cool and the jars to seal properly.
- Remove the bands from the cooled jars. Wash the jar in hot soapy water to remove any fruit or juice which may have run down and clung to the jar during processing and cooling.
- Store the jars of canned pineapple for up to 18 months in a cool and dark cabinet.
My favorite canning pot
I use the Ball fresh-Tech canning appliance instead of a canning pot on my flat topped stove. I love this appliance and have been using it since it was first released.
I don't have to worry about damaging the glass top of my stove. It sits on the counter and frees up the stove for dinner.
Recipe FAQs
If using the hot packed method to make home canned pineapple the pineapple pieces are cooked for a short amount of time in the canning liquid. You can skip this step by using the raw packed method of canning pineapple.
Yes you can can fresh pineapples without any added sugar. Use plain filtered water as the canning liquid instead of juice or a syrup to avoid adding any extra sugar to the canned pineapple.
Canned pineapple will last up to 18 moths if using Ball canning lids which have a shelf life of 18 months. Check the documentation that came with the specific brand of canning lids you are using.
Recipe Expert Tips
- Use ripe pineapples for the sweetest canned pineapple flavor.
- Use a pineapple corer to get even size pineapple chunks and to save time when processing a lot of fresh pineapples.
- Use plain filtered water as the canning liquid to make sugar free canned pineapple.
How to use canned pineapple chunks
Pineapple chunks are delicious right from the jar. But they can also be used to make some favorite pineapple cocktails and pork recipes.
- make pineapple upside down cake
- make pineapple ginger rum
- make Pineapple Mojitos
- Use them to make Pineapple Pulled Pork
- Use them to make Char Siu Pork Sliders
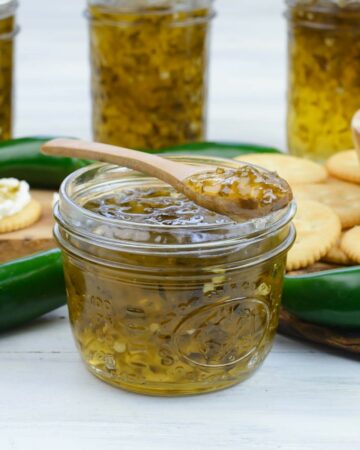
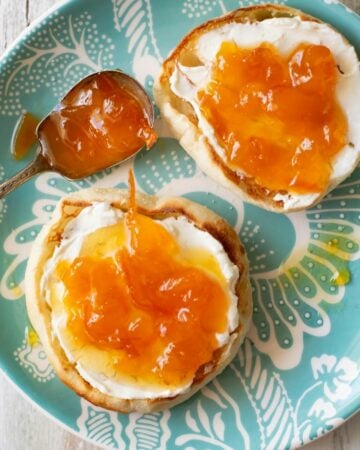
More canning recipes
Preserve the harvest with more of my favorite canning recipes. Check out some of my other easy canning recipes below.
Email questions or recipe requests to flouronmyface@gmail.com. Follow me on Pinterest, YouTube, Instagram and Facebook.
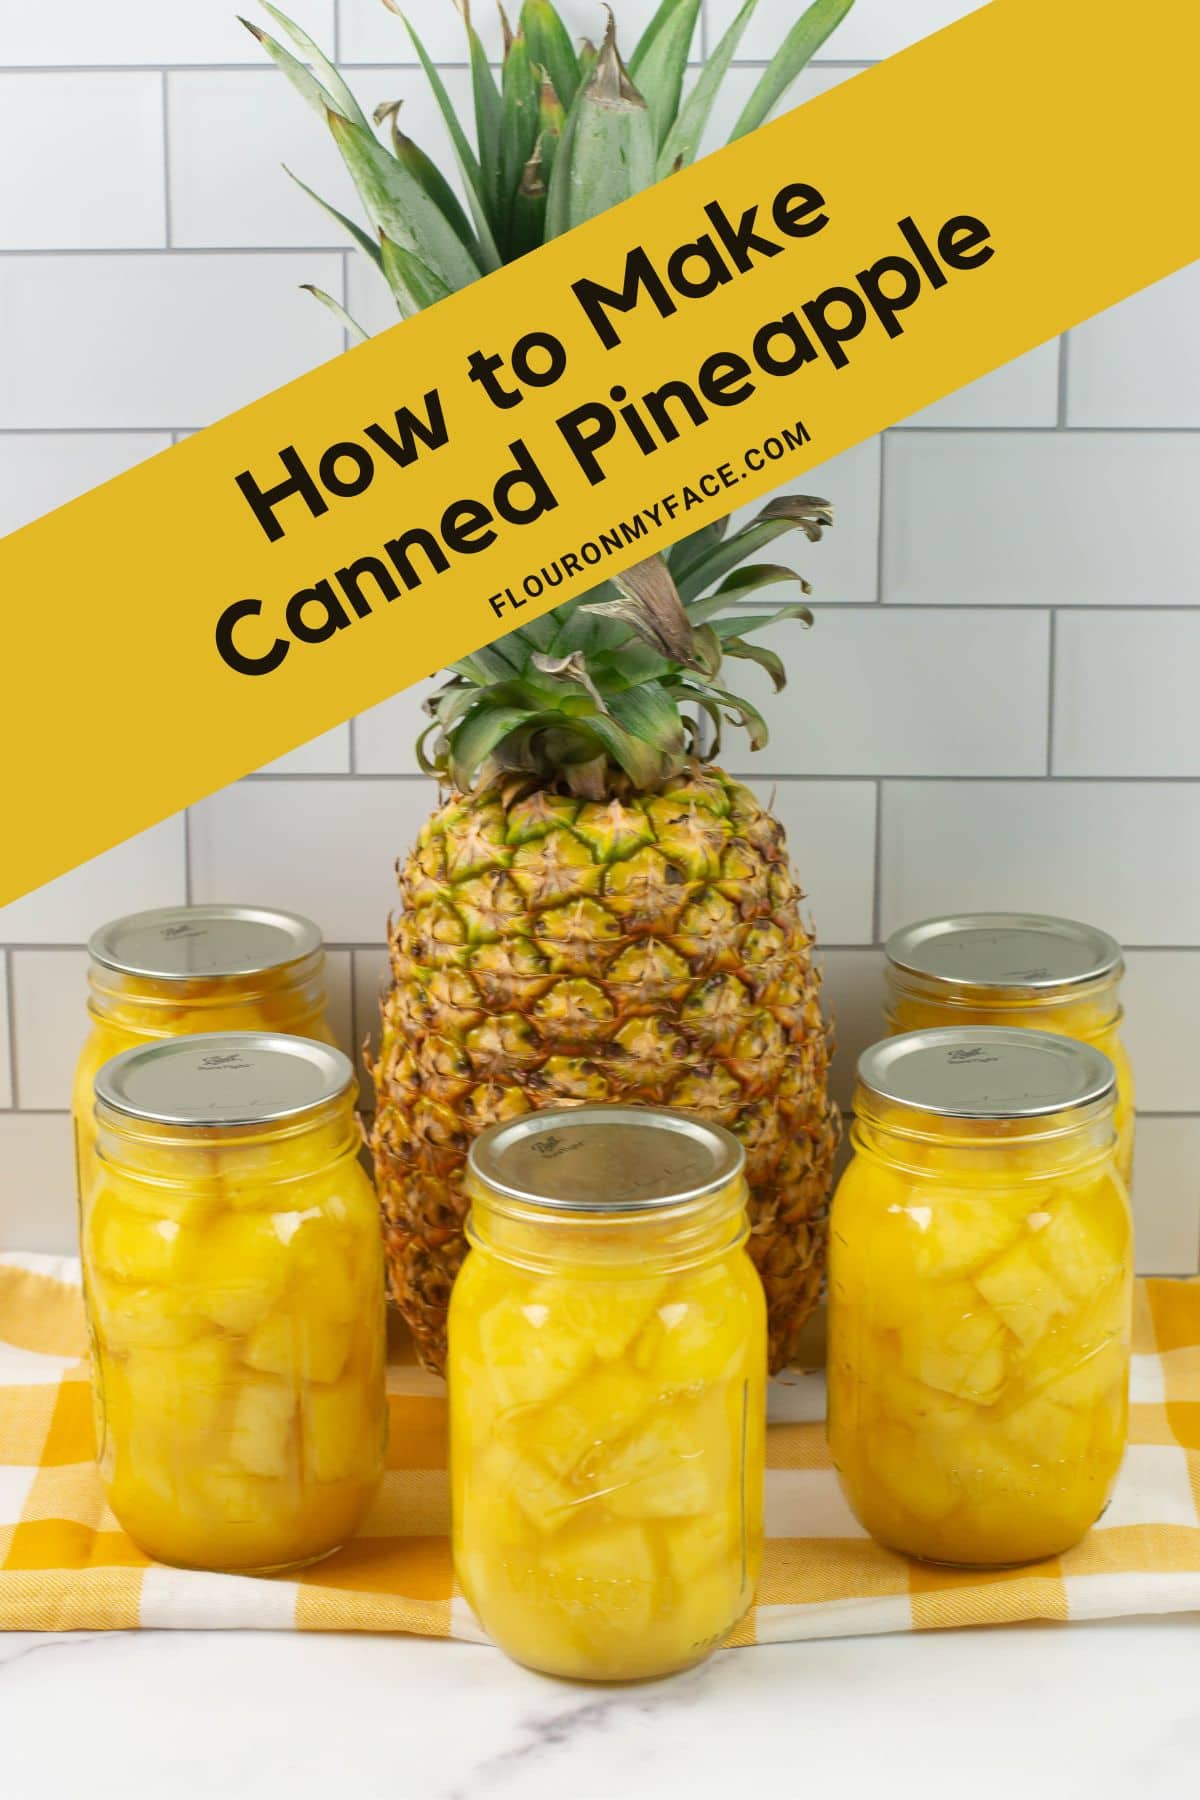
How to Can Pineapple
Equipment
- 1 Canning Pot
- 9 Pint Canning Jars with lids
- 1 Pineapple Corer or knife
Ingredients
- 7 whole fresh pineapples ((peeled, cored, and cut into chunks))
- 3 ½ cups pineapple juice, water, or syrup ((made from the leftover pineapple pieces after coring))
Instructions
Recipe Prep
- Wash the canning jars and lids.
- Set up your canning station within reach of your canning pot.
- Fill your canning pot with hot water and place a metal rack on the bottom.
- Start heating the water so it is hot and ready for the filled jars.
Cut the Pineapple into chunks
- Scrub the outside of the pineapple with cold water.
- Core the pineapple using a pineapple corer or a sharp knife. Cut the eyes out and remove the tough core if using a knife. A pineapple corer will do all of this work for you.
- Cut the pineapple slices into chunks or tidbit size pieces of pineapple.
Filling the canning jars
- Fill the pint size jars with the pineapple chunks or tidbits packing them in tightly leaving a ½ inch of headspace.
- Prepare the pineapple juice with the leftover pineapple fruit and bring to a boil in a medium size pot.
- Ladle the hot juice into the jars filling to ½ inch headspace. Use a canning bubbler, wooden chop stick or plastic knife to remove any bubbles or air pockets from around the fruit.
- Add more juice to bring the headspace back up to ½ inch if needed.
- Wipe the jar rims with a damp paper towel and place a clean flat lid on. Twist the band on finger tip tight.
Hot water bath canning pineapple
- As you fill each jar place it in the hot water of the water bath canner. Continue filling the canner pot until you run out of room or filled jars.
- Check the water level. The water should be at least 1 inch over the top of the jar lids. Place a lid on the canning pot and increase the heat to high. Bring the water to a boil.
- Processing time: Process the pint jars of pineapple in the hot water bath for 15 minutes. Make adjustments for your altitude if needed.
- After 15 minutes of a hard boil turn the heat off and remove the lid from the canner. Wait 5 minutes before removing the jars from the canning pot. Place the hot jars on a thick towel in a safe area on your counter.
- Allow the jars to sit undisturbed for 12 to 24 hours to allow the the contents to cool and the jars to seal properly.
- Remove the bands from the cooled jars. Wash the jar in hot soapy water to remove any fruit or juice which may have run down and clung to the jar during processing and cooling.
- Store the jars of canned pineapple for up to 18 months in a cool and dark cabinet.
Video
Recipe Expert Tips
- Use ripe pineapples for the sweetest canned pineapple flavor.
- Use a pineapple corer to get even size pineapple chunks and to save time when processing a lot of fresh pineapples.
- Use plain filtered water as the canning liquid to make sugar free canned pineapple.

Diane Sergeant
I have a glass top electric stove so I believe I should not use a water bath canner on it. I do have an instant pot/electric pressure cooker. I have canned green beans and apple sauce in it. Do you think the pineapple would fare well and how long would you reccommend for pineapple pints?
Arlene Mobley
Diane the Instant Pot is not recommended for canning. I have a glass stop stove and use the Ball freshTECH Electric Water Bath Canner you can check it out here. https://amzn.to/3FVFJFO