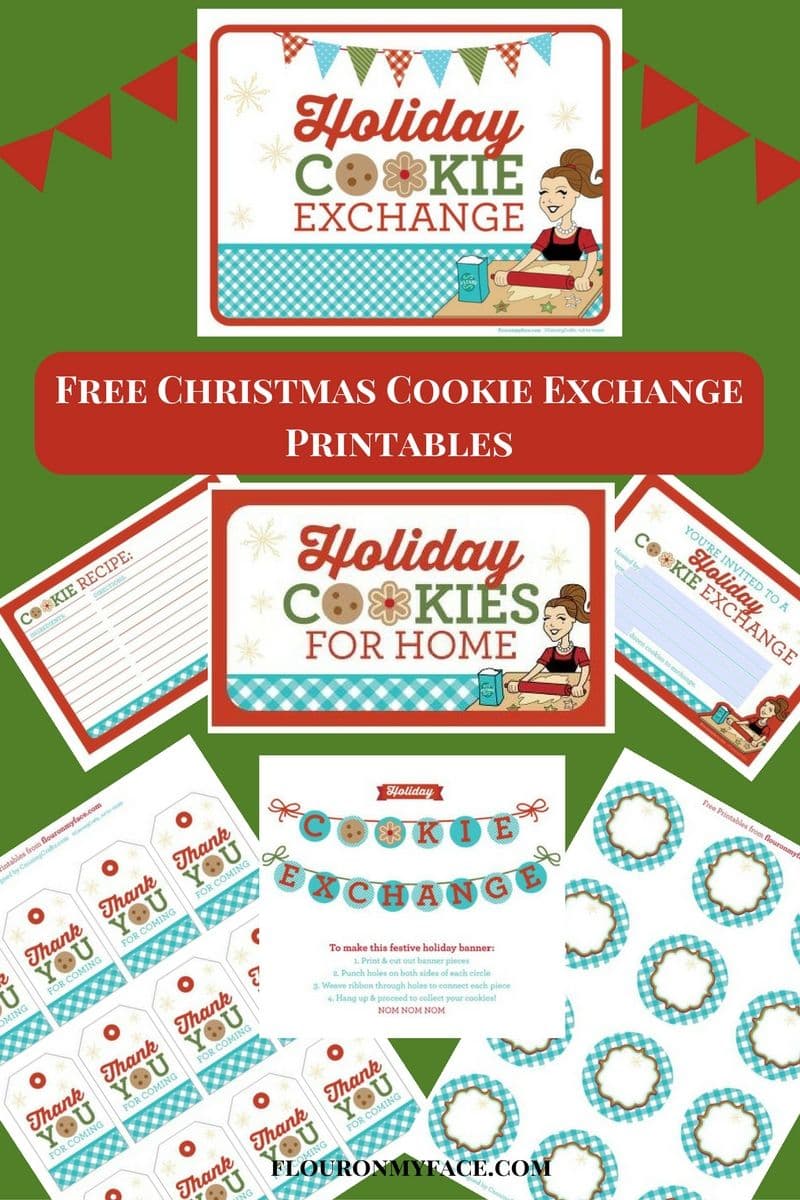
Get this Free Christmas Cookie Exchange Printable Sign that you can download, print out and hang on the wall or put in a festive frame you have decorated to match your Christmas Cookie Swap.
If you are hosting a Christmas Cookie Exchange this year you might want to decorate for the festive occasion.
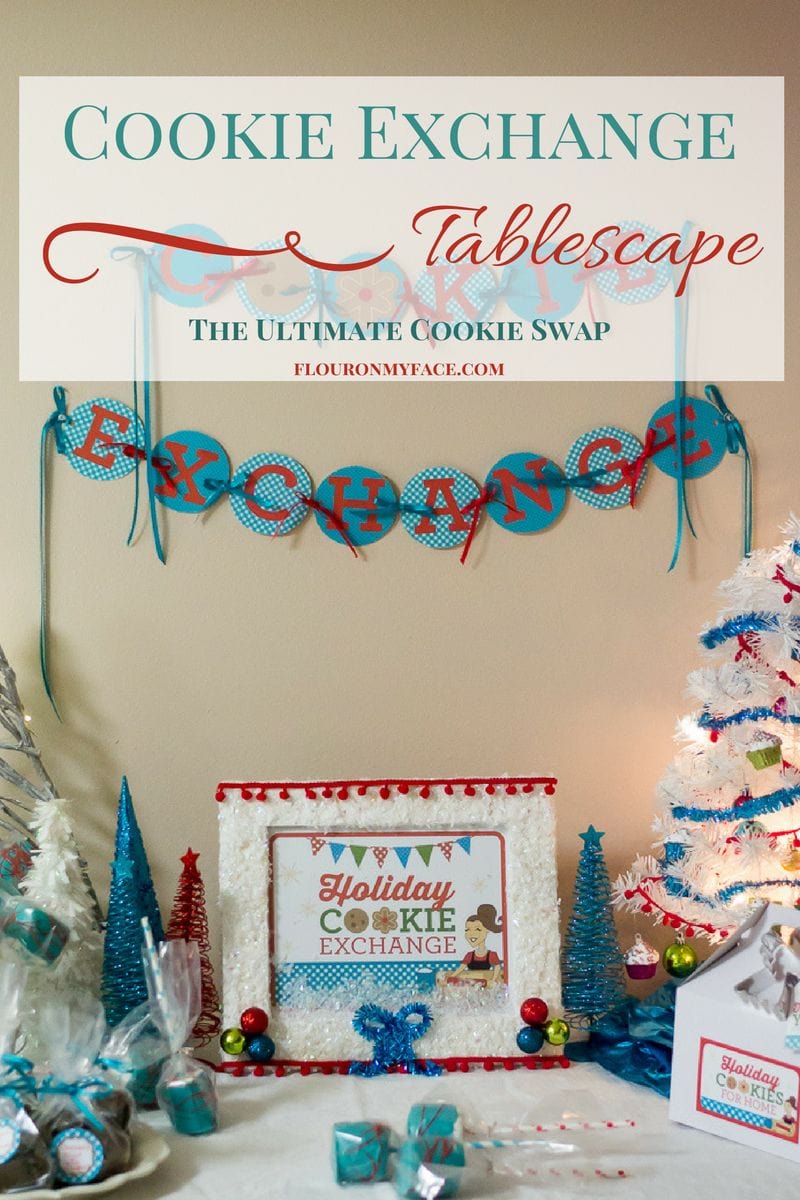
Christmas is less than two weeks away! In just four short days I will be hosting my own Christmas Cookie Exchange party for friends and family.
Never hosted a Cookie Exchange? Check out my How To Host a Christmas Cookie Exchange post.
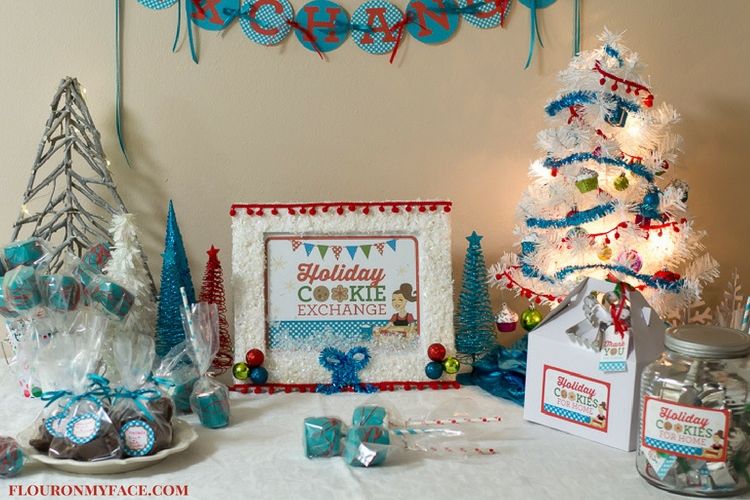
I have had so much fun sharing these beautiful Christmas Cookie Exchange Printables with you this year.
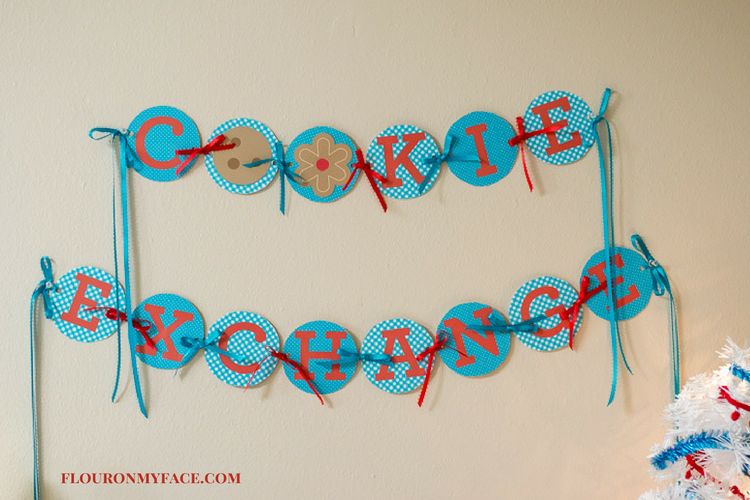
Free Christmas Cookie Exchange Printable Sign
My Christmas Cookie Exchange was a huge hit.
I am so glad we have this wonderful tradition I get to celebrate each year with friends and family.


I just had to share this Free Christmas Cookie Exchange Printable Sign and show you how I decorated it.
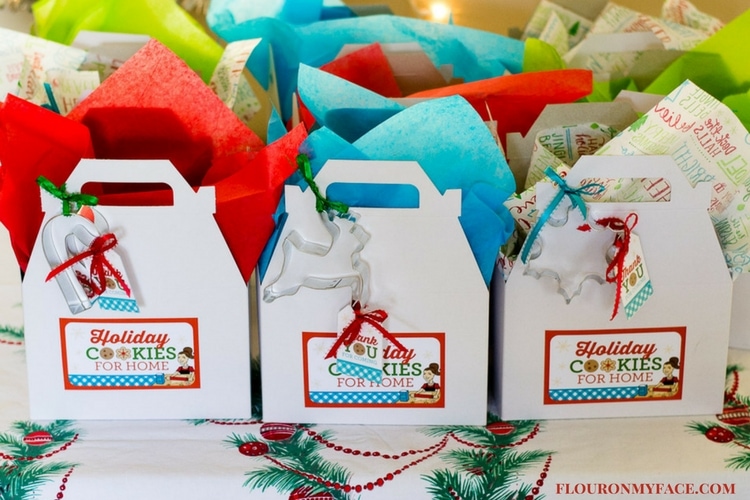
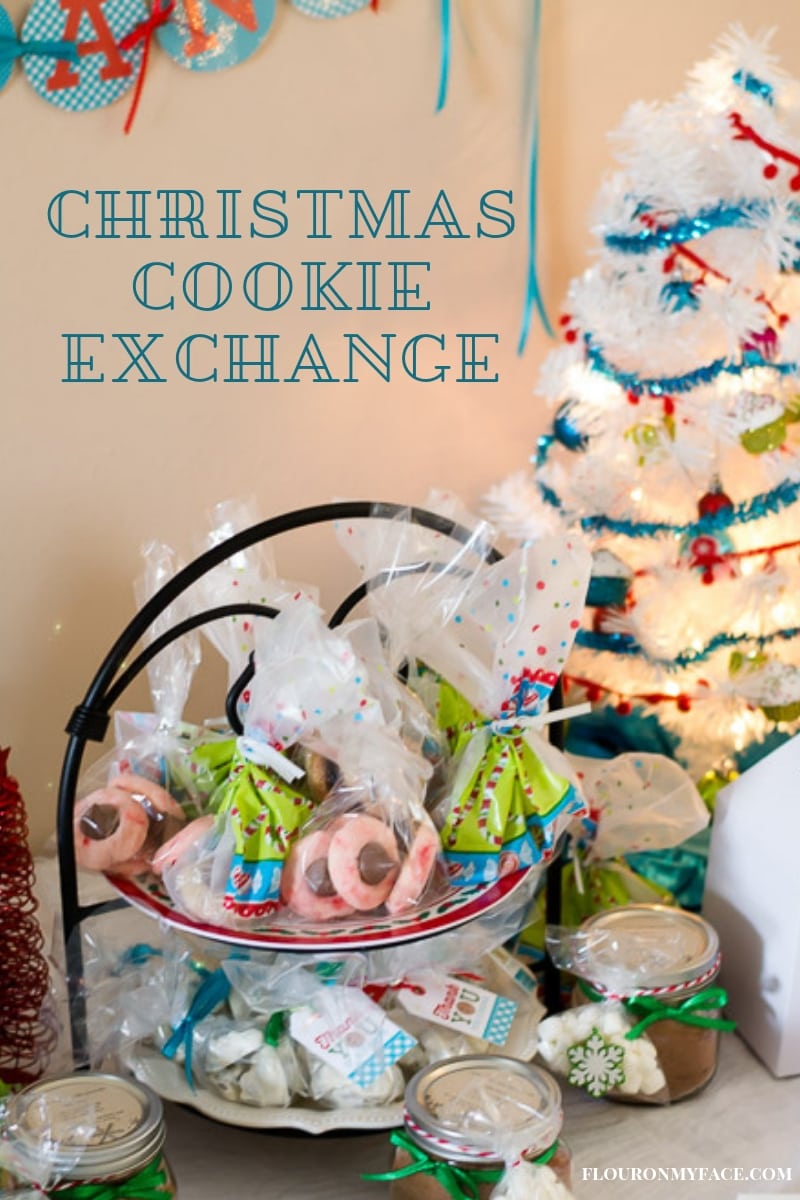
Everyone loved the cookie exchange gift boxes I made. Everyone took one home filled to the brim with cookie exchange goodies.
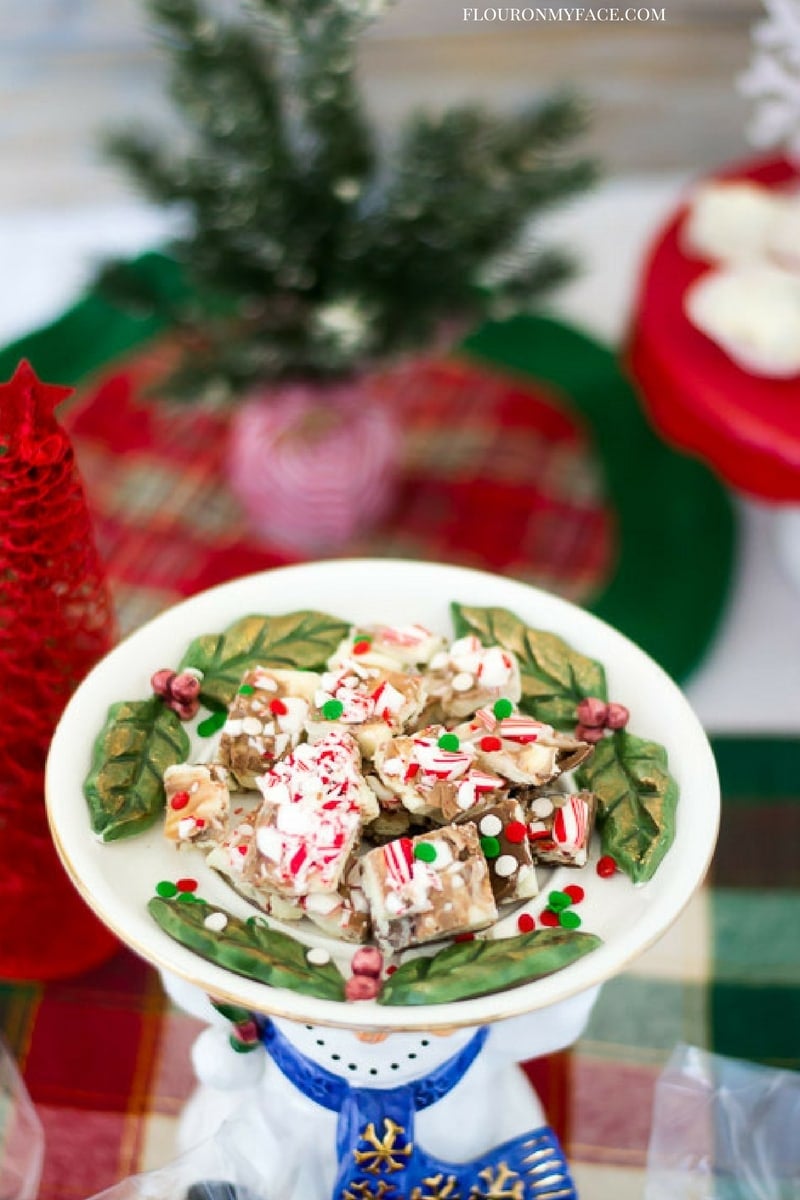
This Snowman Candy stand shows up to the cookie exchange every year! He is the unofficial mascot.
These lovely free Christmas Cookie Exchange printables were custom designed by the very talented digital designer Allison from CanningCrafts.com for the readers of Flour On My Face.

They are all available for download in the FREE Christmas Cookie Exchange Printables Pack here.
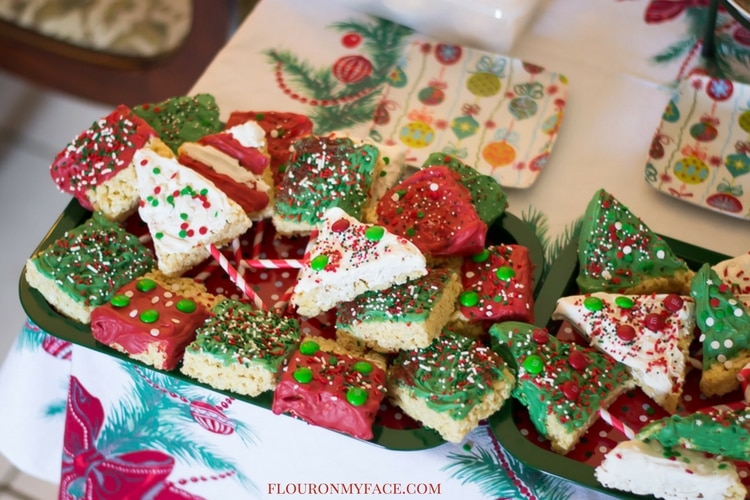
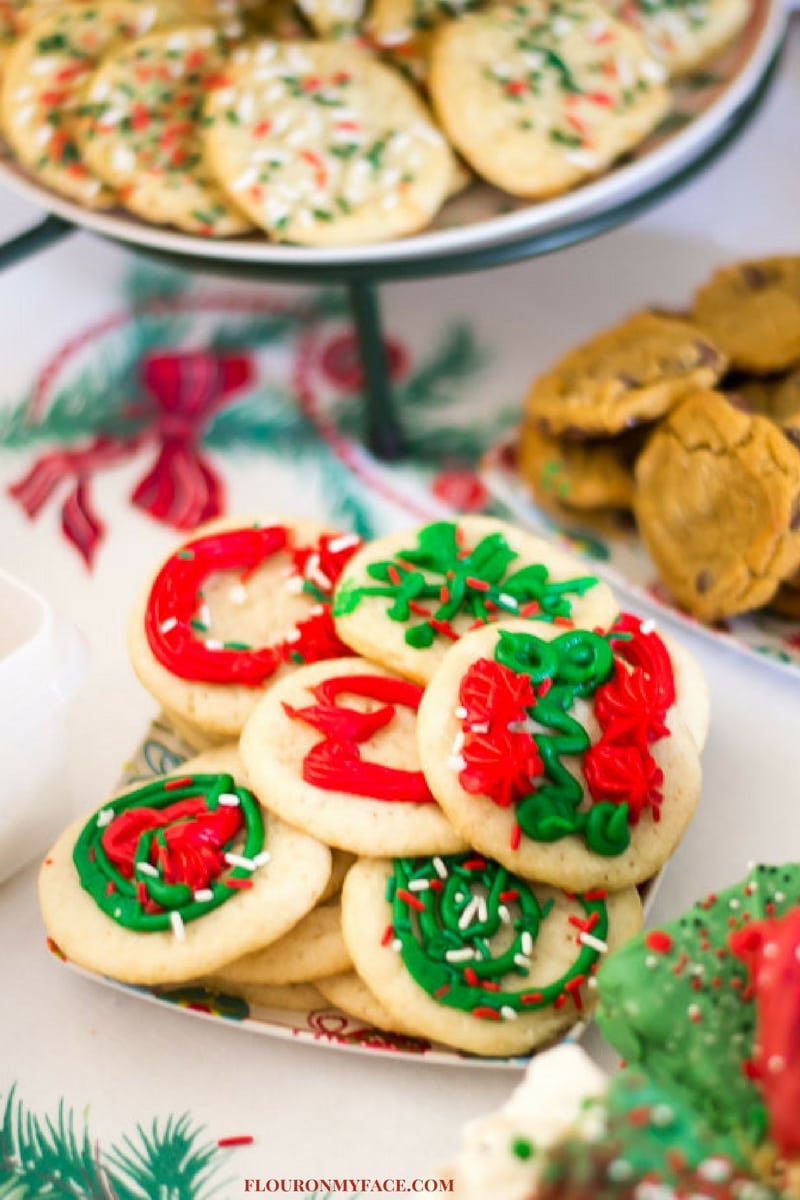
What to bring to a cookie exchange? Need a few ideas for cookie exchange recipes?
- I made these cookie exchange party favors for my guests.
- I'm making my favorite Cookie Exchange recipe-Cherry Blossom Cookies they look like they're a fancy cookies recipe but are so easy to make!
- I made Crock Pot Chocolate Fruit & Nut Clusters
- I still need to make Crock Pot White Chocolate Fruit & Nut Clusters
- I made Jumbo Dipped Marshmallow Pops (one of these days I will write the recipe for you.)
- My favorite Sugar Cookie recipe cut out with an Ugly Sweater cookie cutter and decorated.
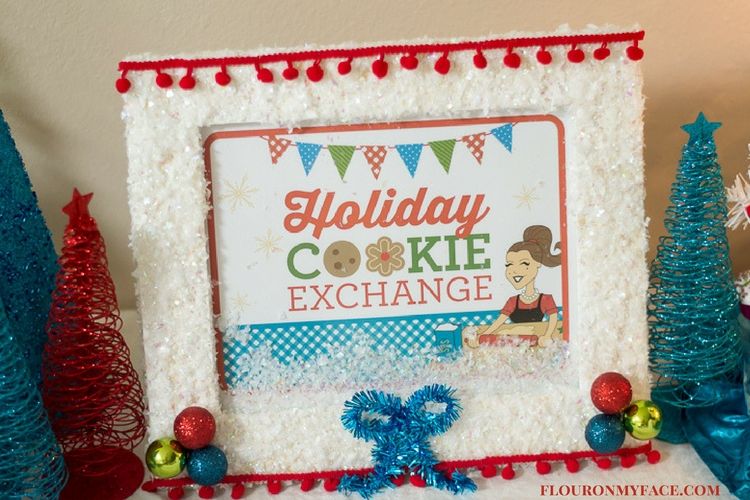
How to Make a Christmas Cookie Exchange Sign with the Free Christmas Cookie Exchange Printable Sign
Supplies Needed
- Print the Free Christmas Cookie Exchange Sign
- Plain Wooden Unfinished Frame or recycle one you already own
- FolkArt Home Decor Chalk Furniture & Craft Paint in White
- Foam Paint Brushes
- Buffalo Snow Flurries White Iridescent Flake Blend
- Aleene's Tacky Glue
- Mini Plastic Christmas Balls
- Teal Wire Garland (Walmart)
- Red Tassel trimming
- Command Picture Hanging Strips
Directions
- Remove the glass piece from the frame and set aside in a safe area where no children might pick it up and get cut on the edges.
- Paint the frame with white chalk paint and allow to dry completely. Repeating once for an even coat of paint.
- Spread the tacky glue over the frame in one section at a time.
- Sprinkle a thick coating of Buffalo Snow Flurries over the glue and press down with your hand. Allow glue to dry and repeat if needed so all of the frame section is covered in a thick layer of snow flurries.
- Repeat for all four sided of the frame. Set aside to dry over night. Hold the frame so one edge is on a hard surface. Gently tap the frame once or twice on a hard surface so any unglued Snow Flurried will fall off.
- Place the frame with the front down on a stable surface. Replace the glass piece. Sprinkle some snow flurries along the bottom edge of the frame. Place the Christmas Cookie Exchange Sign in the frame over the snow flurries. Place the back of the frame in over the Sign. Secure the back with the clips of the frame.
- Turn the frame over so the front is facing up.
- In the two bottom corners glue down three mini Christmas balls in colors that match the Sign. I used red, green and blues Christmas balls. Allow the glue to dry completely before moving on to the next step.
- Measure the red tassel trimming to fit along the length of the frame with about an extra ¼ inch so you can attach it with glue around the side edge of the frame. Repeat for the opposite edge of the frame.
- Make a small bow out of the teal tinsel wire garland and glue it at the bottom of the frame in the center.
- Lay the frame down and allow all the glue to dry over night.
- To hang the Christmas Cookie Exchange Sign on the wall temporarily use command hooks. Or stand it up using the stand on the back of the frame.
Basic Christmas Cookie Baking Supplies
- Mixing bowls should be large enough to mix the cookie dough or icings.
- My Favorite Christmas Cookie Cutters for cut out cookies.
- Large Baking Sheets: I have 4 of these and they really make baking cookies so much easier.
- Cookie Dough Scoops: This is the secret to making perfectly shaped cookies every time.
- Parchment Paper: Keeps cookies from sticking and over browning. Makes clean up a breeze.
- Wooden Rolling Pin: A good rolling pin is a must for rolling out perfect Christmas cookies every time.
- Cooling Racks: Cookies need to cool and a cooling rack allows air to circulate and helps the hot cookies cool quicker. It also makes drizzling baked cookies with melted chocolate or powdered sugar drizzle easier.
- Thin Metal Spatula: A wide flat metal spatula helps lift the cookies off the baking sheet without damaging the edges and keep the hot cookies from breaking when transferring them to the cooling rack.
- Spritz Cookie Press: A must have for making tradition Spritz Cookies for Christmas.
- Christmas Cookie Boxes: Planning a cookie exchange or love to share your Christmas cookies? Cookie Gift Boxes are perfect to keep the cookies from getting crushed.
Email questions or recipe requests to flouronmyface@gmail.com. Follow me on Pinterest, YouTube, Instagram and Facebook.
Free Christmas Cookie Exchange Printable Sign
Equipment
- Foam Paint Brushes
- Plain Wooden Unfinished Frame or recycle one you already own
- Aleene's Tacky Glue
- Command Picture Hanging Strips
Materials
- 1 Print the Free Christmas Cookie Exchange Sign
- 1 FolkArt Home Decor Chalk Furniture & Craft Paint in White
- 1 Buffalo Snow Flurries White Iridescent Flake Blend
- 1 Mini Plastic Christmas Balls
- 1 Teal Wire Garland Walmart
- 1 Red Tassel trimming Target Dollar Spot
Instructions
- Remove the glass piece from the frame and set aside in a safe area where no children might pick it up and get cut on the edges.
- Paint the frame with white chalk paint and allow to dry completely. Repeating once for an even coat of paint.
- Spread the tacky glue over the frame in one section at a time.
- Sprinkle a thick coating of Buffalo Snow Flurries over the glue and press down with your hand. Allow glue to dry and repeat if needed so all of the frame section is covered in a thick layer of snow flurries.
- Repeat for all four sided of the frame. Set aside to dry over night. Hold the frame so one edge is on a hard surface. Gently tap the frame once or twice on a hard surface so any unglued Snow Flurried will fall off.
- Place the frame with the front down on a stable surface. Replace the glass piece. Sprinkle some snow flurries along the bottom edge of the frame. Place the Christmas Cookie Exchange Sign in the frame over the snow flurries. Place the back of the frame in over the Sign. Secure the back with the clips of the frame.
- Turn the frame over so the front is facing up.
- In the two bottom corners glue down three mini Christmas balls in colors that match the Sign. I used red, green and blues Christmas balls. Allow the glue to dry completely before moving on to the next step.
- Measure the red tassel trimming to fit along the length of the frame with about an extra ¼ inch so you can attach it with glue around the side edge of the frame. Repeat for the opposite edge of the frame.
- Make a small bow out of the teal tinsel wire garland and glue it at the bottom of the frame in the center.
- Lay the frame down and allow all the glue to dry over night.
- To hang the Christmas Cookie Exchange Sign on the wall temporarily use command hooks. Or stand it up using the stand on the back of the frame.
Hosting a Christmas Cookie Exchange?
Grab the Free Christmas Cookie Exchange Printables pack designed for Flour On My Face readers.
Looking for cookie exchange recipes?
Get the free Cookie Exchange Printables
Grab a copy of my Get Festive Easy Christmas Recipes to Make and Gift eBook






Alison Hess
I LOVE how you decorated the sign with the snow Arlene! The tassel ribbon is also a nice touch.
Arlene Mobley
Alison
Thank you so much! You did a wonderful job creating the sign!