As the leaves start to change color and there's a crispness in the air, nothing quite rings in the fall like enjoying some delicious homemade pumpkin treats!
Whether you make them for family gatherings or serve them as part of your holiday festivities, these yummy fall pumpkin recipes are sure to bring a smile to everyone's faces.
Today we have an extra special treat meant for all those fudge lovers out there - White Chocolate Pumpkin Fudge!
A recipe that results in soft and creamy squares that melt in your mouth!
It doesn't get much better than that. Keep reading if you're ready to discover this simple yet delightful recipe!
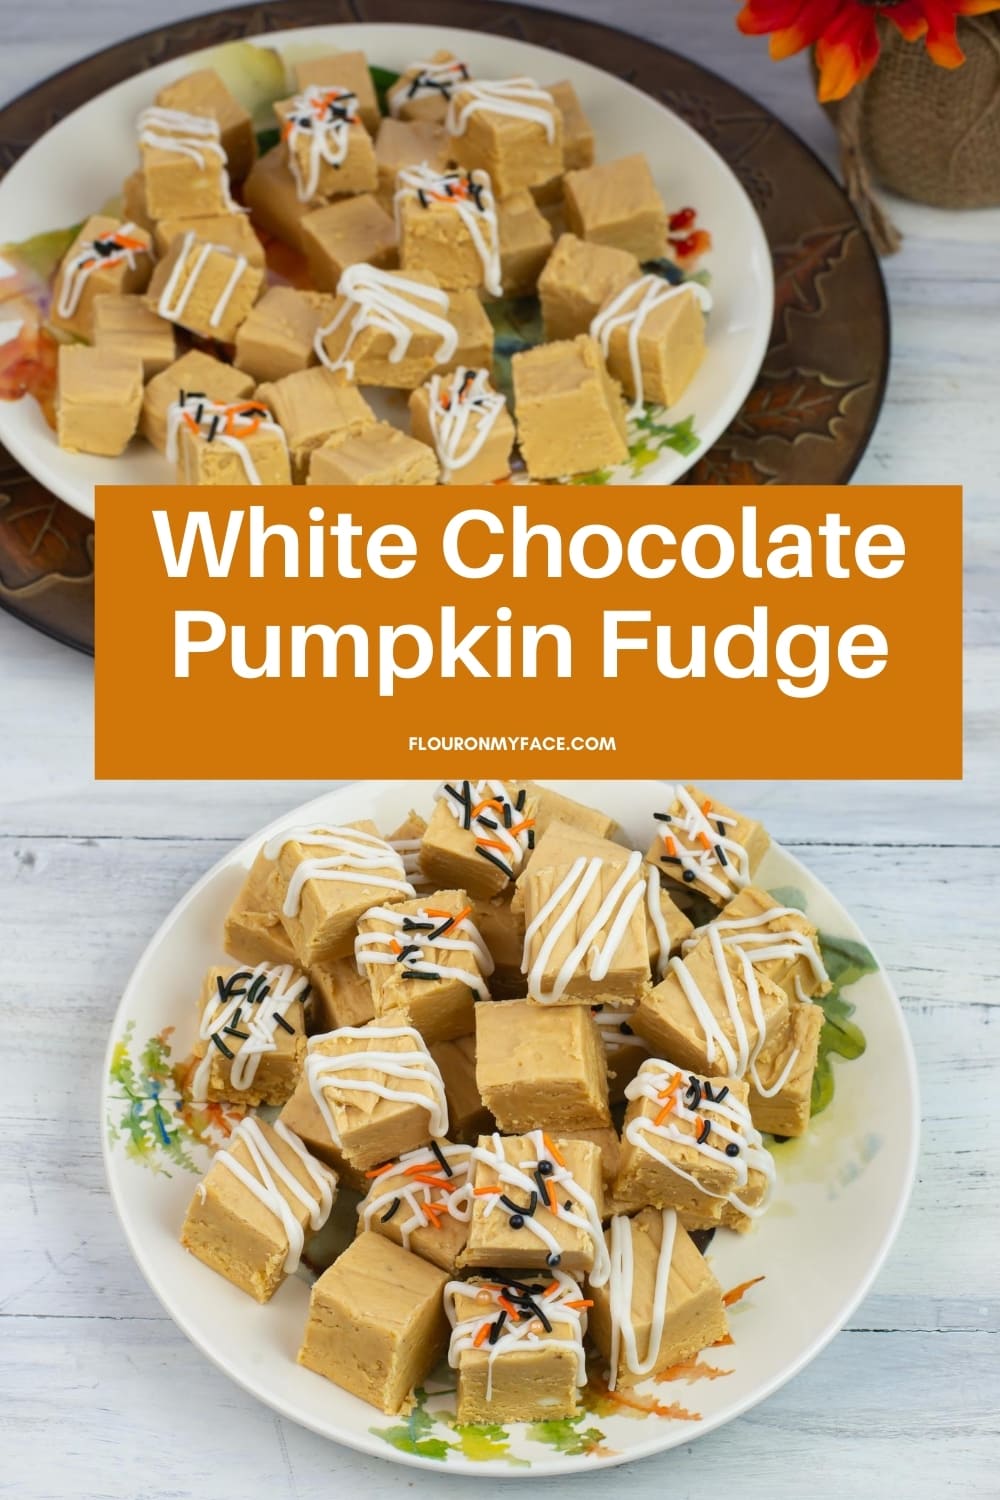
White Chocolate Pumpkin Fudge is one of my favorite pumpkin recipes that makes me start to believe Fall is on it's way.
Pumpkin fudge is a perfect homemade candy that can be shared this fall.
The Pumpkin Fudge Recipe from Recipe Girl is the inspiration for this recipe and I knew I had to make it asap!
Fall is my favorite time of year. I love to make pumpkin flavored anything. But fudge makes a great homemade gift for Christmas. You can make so many different types of white chocolate fudge. You can make White Chocolate Pecan Fudge, and Cherry Vanilla Fudge.
Pumpkin muffins, cupcakes, amazing pumpkin pie, homemade Pumpkin Spice Latte and now pumpkin fudge.
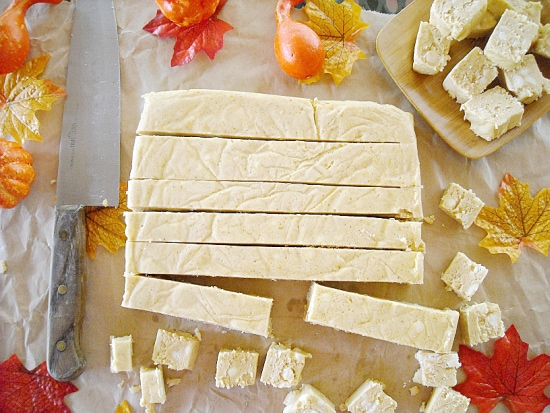
White Chocolate Pumpkin Fudge Ingredients
Most homemade fudge recipes start out the same.
Although some homemade fudge recipes call for condensed milk this fudge recipe uses evaporated milk.
The same goes for the marshmallow portion of a fudge recipes.
Some call for mini marshmallows and others like this pumpkin flavored fudge calls for marshmallow fluff.
- unsalted butter
- white granulated sugar
- evaporated milk
- white chocolate: use the best you can afford
- marshmallow fluff
- light corn syrup
- pure vanilla extract (I used my homemade vanilla extract)
Pumpkin Fudge Ingredients
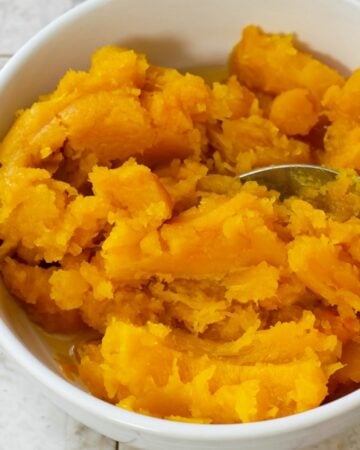
The pumpkin fudge ingredients include the basic fudge ingredients above along with, pumpkin puree and ground Pumpkin Pie Spice.
Below is a quick look at the ingredients and directions. You can find the entire ingredient amounts and step by step directions in the recipe card below. P. S. You can also save your favorite recipes to your personal recipe box! ⬇️
👇See the step by step directions below!
Fudge Making Equipment
- heavy-bottomed stainless steel saucepan
- 8 x 8 inch square pan
- parchment paper
- candy thermometer or quick read thermometer
- wooden spoon or silicone spatula
- sharp knife
Recipe Prep
- Measure Ingredients: Measure the ingredients out before beginning.
- Prep the fudge pan: Measure two pieces of parchment paper that will fit in the 8x8 inch baking pan. Make sure you leave at least one inch of parchment paper hanging over each of the four sides of the pan. This makes lifting the finished fudge out of the pan easier.
- Stirring the fudge: Use a large stiff spoon to stir the fudge. I prefer a wooden spoon that makes stirring the stiff fudge ingredients easier.
Directions
Step 1: Melt the butter in an sauce pan over medium heat.
Add the white sugar, evaporated milk, corn syrup, pumpkin puree and pumpkin pie spice to the melted butter in the sauce pan. Stir with a wooden spoon to combine.
Step 2: Cook over medium-high heat, stirring constantly until the soft balled stage is reached. Soft ball stage is reached when the mixture has reached 234 degrees Fahrenheit. Check the temperature frequently with a candy or an instant thermometer.
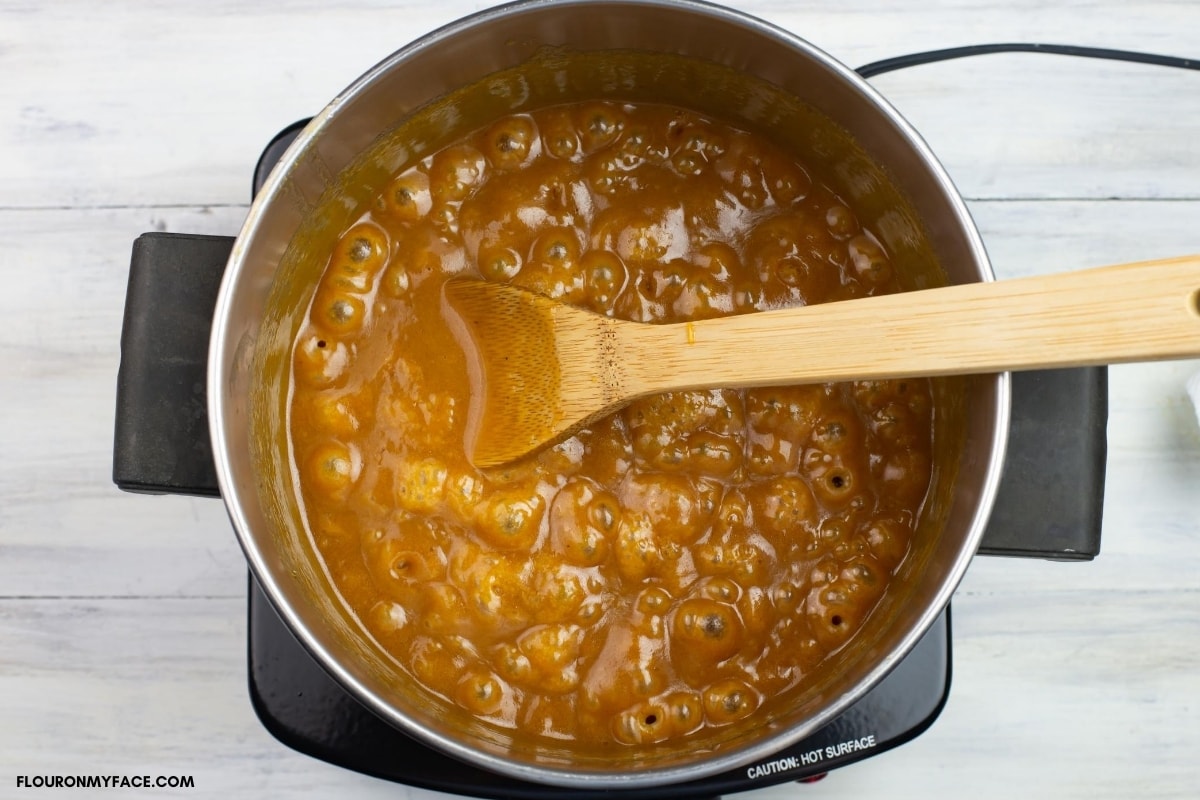
Step 3: Once the mixture has reached 234 degrees remove the pot from the heat and add the white chocolate chips, the marshmallow fluff and the vanilla extract to the saucepan. Stir the fudge ingredients together with a wooden spoon to mix in the marshmallow fluff and to melt the white chocolate chips.
Step 4: Stir until there are no streaks and the vanilla chips are melted. Work quickly or the fudge will stiffen and be difficult to spread into the 8 x 8 pan.
Step 5: Carefully scoop the fudge into the prepared pan and smooth the top as much as possible with the back of your spoon. Allow the fudge to cool and set up for at least 4 hours or overnight is best, before cutting.
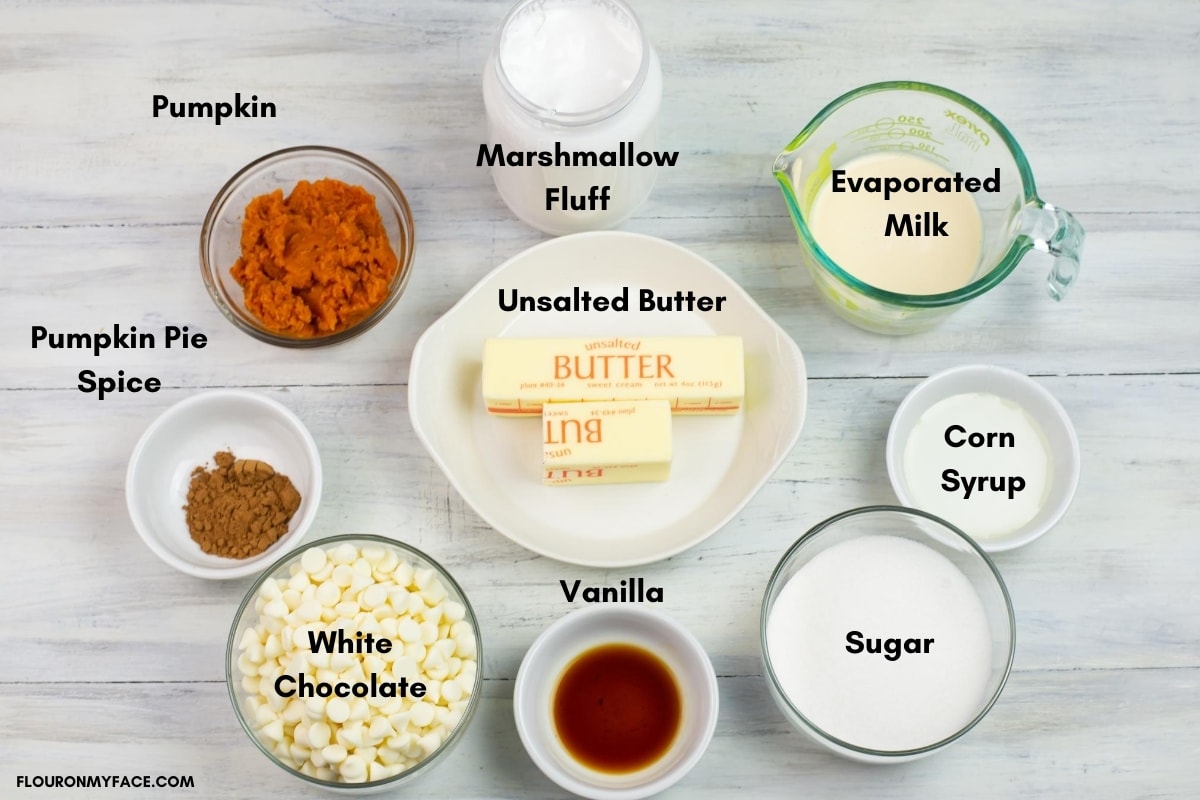
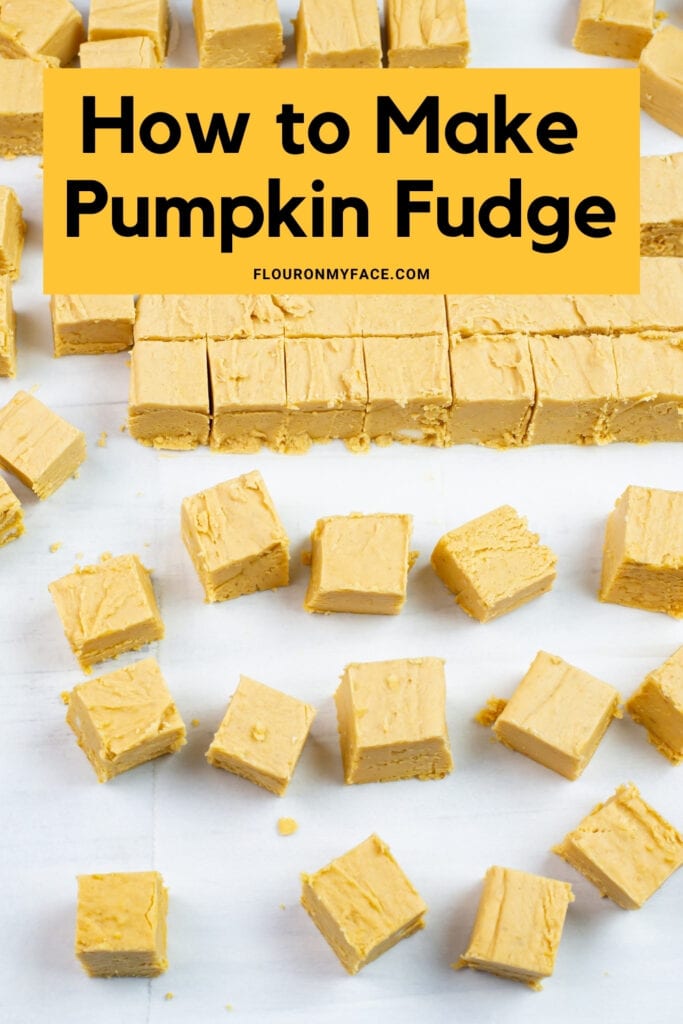
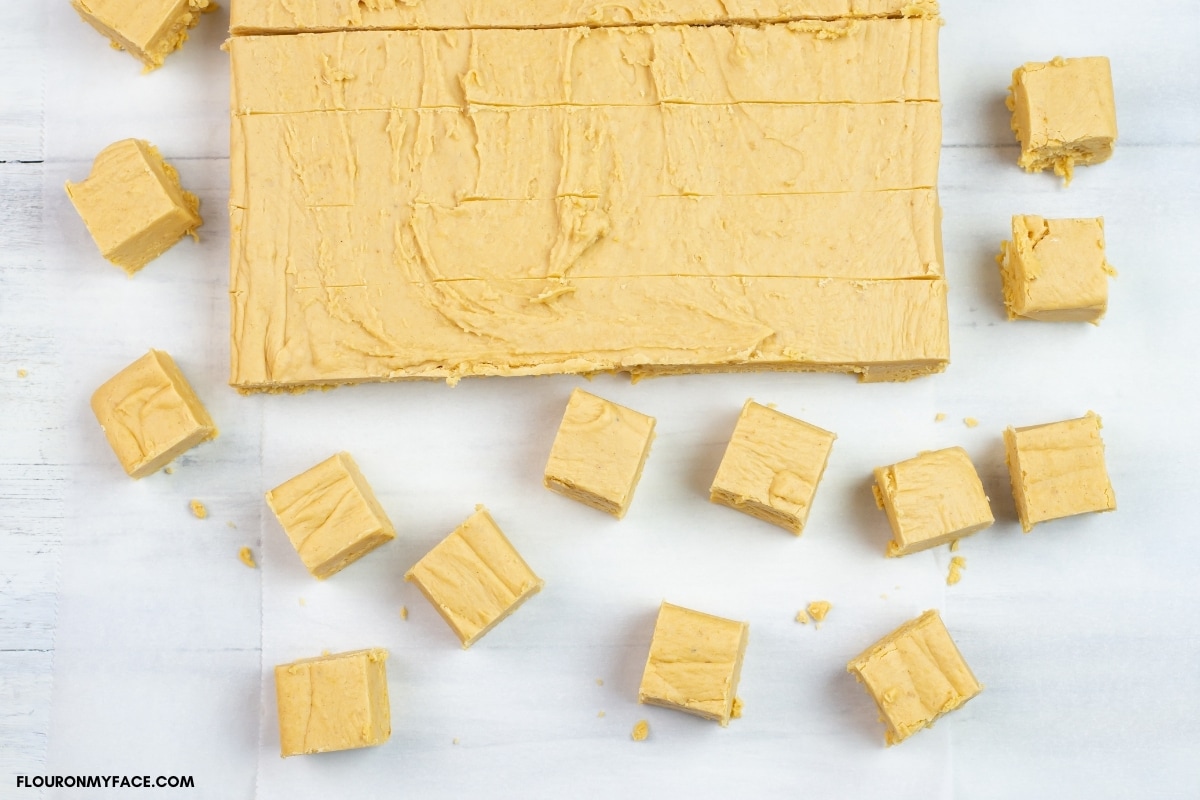
Step 6: Once the fudge is completly cooled it will be firm enough to cut into perfect one inch squares. Lift the fudge from the pan by the edges of the parchment paper. Place the pumpkin fudge down on a table or counter. Use a large sharp knife to cut the fudge into 1 inch squares.
Step 7: Store in an airtight container. Fudge can be packaged and shipped and makes a great holiday gift.
Recipe FAQs
A candy thermometer is a must have tool when making homemade fudge. You will need to use a candy thermometer or an instant read thermometer to check the temperature of the fudge ingredients as they cook to make sure they reach the soft ball stage. The fudge ingredients need to reach 234 degrees Fahrenheit or the fudge will be too soft to set up as it cools.
I always wait overnight for my fudge to cool before cutting it into small 1 inch squares.
The most important factor is to make sure your fudge is completely cool and hardened before trying to cut it into small squares. Use a large sharp knife and use a ruler to mark one inch rows on the block of fudge. Cut through each row and then cut each row into 8 one inch squares. Occasionally clean the knife by rinsing with warm water and wiping it off.
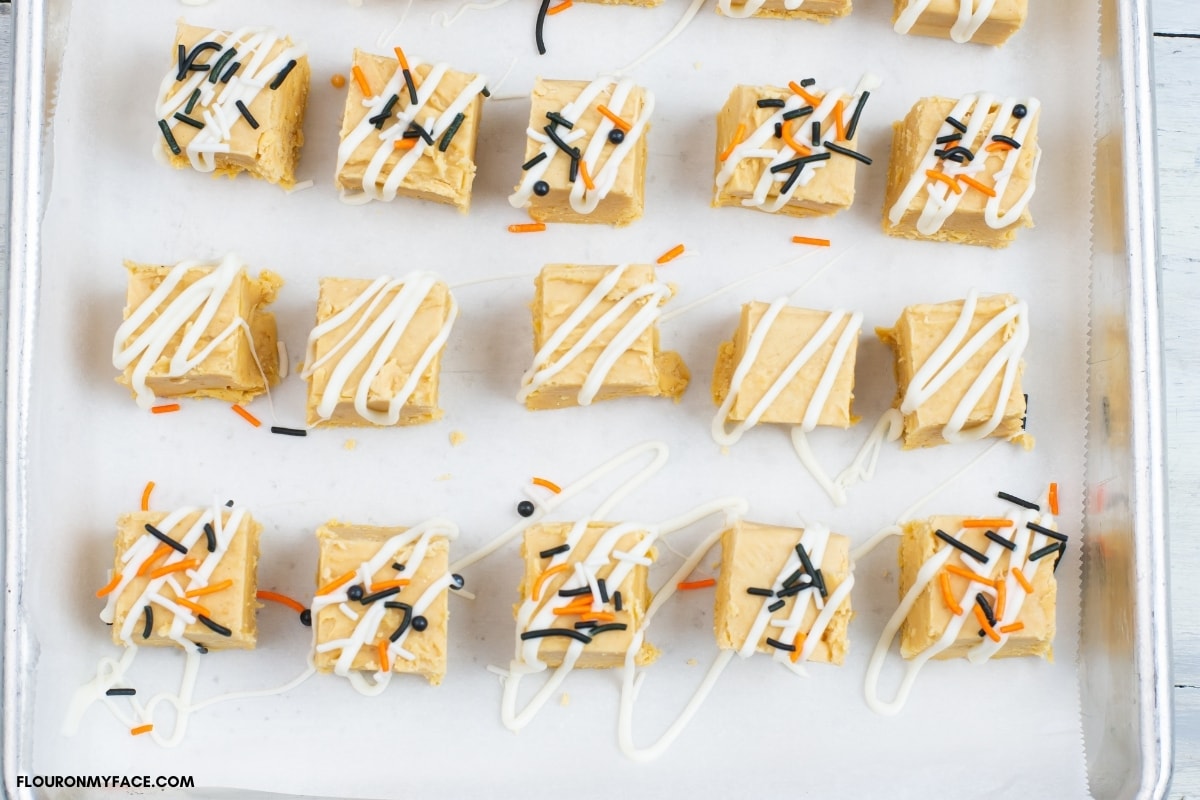
You can decorate homemade fudge for the holidays by drizzling melted chocolate and then sprinkling with holiday colored sprinkles or non perils for a festive presentation.
Store homemade fudge in an air tight container to keep it fresh and prevent the squares from getting damaged.
📌Pro Fudge Tips
- The softball stage is the most important stage when making homemade fudge. If the fudge ingredients don't reach the right temperature the fudge will fail.
- This is why a candy thermometer is the most important tool when making fudge. The fudge ingredients must reach 234 degrees.
- Store homemade fudge in an air tight container to keep it fresh and prevent the squares from getting damaged.

How To Cut Homemade Fudge
I see a lot of info out there about how long you should wait before cutting homemade fudge and I am always skeptical when I see someone say 2 hours.
That might be true if where you live it is freezing cold in your house.
If you want to cut homemade fudge and have beautiful straight uniform edges wait until the fudge has hardened overnight.
I have a funny story about fudge making from before I started food blogging.
I don't know...... about 6 or 7 years ago I decided I wanted to make some fudge for Christmas. I do a lot of baking at Christmas time.
Some years I make food gifts for friends and neighbors. I always make cookies and honestly most people don't bake and make homemade things like I do so my friends and family really appreciate homemade food items at the holidays.
I have been hosting a cookie exchange for years. I allow homemade candy at my cookie exchange and holiday flavored fudge is perfect to bring to a cookie exchange.
My all time favorite Christmas cookie are these Cherry Blossom Chocolate Kisses that I make every year.
Decorating Homemade Fudge
Decorating homemade fudge like this White Chocolate Pumpkin Fudge recipe for the holidays is very easy to do.
- My favorite way to decorate holiday goodies is to use melted chocolate and holiday colored sprinkles.
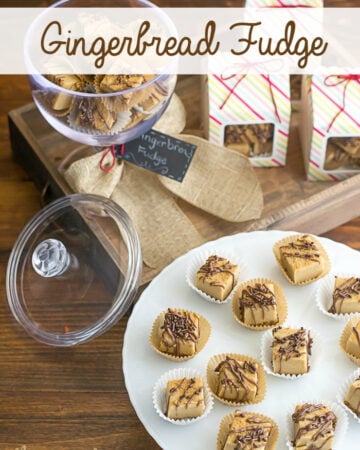
- To decorate this pumpkin fudge I melted white chocolate chips in a small plastic bag and drizzled it over the fudge squares. I then sprinkled it with orange, black and white sprinkles.
Back to the funny fudge story
I found a fudge recipe in one of my cook books or magazines and made the first batch of fudge. Tasted it and had my daughter Megan taste it.
The fudge was good but it just was not the texture I had remembered from when I was young and my mother had made some fudge around the holidays.
So I found another fudge recipe and made it. Same thing happened. The fudge was good but not what I remembered.
So to make a long story short I made about 6 different batches of fudge and never found the "right" recipe.
But Megan and I sampled every one of those batches of fudge.
Finally I had to stop making fudge. I was sick of tasting and not finding the "right" recipe and Megan and I gained about 5 pounds each.
When she saw that I was making fudge again she said "Oh No!" not again.
Well, it's been so long now I am not sure what the fudge texture was that I was looking for and I have made some really great flavors of homemade fudge since.
More Pumpkin Recipes
This creamy, indulgent homemade white chocolate pumpkin fudge is the perfect way to make your home feel festive this holiday season.
The combination of pumpkin and white chocolate creates a unique flavor that can't be beaten, making it the perfect dessert for any gathering.
Not only is this fudge delicious, but it's incredibly simple to make with minimal time and ingredients.
From start to finish, you can make a big batch of this delectable fall treat in less than an hour and enjoy every last piece.
So grab your ingredients, and get ready to experience a traditional favorite with a delightful twist while celebrating the flavors of autumn.
After making this tasty treat for yourself or to share with others, you'll see just how easy and flavorful homemade white chocolate pumpkin fudge really is!
So go ahead and give it a try today - you won't regret it!
Print the recipe below
Email questions or recipe requests to flouronmyface@gmail.com. Follow me on Pinterest, YouTube, Instagram and Facebook.
White Chocolate Pumpkin Fudge
Ingredients
- 3 cups granulated white sugar
- ¾ cup salted butter
- ⅔ cup evaporated milk
- ½ cup pure pumpkin puree
- 2 tablespoons light corn syrup
- 1 teaspoon ground pumpkin pie spice
- 12 oz white chocolate chips
- 7 oz marshmallow fluff
- 1 teaspoon vanilla extract (I used my homemade vanilla extract)
Instructions
- Line an 8×8 inch square pan with parchment paper, leaving an inch or two overhang on all sides.
- Melt the butter in an sauce pan over medium heat.
- Add the white sugar, evaporated milk, corn syrup, pumpkin puree and pumpkin pie spice to the melted butter in the sauce pan. Stir with a wooden spoon to combine.
- Cook over medium-high heat, stirring constantly until the soft balled stage is reached. Soft ball stage is reached when the mixture has reached 234 degrees Fahrenheit. Check the temperature frequently with a candy or an instant thermometer.
- Once the mixture has reached 234 degrees remove the pot from the heat and add the white chocolate chips, the marshmallow fluff and the vanilla extract to the saucepan. Stir the fudge ingredients together with a wooden spoon to mix in the marshmallow fluff and to melt the white chocolate chips.
- Stir until there are no streaks and the vanilla chips are melted. Work quickly or the fudge will stiffen and be difficult to spread into the 8 x 8 pan.
- Carefully scoop the fudge into the prepared pan and smooth the top as much as possible with the back of your spoon.
- Allow the fudge to cool and set up for at least 4 hours or overnight is best, before cutting.
- Once the fudge is complexly cooled it will be firm enough to cut into perfect one inch squares. Lift the fudge from the pan by the edges of the parchment paper. Place the pumpkin fudge down on a table or counter. Use a large sharp knife to cut the fudge into 1 inch squares.
- Store in an airtight container. Fudge can be packaged and shipped and makes a great holiday gift.
Recipe Expert Tips
- heavy-bottomed stainless steel saucepan
- 8 x 8 inch square pan
- parchment paper
- candy thermometer or quick read thermometer
- wooden spoon or silicone spatula
- sharp knife
- The softball stage is the most important stage when making homemade fudge.
- Store homemade fudge in an air tight container to keep it fresh and prevent the squares from getting damaged.





Jen
Hi there, do u think I can substitute maple syrup for the corn syrup?
Arlene Mobley
Jen
That is a great idea to add a maple flavor. It should work.
Sandra
This looks like it's fun to eat and I love your presentation.
Christine's Pantry
I love fudge. Your fudge looks wonderful. Yum!
Aimee
I am obsessed with fudge!!! Your white chocolate fudge looks amazing 🙂
Aimee @ ShugarySweets