Are you looking for a way to preserve fresh apples and avoid food waste, stock the pantry or make homemade dried fruit snacks at home?
Read on to discover our step-by-step guide on how to dehydrate apple slices!
Dehydrating apple slices at home is one of the easiest food dehydrator recipes to preserve fresh fruits so they can be enjoyed for months or years into the future.
Not only is it simple and cost effective, but dehydrated apple slices also make a great addition to your camping trips or hiking expeditions as they are lightweight, and can be used in many of your favorite apple recipes.
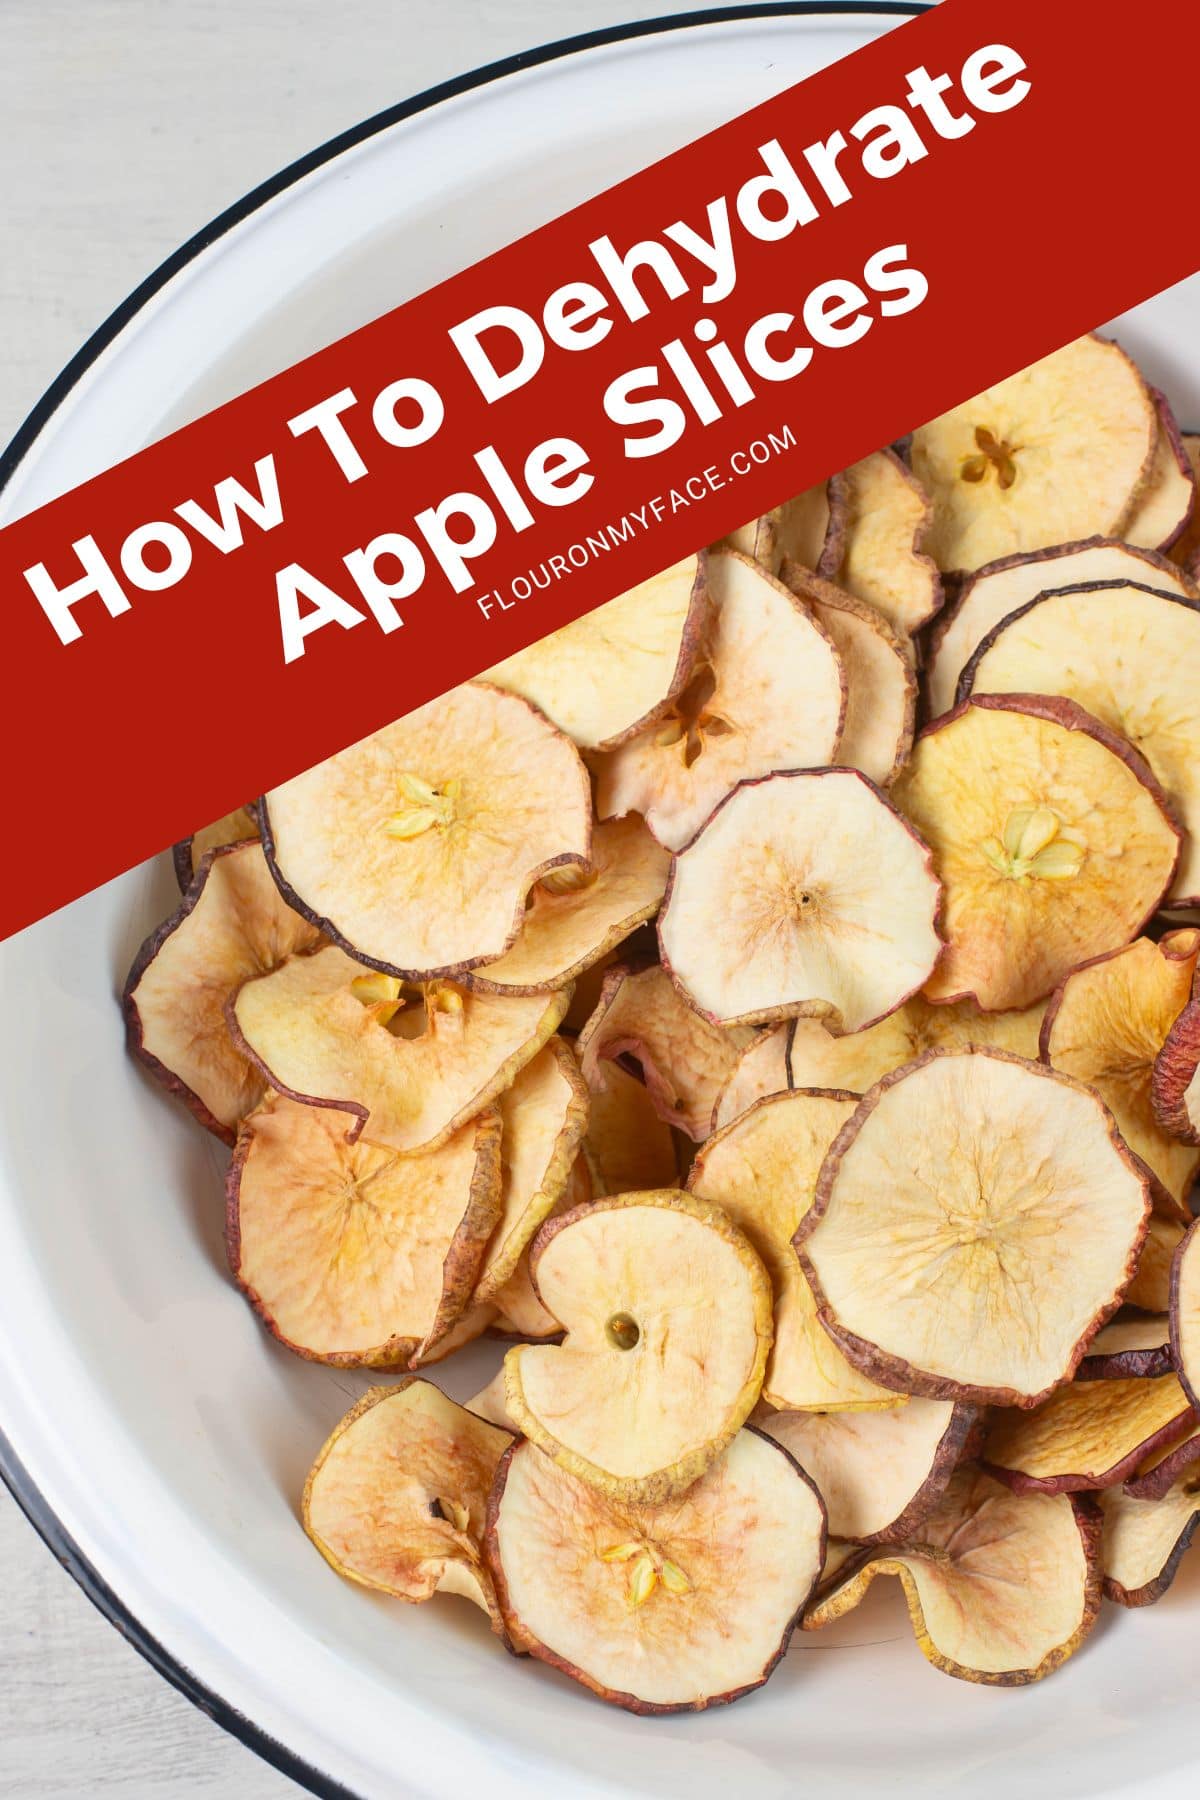
Did you know that you can rehydrate dried apples and use them in your favorite apple recipes just like you would with fresh apples? It's true!
So you can always have the perfect apple on hand, no matter the season.
I like to add dried diced apples to Instant Oatmeal Packets so I always have a quick breakfast on hand.
Are you ready to elevate your apple game? Get ready to make a variety of dehydrated apples that you can use in all sorts of mouthwatering recipes. From crispy apple chips to diced apples perfect for baking, the possibilities are endless!
Now, let's get to the good part - making your own dried apple slices! You have three options: oven drying, air drying, or using a food dehydrator.
Personally, I swear by the food dehydrator method for unbeatable results and that is the method I will be sharing with you today.
It's my go-to choice for drying not just apples, but also for making all sorts of dehydrated fruits, dehydrated vegetables and dehydrated herbs for convenient food storage.
Equipment Needed
To get started, you'll need some equipment.
- Slicing the apples: Make sure to have a sharp paring knife or, a mandolin for quick slicing. Always use caution and follow any safety precautions when using a sharp knife or mandolin.
- a cutting mat or wooden cutting board to protect your work surface
- a large bowl to soak the apples in the pretreatment solution
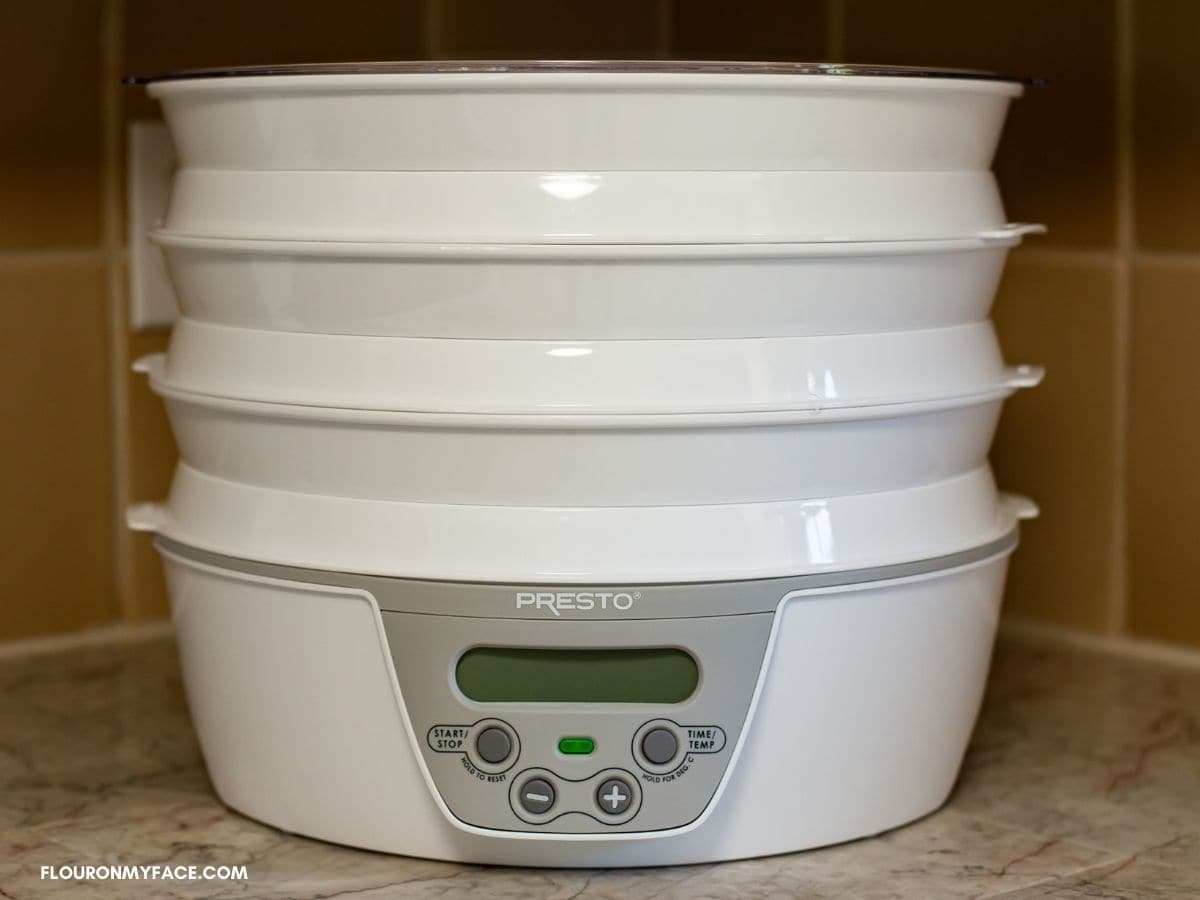
- a food dehydrator with silicone or plastic mesh tray liners
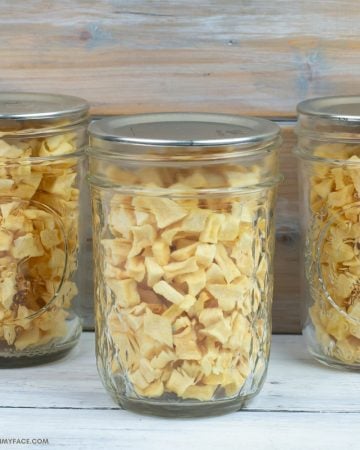
- storage for the dried apples: glass mason jars, airtight plastic food grade containers, vacuum seal bags, or Mylar bags are all good storage options for dried fruit.
Recipe Prep
- Wash the apples well in cold water
- Prepare the pretreatment mixture according to the instructions on the container.
- If you're using lemon juice, mix it with water in a fifty-fifty solution.
Dried Apple Slices Ingredients
When it comes to choosing the right apple variety for drying, go for something fresh and delicious that you already love to eat.
Whether you prefer a tart Granny Smith or a sweet Gala, drying apples will intensify their flavors, making them even more delicious.
Below is a quick look at the ingredients and directions. You can find the entire ingredient amounts and step by step directions in the recipe card below. P. S. You can also save your favorite recipes to your personal recipe box! ⬇️
👇See the step by step directions below!
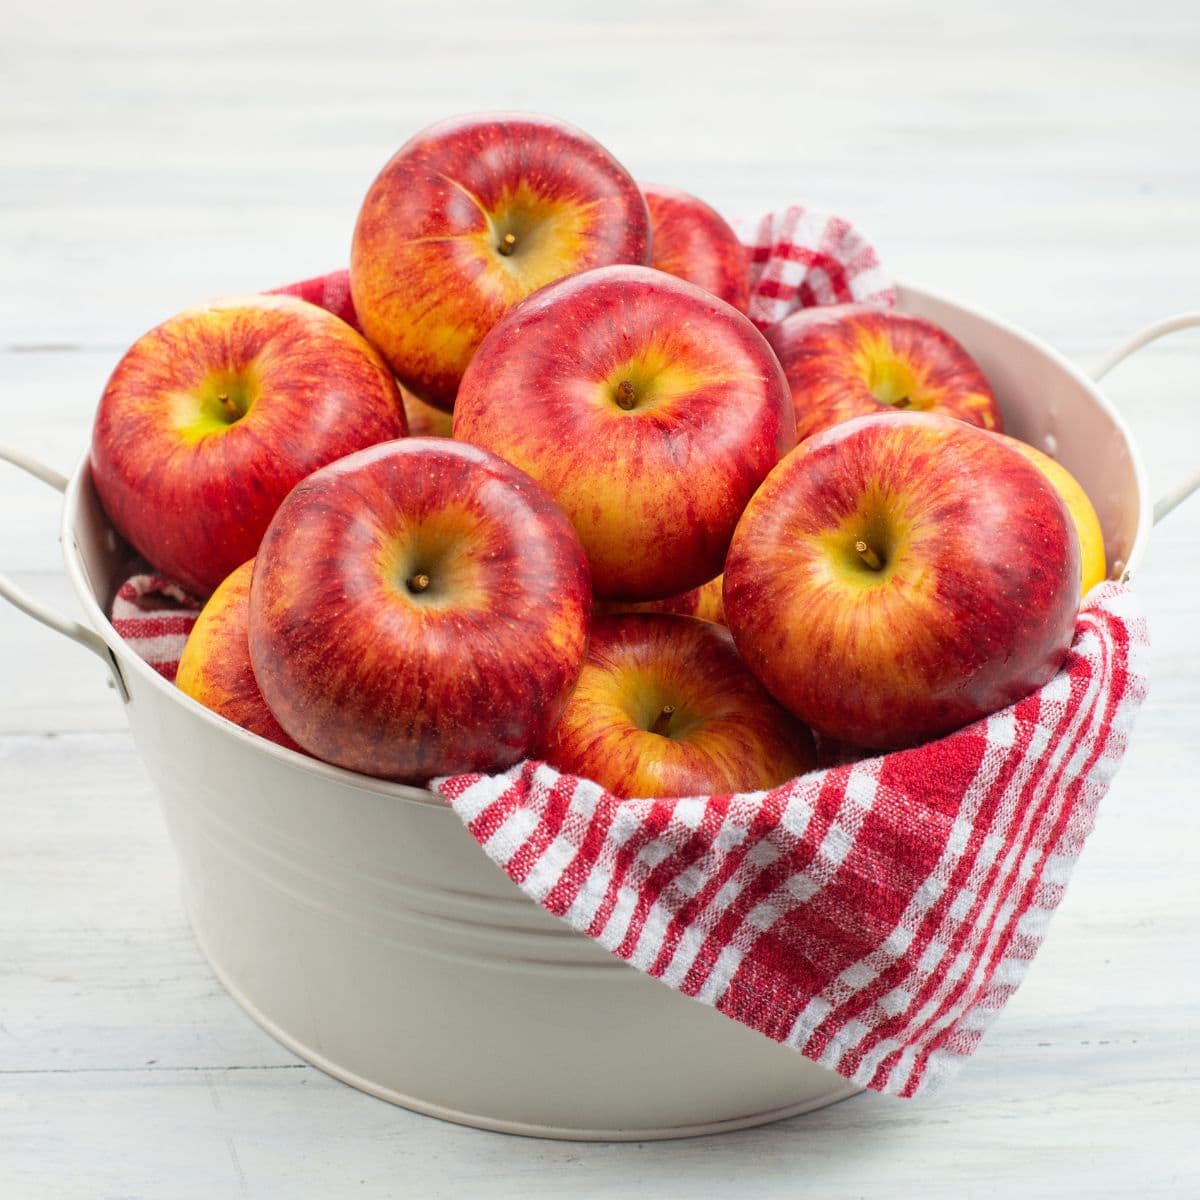
- apples: any variety of apple can be used. pick a favorite apple variety you love. Or mix it up and dry a couple of different apple varieties.
- water: a clean sink or plastic tub filled with cold water to wash and rinse the apples clean.
- Fruit Fresh or lemon juice: this is an optional step but if you don't pretreat the apple slices they will turn a very dark brown color as they dry.
- ground cinnamon (optional if you'd like to make cinnamon apple slices)
Step by Step Directions
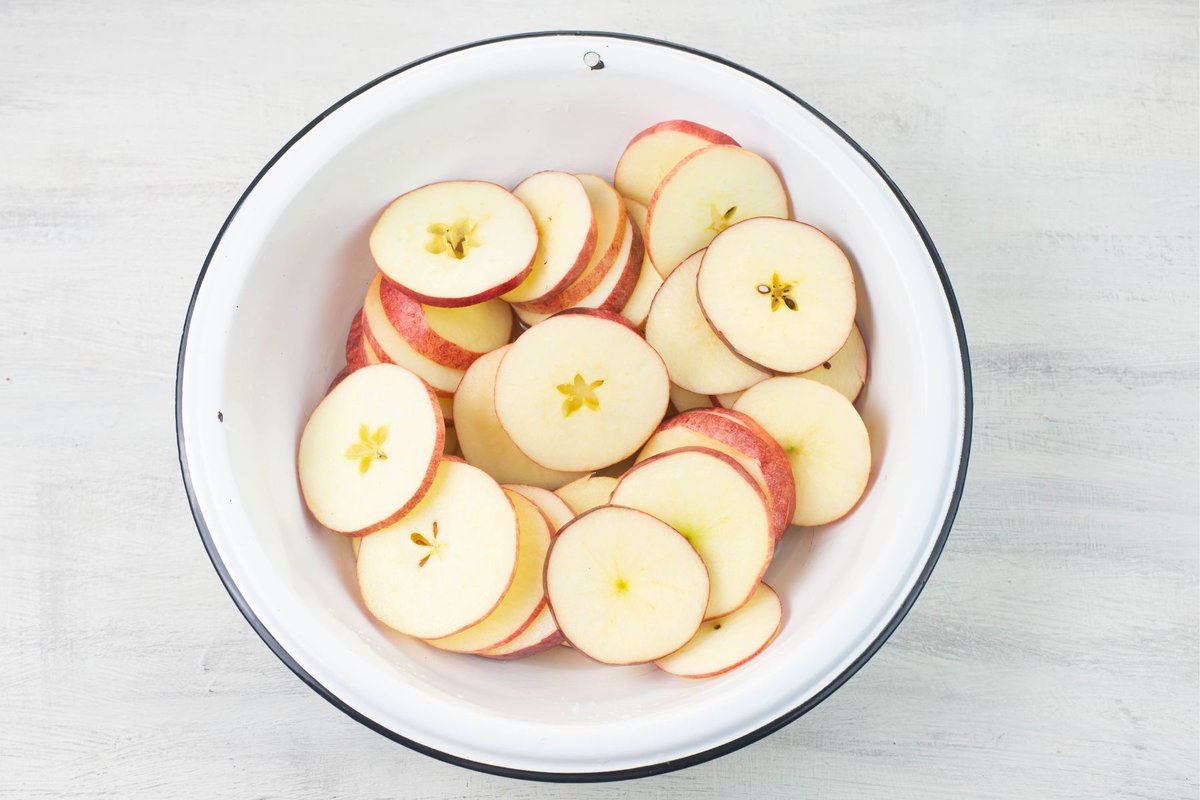
- Step 1: Slice the apples into thin ¼ inch thick slices. As you slice the apples put the slices into the bowl of pretreatment solution. Repeat until all of the apples have been sliced and dipped.
- Step 2: Arrange the apple slices on dehydrator trays that have been lined with mesh tray liners.
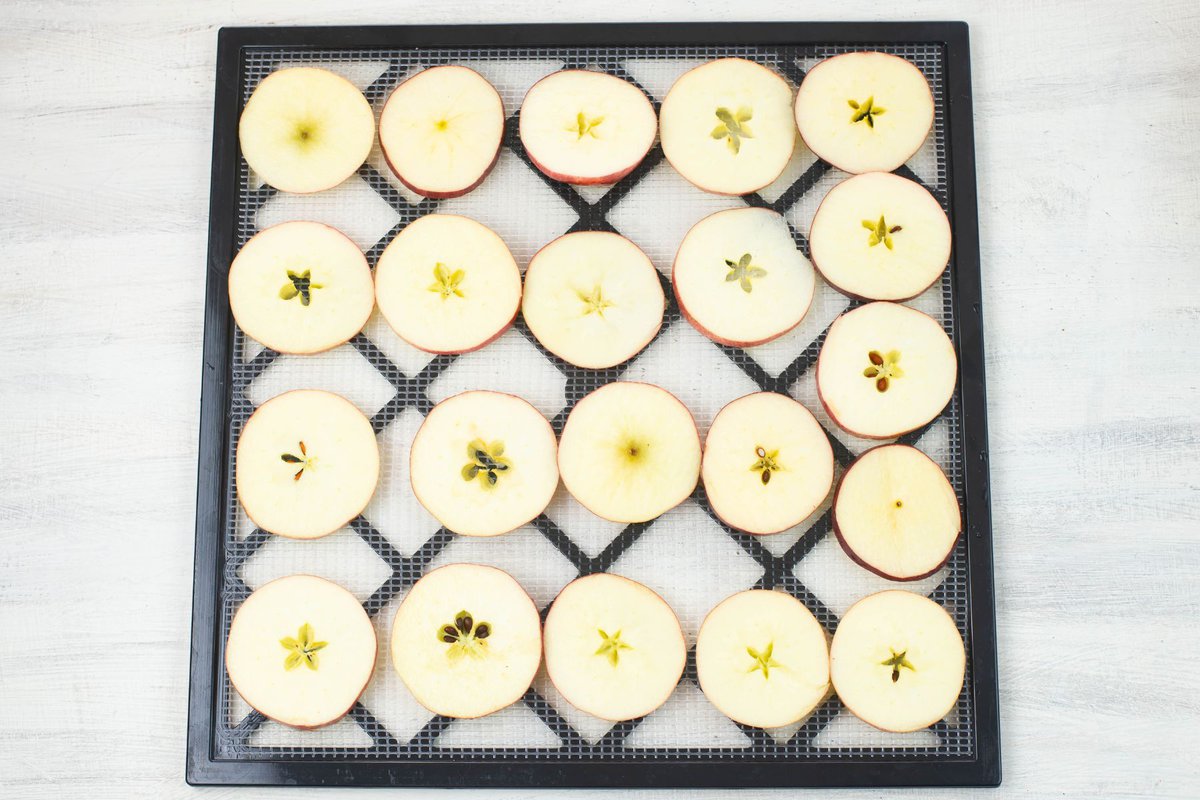
- Step 3: Place the dehydrator trays into the dehydrator. Set the temperature to 135°F and let the magic happen for 6 to 8 hours. If your model doesn't have an adjustable temperature just turn the dehydrator on.
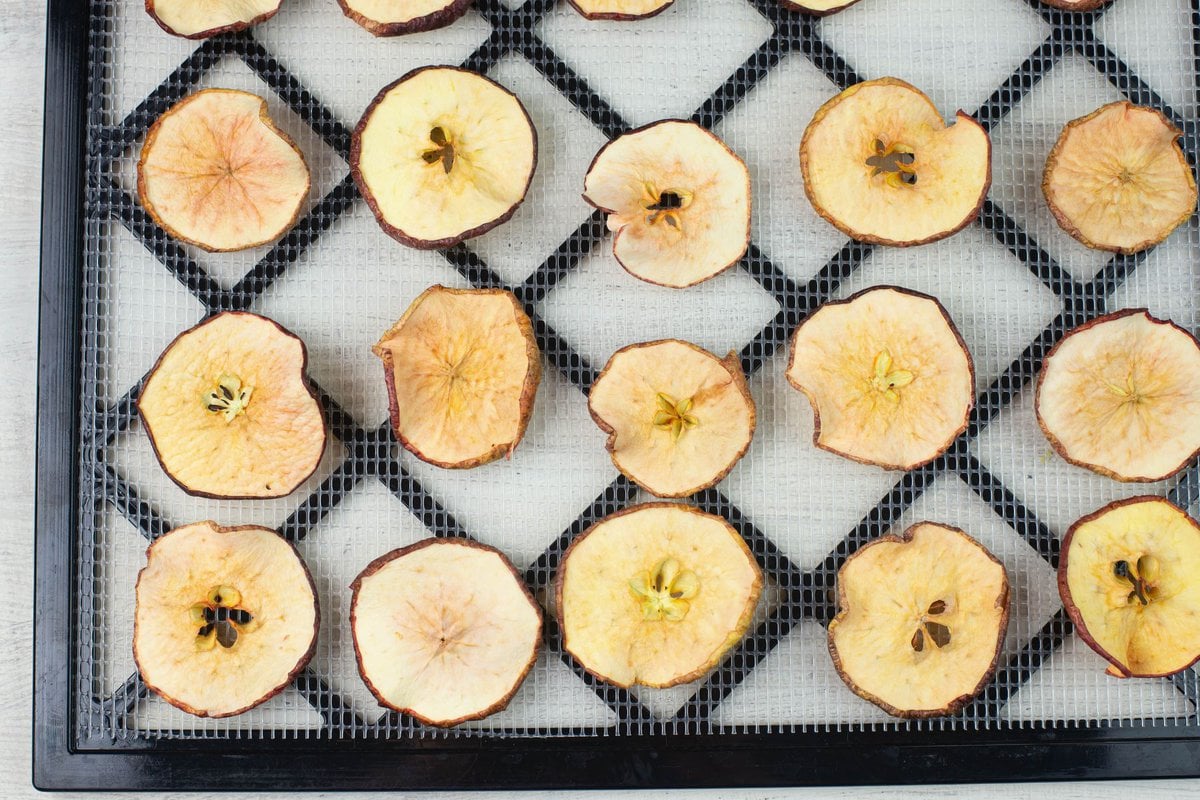
And voila! You've made your very own batch of delicious dried apple slices.
It's time to enjoy them however you like - in recipes, as a snack, or even as a decorative touch.
So go ahead, get creative and savor the sweet or tart flavors of these delightful dried treats. Happy dehydrating!
How do you know when the apples are done?
Dehydrated apple slices are done when they feel leathery but pliable. If you can fold them in half without them snapping or breaking, they're likely ready.
However, personal preference can play a part too; some people prefer them crispier, almost like apple chips, while others prefer them softer and chewier.
Always allow them to cool before testing as they will harden slightly. Dried apple slices will feel dry to the touch and pliable when they are done. If they feel damp or mushy they are not done. Return them to the dehydrator and continue to dry them for an hour more before checking them again.
Storing Dried Apple Slices
Want to know the secret to keeping your dried apple slices fresh and delicious? Here's the scoop: after you've dehydrated them, give them about 30 minutes to cool down.
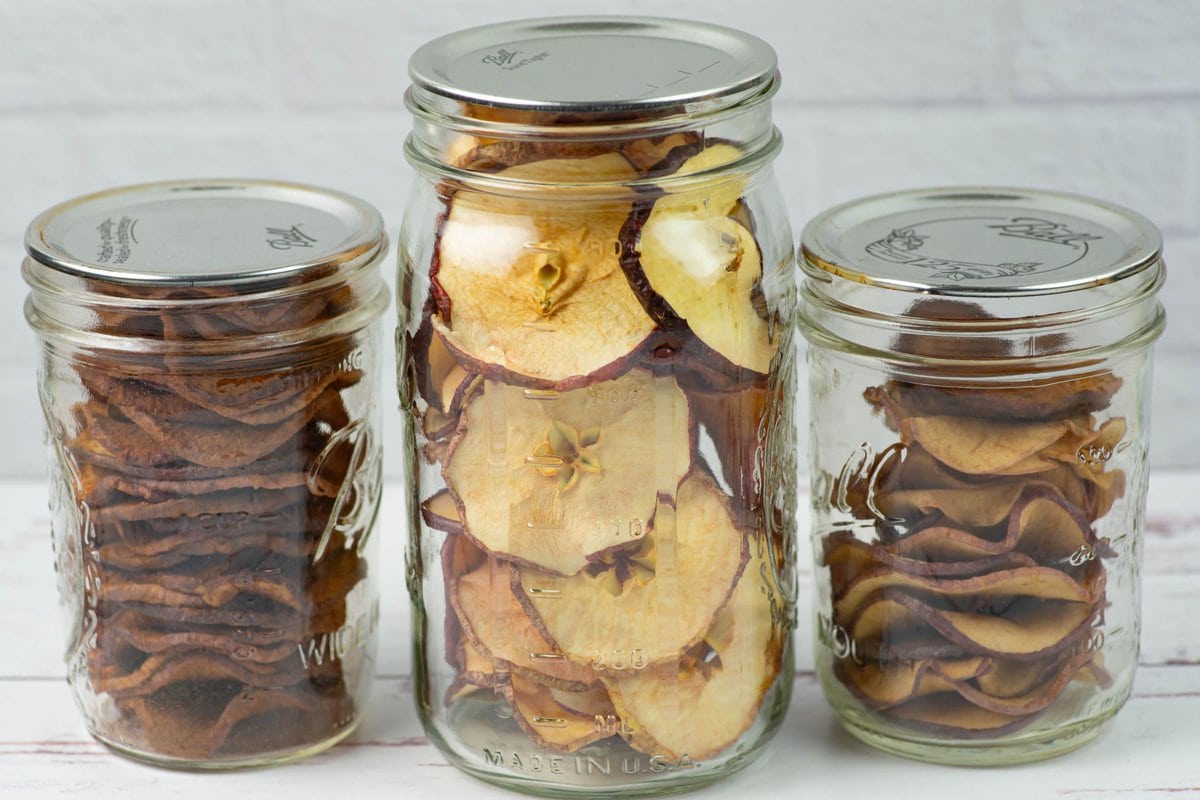
Then, pop them into airtight containers, jars, or bags. Keep them away from sunlight and in a dry cabinet for the best preservation.
If you really want to maximize their shelf life, add an oxygen absorber to the container. As long as you store them in a cool, dark, and dry spot, they'll stay tasty for a long time.
Just make sure to check on them every month or so to be sure they haven't gotten moist or spoiled. Enjoy your apple slices!
Serving Suggestions
Now, what can you do with these delicious dried apple slices or dehydrated diced apples? The possibilities are endless!
Use them for food storage, take them on your next camping trip for a quick and healthy snack, add them to your favorite apple recipes for a burst of apple goodness, or even use them as decorations.
The choice is yours!
Reconstituted dried apples can be used in any apple recipe.
Recipe FAQS
Apples should be sliced thinly for dehydrating. A sharp knife or a mandolin is the easiest way to make thin apple slices for drying.
There are many factors that come into play when it comes to dehydrating apples. The average time it will take is 6 to 8 hours. Living in a high humidity climate can add a few hours onto the drying time.
The recommended time to dehydrate fruit is 135 F. degrees. This is just a suggested temperature. Apple slices can be dried as low as 95 F. degrees but the time it will take to properly dry them will be much longer. Some dehydrators have a set temperature that is much higher than 135 F. degrees. The apples will still dehydrate very well but will take much less time and you should keep a close eye on them.
📌Pro Dehydrating Tips
- how many dried apple slices?: I started with 2 bags of apples. The amount of dried fruit will depend on how many apples you start with and how thinly you slice them.
- slicing the apples for drying: the thinner you slice them the faster they will dry.
- flipping the apple slices: if you sliced the apples unevenly flipping them over every couple of hours will help them dry evenly.
- conditioning dried apple slices: conditioning dried fruits is a helpful step to make sure the fruit has dried completely. Fill a glass jar half way with dehydrated apple slices. Place a tight lid on. Set the jar on a counter away from direct light for 24 to 48 hours. Occasionally check the jar to see if any moisture is forming on the inside of the jar. If you see any moisture return the apple pieces to the dehydrator and dry for an hour or two longer. Repeat the conditioning steps.
- storing dried fruit: homemade dried fruit should be stored in a airtight container. Baggies are not a suitable storage option for long term storage. If making for snacks that will be eaten within the week a bag will work.
- how long will they last? dehydrated apple slices can last years if they are stored properly for long term storage.
Make It!
Making dehydrated apple slices is a great way to enjoy the deliciousness of apples without worrying about spoilage.
They’re incredibly easy to make and can be enjoyed in so many ways—from adding them to breakfast recipes to simply snacking on them alone or with a nut butter of your choice.
Plus, you get all the benefits of raw apples without having to worry about them going bad before you can eat them all! If you’ve never made this delicious treat before, give it a try today—you’ll be doing your taste buds (and pocketbook) a favor.
With just some fresh apples and a dehydrator, you'll have yourself some sweet homemade snacks within minutes.
So let's get started - take out those apples and get slicing!
Who knows - after trying this recipe, you could find yourself hooked on these delectable dried fruit treats for good!
More Dried Fruit Recipes
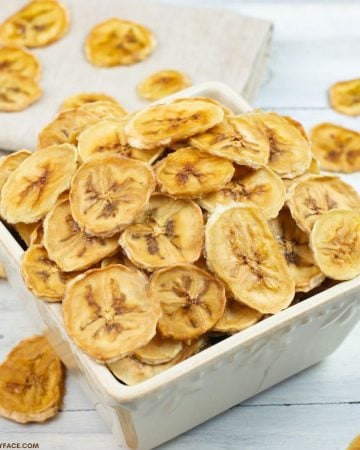
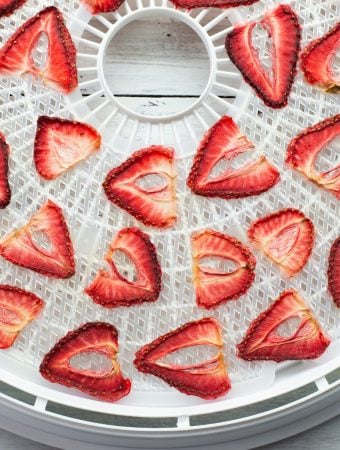
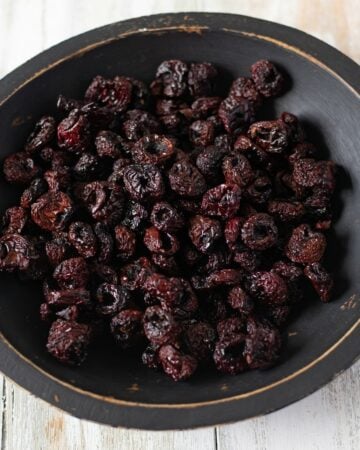
Craving more fruity goodness? 🍓Explore my collection of delectable dried fruit recipes that will add a burst of flavor to your day!

⭐Leave a Star Rating
Have you tried the recipe? Leave a star rating in the recipe card below to let me know how the recipe turn out.
Email questions or recipe requests to flouronmyface@gmail.com. Follow me on Pinterest, YouTube, Instagram and Facebook.
How To Dehydrate Apple Slices
Equipment
Ingredients
- 8 lbs. apples (¼ inch slices)
- 6 cups water (to wash the apples)
- 2 tablespoons Fruit Fresh or lemon juice (adjust according to how many apples you will dehydrate)
- 1 tablespoon ground cinnamon (optional if you'd like to make cinnamon apple slices)
Instructions
Recipe Prep
- Wash the apples well in cold water.
- Prepare the pretreatment mixture according to the instructions on the container.
- If you're using lemon juice, mix it with water in a fifty-fifty solution.
Slicing the apples
- Carefully use a sharp knife or a mandolin to slice the apples into ¼ inch thick slices.
- As you slice the apples put the slices into the bowl of pretreatment solution. Repeat until all of the apples have been sliced and dipped.
- Arrange the apple slices on dehydrator trays that have been lined with mesh tray liners.
- Place the dehydrator trays into the dehydrator. Set the temperature to 135°F and let the magic happen for 6 to 8 hours. If your model doesn't have an adjustable temperature just turn the dehydrator on.
- Once done allow the apple slices to cool before storing.
- Store the dehydrated apple slices in an airtight container.
- Makes: the amount of dried apple slices you make will depend on how many apples you started with.
Recipe Expert Tips
- how many dried apple slices?: I started with 2 bags of apples. The amount of dried fruit will depend on how many apples you start with and how thinly you slice them.
- slicing the apples for drying: the thinner you slice them the faster they will dry.
- flipping the apple slices: if you sliced the apples unevenly flipping them over every couple of hours will help them dry evenly.
- conditioning dried apple slices: conditioning dried fruits is a helpful step to make sure the fruit has dried completely. Fill a glass jar half way with dehydrated apple slices. Place a tight lid on. Set the jar on a counter away from direct light for 24 to 48 hours. Occasionally check the jar to see if any moisture is forming on the inside of the jar. If you see any moisture return the apple pieces to the dehydrator and dry for an hour or two longer. Repeat the conditioning steps.
- storing dried fruit: homemade dried fruit should be stored in a airtight container. Baggies are not a suitable storage option for long term storage. If making for snacks that will be eaten within the week a bag will work.
- how long will they last? dehydrated apple slices can last years if they are stored properly for long term storage.





Leave a Reply