

I had a request for a Sweet Dinner Roll Recipe the other day.
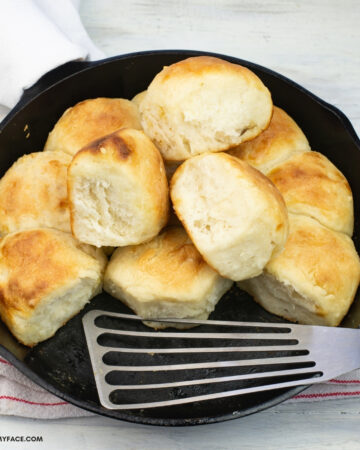
I made these rolls on Thanksgiving. I have made these rolls every Thanksgiving since 2001.
They are so good and my family loves them.
I found a dinner roll recipe on the internet years ago and tweaked it. The dough can be made in a bread machine or the old-fashioned way. I've made this sweet dinner roll recipe both ways and it turns out delicious every time.
Sweet Dinner Roll Ingredients
- ½ cup warm water
- ½ cup warm milk
- 1 egg
- ⅓ cup softened butter
- ⅓ cup sugar
- 1 teaspoon salt
- 2 cups all-purpose flour
- 1 ¾ cup bread flour
- 1 package active dry yeast
- ¼ cup butter
SWEET DINNER ROLL DIRECTIONS FOR BREAD MACHINE
- Place water, milk, egg, ⅓ cup softened butter, sugar, salt, flour, and yeast in the pan of a bread machine in the order recommended by the manufacturer. Select Dough/Knead and first rise cycle.
- When cycle finishes, turn dough out onto a lightly floured surface. Divide dough in half. Cut that half in half and continue cutting each half in half with a bench scraper or knife until you have about 8 to 10 pieces.
- It will depend on how carefully you divided the dough, to begin with, how many pieces you will get from each half. If you like to have all of your dinner rolls exactly the same size you can use a scale as you divide the dough to make sure each piece weighs the same.
- Form your dinner rolls by stretching each dough ball from around the edge of each ball and pulling it into the center at the bottom of the dough ball tightly. Place each roll on a lightly greased cookie sheet. You should get about 16 rolls from all of the dough. If not don't worry about it. As long as the rolls are about the same size they will all cook evenly.
- Cover with a clean dish towel and let rise in a warm place for about an hour.
DIRECTION FOR SWEET DINNERS ROLLS IN THE OVEN WITHOUT A BREAD MACHINE
- Place all the dry ingredients in a medium-sized bowl and whisk to incorporate all ingredients.
- Measure milk, water and ⅓ cup of butter into a small bowl and warm in the microwave until the butter is melted about 20 to 30 seconds
- Pour wet ingredients into the dry. Add the egg and mix with a wooden spoon until everything is nice and incorporated. Turn out onto a lightly floured counter and knead for about 10 minutes. Add flour as needed. Humidity affects all dough and you may need to add more flour. You want a nice elastic piece of dough. You don't want it to be sticky. If after ten minutes it is still sticky sprinkle with more flour and kneads for another minute or two.
- Put dough into a lightly greased bowl and let rise until doubled, about an hour.
- Continue with step 2 above, cutting and forming your rolls.
- After the formed dinner roll dough has risen for about an hour and your rolls have doubled in size melt the remaining ¼ cup of butter and brush over the rolls.
- Preheat oven to 400 degrees. Bake dinner rolls in the preheated oven for 10 to 15 minutes. Each oven is different. You should check out the rolls after about 10 minutes. If they are evenly browned they are done. If they are only lightly browned at 10 minutes bake them for another five minutes.
Recipe Expert Tips
- Prep time: Prep time is an estimate and will depend on which recipe you make.
- How many rolls: It will depend on how carefully you divided the dough, to begin with how many pieces you will get from each half. If you like to have all of your dinner rolls exactly the same size you can use a scale as you divide the dough to make sure each piece weighs the same.
- Rising Time: The rising time will depend on a number of things. Which method you are using to make this recipe. How hot or cold it is in your house. The temperature and humidity of where you live.
- Baking times: These rolls will be golden brown and ready to eat in 10 to 15 minutes. Ovens vary so check the rolls after about 10 minutes and rotate the pan at the same time.
Email questions or recipe requests to flouronmyface@gmail.com. Follow me on Pinterest, YouTube, Instagram and Facebook.
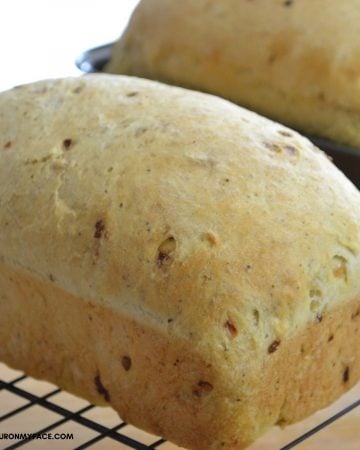
More homemade bread recipes
Check out some of these homemade bread and biscuit recipes.
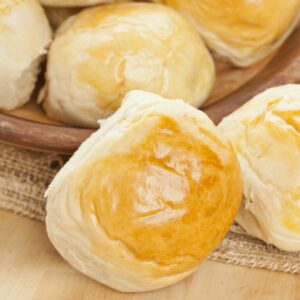
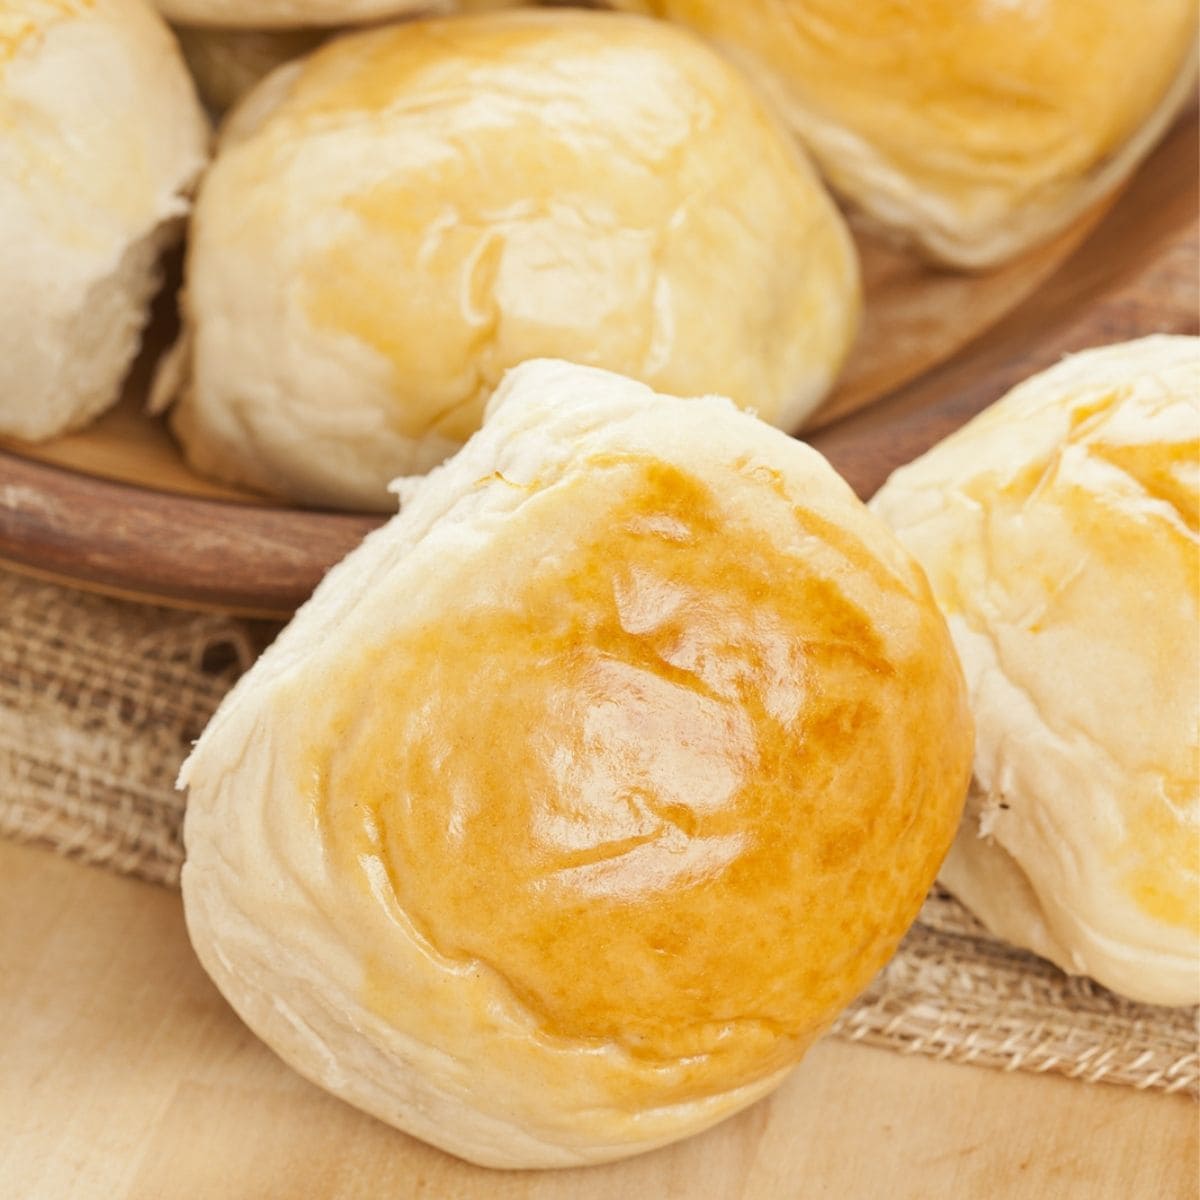
Homemade Sweet Dinner Rolls
Homemade Sweet Dinner Rolls are the best tasting dinner rolls. They are tender with a slightly sweet flavor. You can make the dough in a bread maker or make them in a bowl. The rolls are baked in the oven using both a bread maker instructions or the mix and rise method.
Rate this Recipe
Ingredients
- ½ cup warm water
- ½ cup warm milk
- 1 large egg
- ⅓ cup softened butter
- ⅓ cup sugar
- 1 teaspoon salt
- 2 cups all-purpose flour
- 1 ¾ cup bread flour
- 1 package active dry yeast ((2 ¼ teaspoon of active dry yeast))
- ¼ cup butter
Instructions
Sweet Dinner Roll Directions for Bread Machine
- Place water, milk, egg, ⅓ cup softened butter, sugar, salt, flour, and yeast in the pan of a bread machine in the order recommended by the manufacturer. Select Dough/Knead and first rise cycle.
- When cycle finishes, turn dough out onto a lightly floured surface. Divide dough in half. Cut that half in half and continue cutting each half in half with a bench scraper or knife until you have about 8 to 10 pieces. (see notes)
- Shape the dinner rolls by stretching each dough ball piece around the edge of the ball and pulling it into the center at the bottom of the dough ball tightly. Place each roll on a lightly greased cookie sheet. You should get about 16 rolls from all of the dough. If not don't worry about it. As long as the rolls are about the same size they will all cook evenly.
- Cover with a clean dish towel and let rise in a warm place for about an hour.
Direction for Sweet Dinners Rolls in the oven without a Bread Machine
- Place all the dry ingredients in a medium-sized bowl and whisk to incorporate all ingredients.
- Measure milk, water and ⅓ cup of butter into a small bowl and warm in the microwave until the butter is melted about 20 to 30 seconds
- Pour wet ingredients into the dry. Add the egg and mix with a wooden spoon until everything is nice and incorporated. Turn out onto a lightly floured counter and knead for about 10 minutes. Add flour as needed. Humidity affects all dough and you may need to add more flour. You want a nice elastic piece of dough. You don't want it to be sticky. If after ten minutes it is still sticky sprinkle with more flour and kneads for another minute or two.
- Put dough into a lightly greased bowl and let rise until doubled, about an hour.
- Continue with step 2 above (bread maker directions), cutting and forming your rolls.
- Preheat oven to 400 F. degrees before the next step.
- After the shaped dinner roll dough has risen for about an hour and your rolls have doubled in size melt the remaining ¼ cup of butter and brush over the rolls.
- Bake the dinner rolls in the preheated oven for 10 to 15 minutes. Each oven is different. You should check out the rolls after about 10 minutes. If they are evenly browned they are done. If they are only lightly browned at 10 minutes bake them for another five minutes.
- Keep the rolls warm before serving.
Recipe Expert Tips
- Prep time: Prep time is an estimate and will depend on which recipe you make.
- How many rolls: It will depend on how carefully you divided the dough, to begin with how many pieces you will get from each half. If you like to have all of your dinner rolls exactly the same size you can use a scale as you divide the dough to make sure each piece weighs the same.
- Rising Time: The rising time will depend on a number of things. Which method you are using to make this recipe. How hot or cold it is in your house. The temperature and humidity of where you live.
- Baking times: These rolls will be golden brown and ready to eat in 10 to 15 minutes. Ovens vary so check the rolls after about 10 minutes and rotate the pan at the same time.
Nutrition
Serving: 1RollCalories: 169kcalCarbohydrates: 27gProtein: 4gFat: 5gSaturated Fat: 3gTrans Fat: 1gCholesterol: 23mgSodium: 192mgPotassium: 55mgFiber: 1gSugar: 5gVitamin A: 154IUVitamin C: 1mgCalcium: 21mgIron: 1mg
Tried this recipe?Share a picture on Instagram and tag @flouronmyface2

Beth Ellis
These are "melt in your mouth" dinner rolls. My family LOVES them!!!! Extremely easy using a bread machine. A definite addition to your cook book!
frecklescrafts
Found you at bliss@home. What a cute name for a cooking blog!!! I love to make bread and this sounds like an amazing recipe. Can't wait to try it!
Rebecca
https://www.frecklescrafts.com/blog
Alison
Thanks for linking up to Fridays Unfolded! Hope you'll be back next week.
Blessings,
Alison
Stuff and Nonsense
Mommyof2girlz
Stopping by from Bliss@Home to follow and say hello! Great recipe and thanks for the bread machine directions!
Esther
Wow! Yummy blog! I want to eat the food right off the screen! Great job:)xo
Tanya
Stopping over from Bliss at Home!! Yay! I LOVE baking..so glad to have found you, now following on GFC 🙂
Kristin @ Peace, Love and Muesli
Nothing better than fresh bread. I'm a baker too, though now I'm learning about gluten free baking.
Alison
Visiting from Bliss at Home on FB. This looks to be a great recipe...you should link it up to my Fridays Unfolded at https://www.stuff-and-nonsense.net/2011/01/fridays-unfolded-3.html
Following!