

One of the easiest things you can make at home to save money or just because you want to is homemade soup stock or broth.
Once you've made it if you aren't going to use it all at once freezing it is the best way to make it last longer.
And the best way I have found to freeze it is to use silicone blocks and then vacuum seal the frozen broth to make it last even longer. Let me show you how easy it is to freeze broth for long term storage and have it on hand for your recipes.
I love making homemade turkey broth to use in my favorite soup recipes, like my Cajun 15 Bean Turkey Soup or Three Bean Turkey Soup. I do the same with homemade chicken or vegetable broth.
Starting with a rich, flavorful broth makes homemade soup taste even better. I freeze any broth I am not using right away so I always have some ready when soup is on the menu. Once you see how easy it is you're going to want to start making broth at home too.
Jump to:
- What Equipment You'll Need
- Freezer Cooking for Real Life email series
- Freezer Cooking for Real Life eBook Bundle
- How I like to make broth
- How I like to freeze my homemade broths
- Step by Step Directions to Freeze Broth
- Labeling freezer bags
- Freezer Storage Tips
- How I organize and the labeling system I use for the freezer
- Freezer Meal Labels Mini Bundle 4
- How long does frozen broth last?
- Serving & Final Tips
- ⭐Leave a Star Rating
- How To Freeze Broth
What Equipment You'll Need
These are the supplies I use when I freeze my homemade broths. If you don't have a vacuum sealer you can use freezer bags. Use what you have on hand to get started then upgrade your freezer equipment as needed.
If you really enjoy freezer cooking, which is what I call my method of meal planning by packing my freezer with ingredients that I cook with regularly. It is a good idea to invest in a vacuum sealer if you want your frozen ingredients to last the longest. You can buy a basic model for under $50.
- homemade stock or broth: today I am freezing homemade turkey broth but I also do the same when I make beef bone broth.
- silicone freezer blocks: I bought this 4 piece set of Silicone Freezer Trays with Lids which has two 2 cup and two 1 cup silicone freezer molds. I quickly purchased another set after using them.
- large cookie sheets: these sturdy baking sheets make it easier and less messy to fill and transfer the filled silicone blocks to the freezer.
- vacuum sealer appliance and quart size vacuum sealer bags or zip topped freezer bags. I have an older model of this FoodSaver 2-in-1 Vacuum Sealer Machine and have been using it for about 6 years and love it. I buy these pre-cut quart size vacuum sealer bags in bulk. It is my preferred size that I use.
- plastic freezer organizer bins: I also use these clear plastic bins to help keep my freezer organized.
Freezer Cooking for Real Life email series
Don't want to join the email series? You can find all the info in my eBook where I share everything in my 6 day email series plus much much more if you want to learn about my very easy and doable freezer cooking for real life method. Plus the freebies.
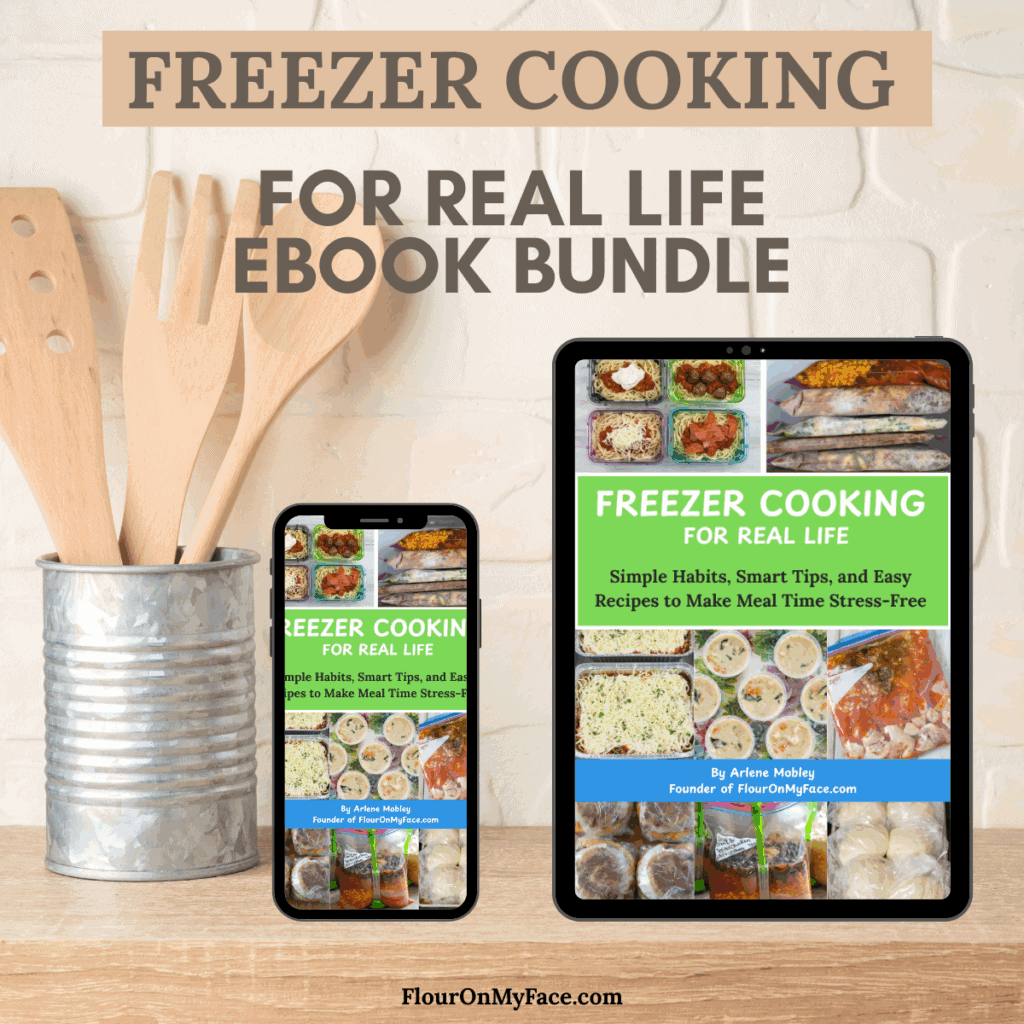
Freezer Cooking for Real Life eBook Bundle
Make dinner easier and save money with this all-in-one freezer cooking starter bundle! Includes a practical 60 page how-to eBook packed with tips for real families, 13 beginner-friendly freezer meal recipes, 6 printable freezer meal labels, and a freezer inventory sheet. Perfect for busy families who want simple, doable freezer meal habits that work in real life.
How I like to make broth
You can find my easy step by step recipe to make turkey broth here. The recipe makes about 13 cups of turkey broth.
These instructions will show you exactly how I freeze my broths into recipe size quantities to use in my cooking.
How I like to freeze my homemade broths
I like to make homemade chicken, turkey, beef and vegetable broths using my Instant Pot. Before I had a electric pressure cooker I would use my slow cooker or a large electric roaster. Way back I would use a very large stock pot on the stove. No matter what method you decided to use making homemade broths is a very easy thing to do.
I bought silicone freezer blocks to use when I'm making my freezer meals. The set I bought comes with 4 two cup portion blocks and 4 one cup silicone blocks. I like how easy the square blocks of frozen food fit into my freezer. I can stack them in the plastic bins I use to organize my frozen foods.
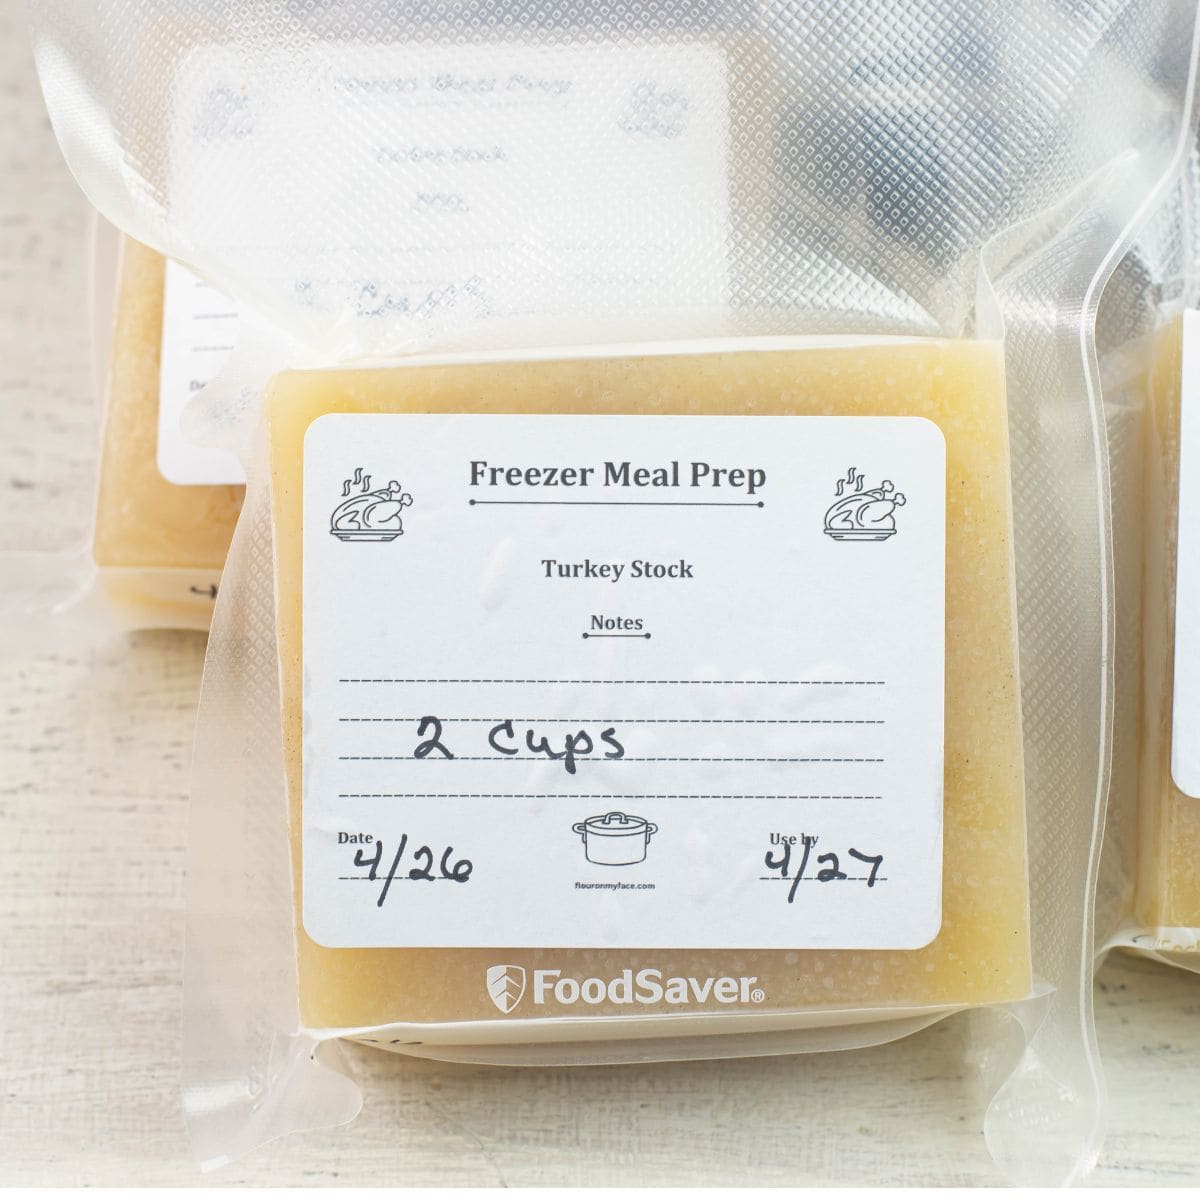
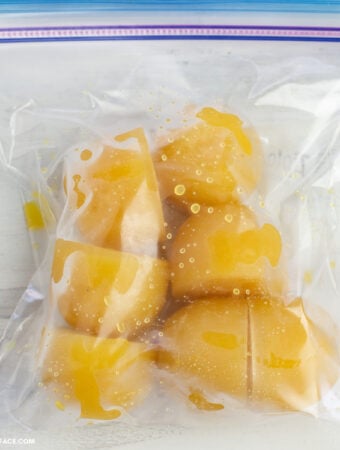
I will vacuum seal the frozen blocks of broth to extend the freezer life. If you don't have a vacuum sealer you can slide the frozen blocks of broth into freezer bags.
Take the methods I am sharing here and adjust them to work for you.
Step by Step Directions to Freeze Broth
Follow the easy step by step directions with pictures below. You can find the directions in the recipe card below, print it out to have on hand.
First you will need to make your homemade broth before starting and allow it to cool.
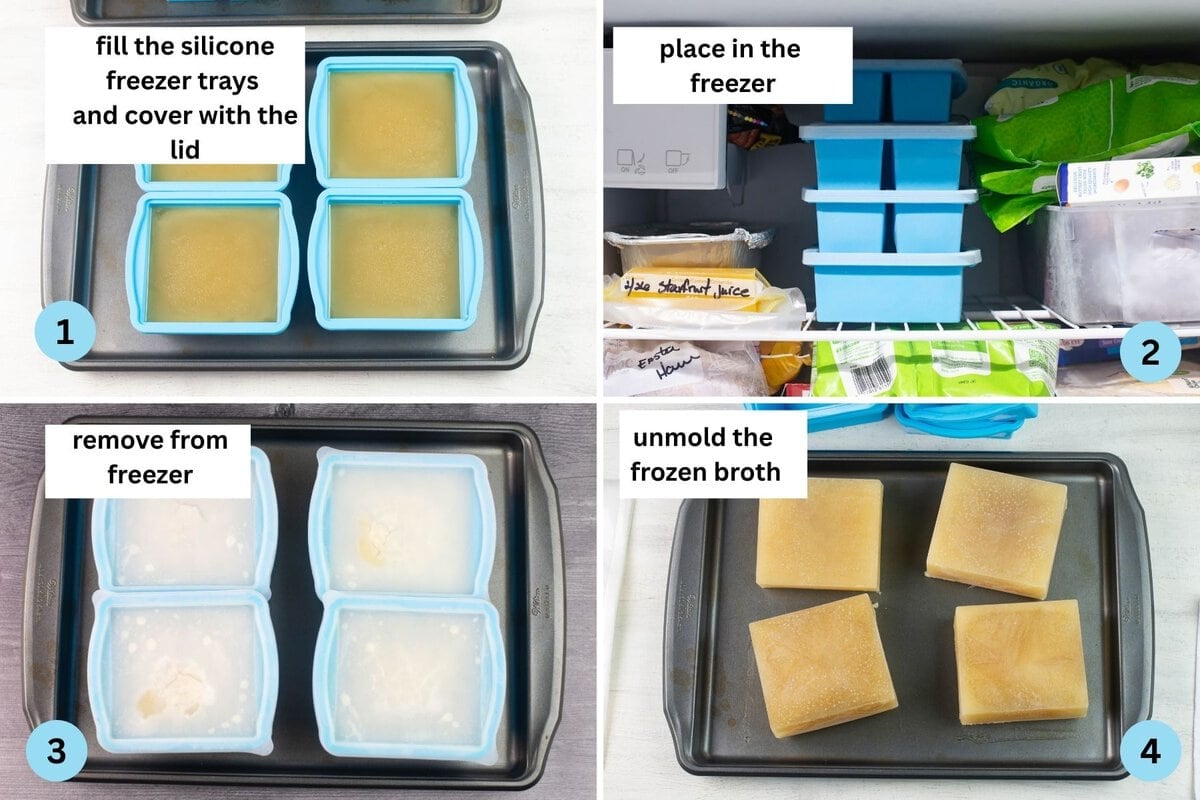
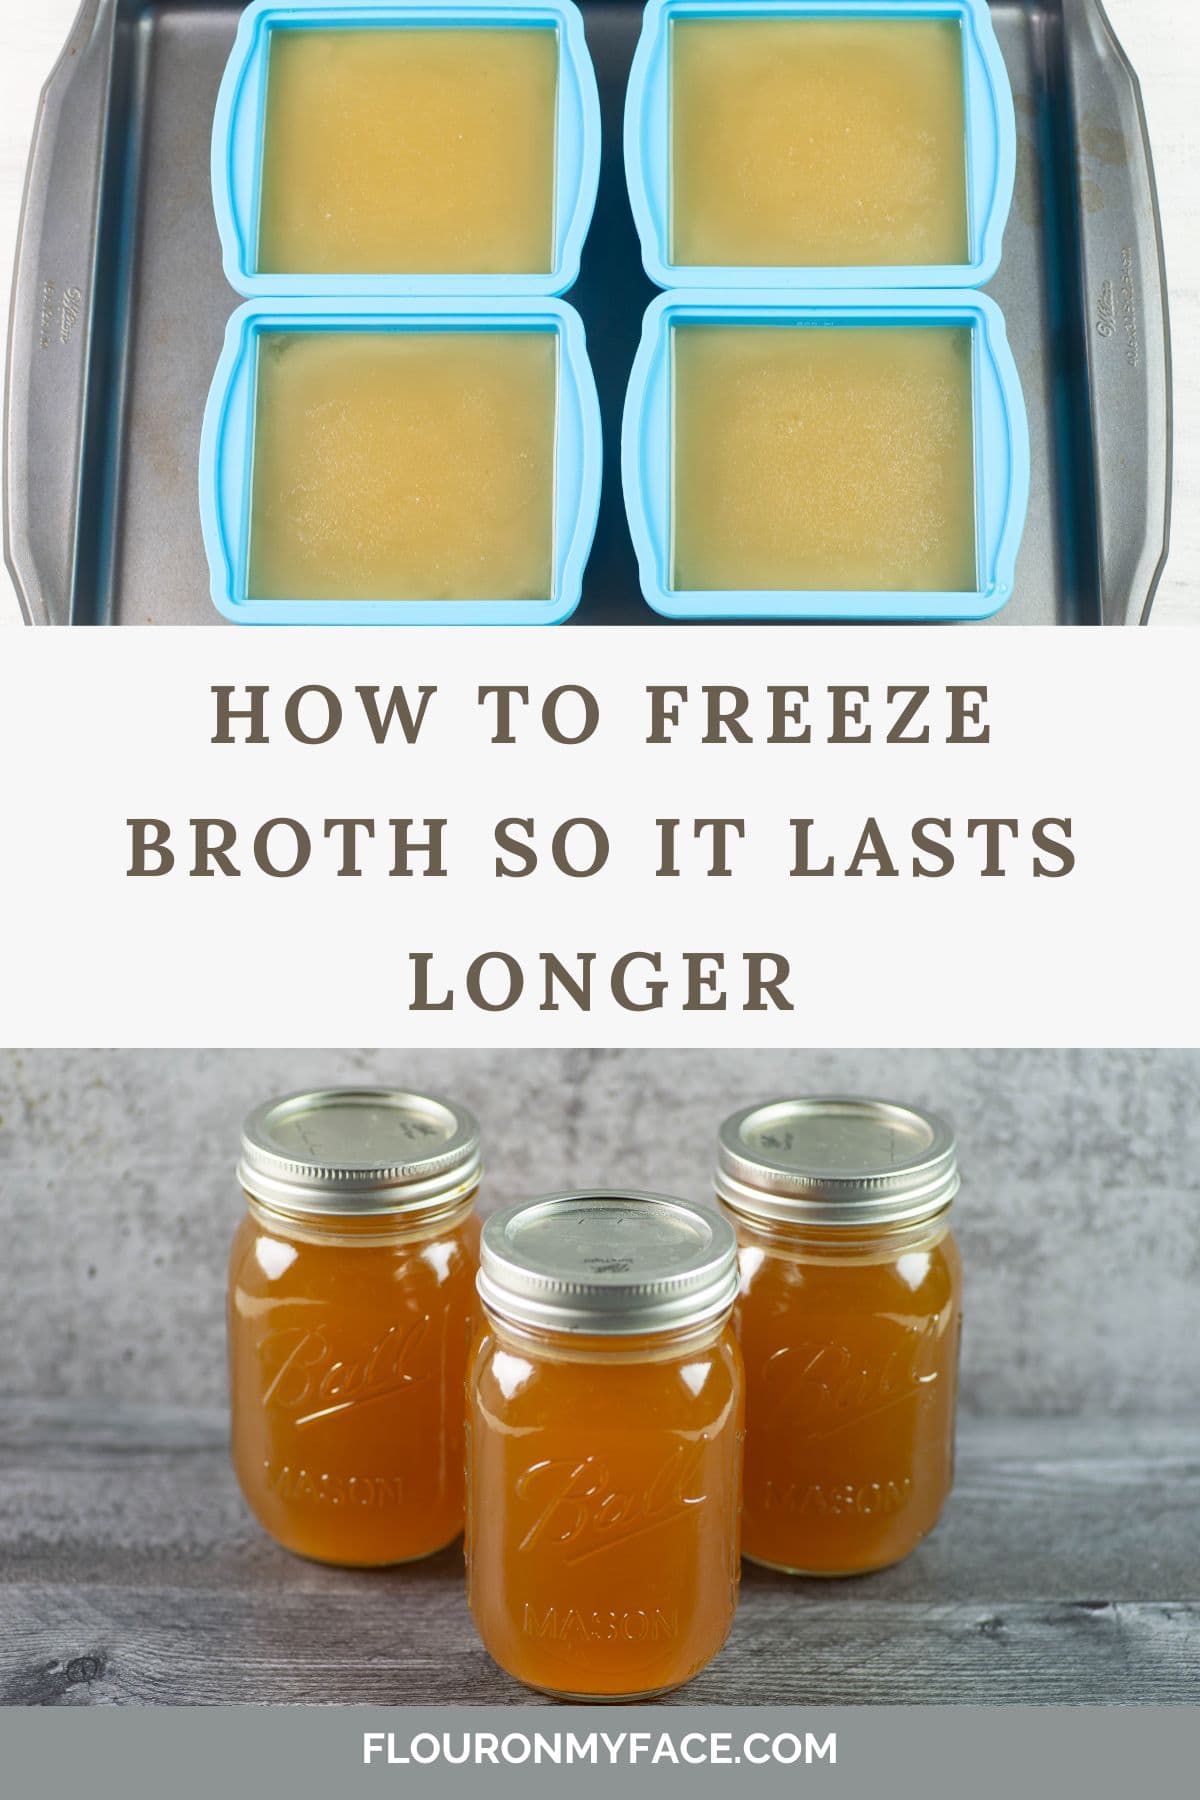
- Step 1: Carefully pour the cooled broth into the silicone blocks using a spouted measuring cup. Do not fill it past the fill line which you will see on the inside of the block toward the top edge. This is to allow for expansion space as the broth freezes. If you over fill it will rise up, overflow and the lid will not stay on tightly. Place the lids on (not shown).
- Step 2: Place the filled molds into the freezer. Make sure they are sitting flat. Freeze overnight.
- Step 3: Remove the frozen containers from the freezer. Allow them to defrost just slightly so they loosen from the freezer block. You can also carefully run warm water over the outside of the container for less than one minute.
- Step 4: Remove the lid, turn the block over on a cookie sheet. Press on the bottom while pulling the top edges away from the top of the block of frozen broth. The block usually just falls from the food block right onto the cookie sheet.
Labeling freezer bags
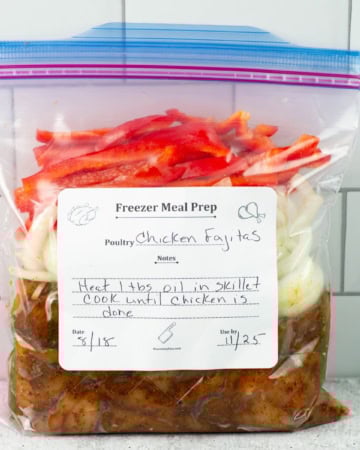
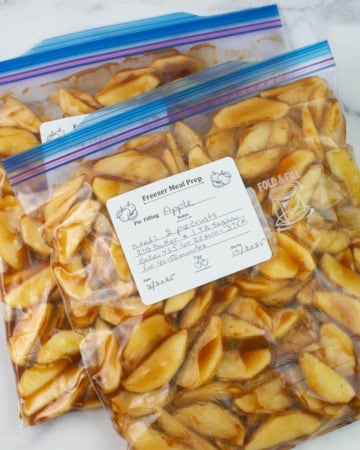
Before you place the frozen blocks into the freezer bags label the bags with the type of broth, the amount of broth and the date. See below for how I label my freezer meals.
Freezer Storage Tips
Keeping your frozen homemade broth fresh and without freezer burn is the most important step. After all the work from making the broth to freezing the broth you want to make sure when you go to use the broth it is as fresh as the day you made it.
- If using freezer bags: If using zip topped freezer bags slip the frozen blocks of broth into them. Squeeze out the excess air and close. Place in the freezer. Use when needed.
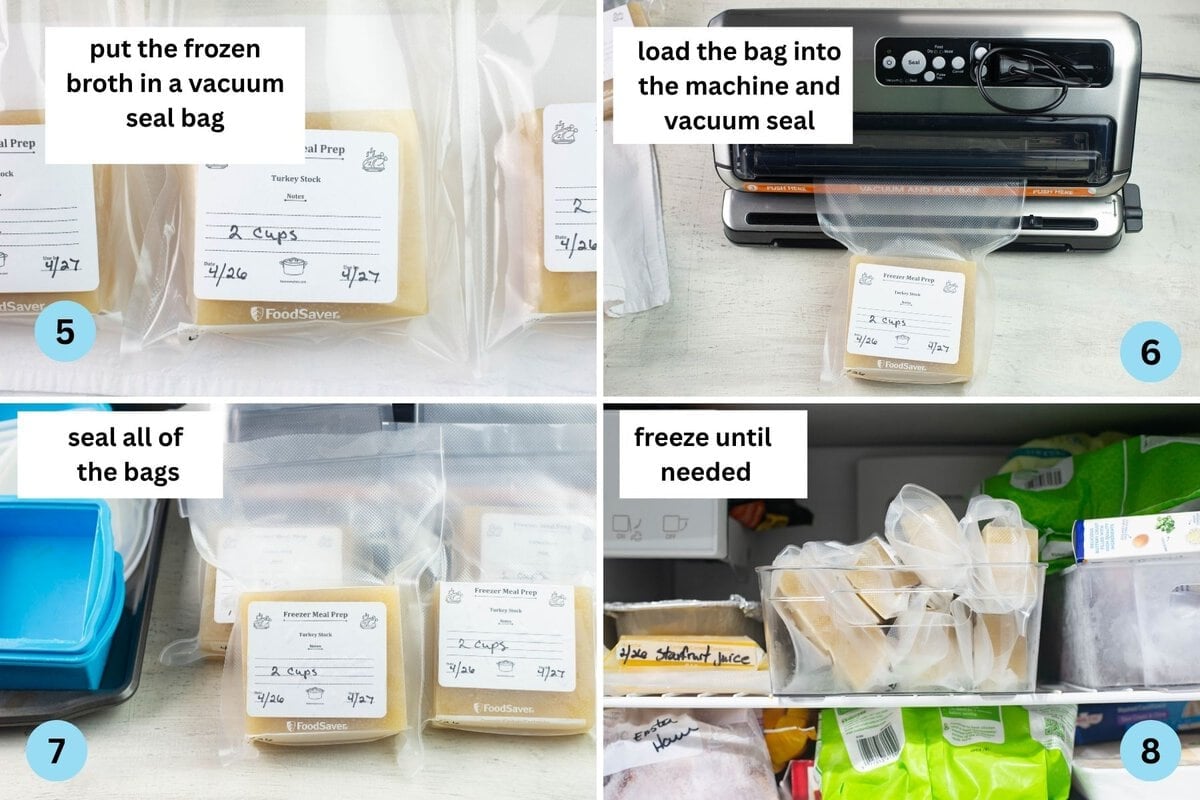
- Step 5: Transfer the frozen blocks to your choice of freezer bags, or vacuum sealed bags for storage.
- Step 6: Using a vacuum sealer to freeze the broth is very easy. Load the bag into the machine following the manufacturers directions.
- Step 7: Seal the bag using the wet sealing option if available. Remove the bag from the appliance and inspect the seal to make sure it has sealed the entire top of the bag.
- Step 8: Place the sealed bags into the freezer.
How I organize and the labeling system I use for the freezer
I have a labeling system I like to use to keep my freezer items easy to find and identify.
Think about how it could ruin your recipe if you needed chicken broth but mistakenly thawed and use vegetable broth instead. Finding the correct item in a packed freezer can be difficult.
If you're like me and you bulk buy and freeze ingredients in portion sizes that you will cook with you want to make sure you pull out the correct frozen item.
Using freezer labels that allow you to write all the important information on the packages is so helpful.
I created a library full of custom printable pantry and freezer labels you can check out in my shop. I use these labels myself and they make my life so much easier when I pull my frozen foods out of the freezer.
If your not worried about that you can always just write on the plastic bag with a sharpie.
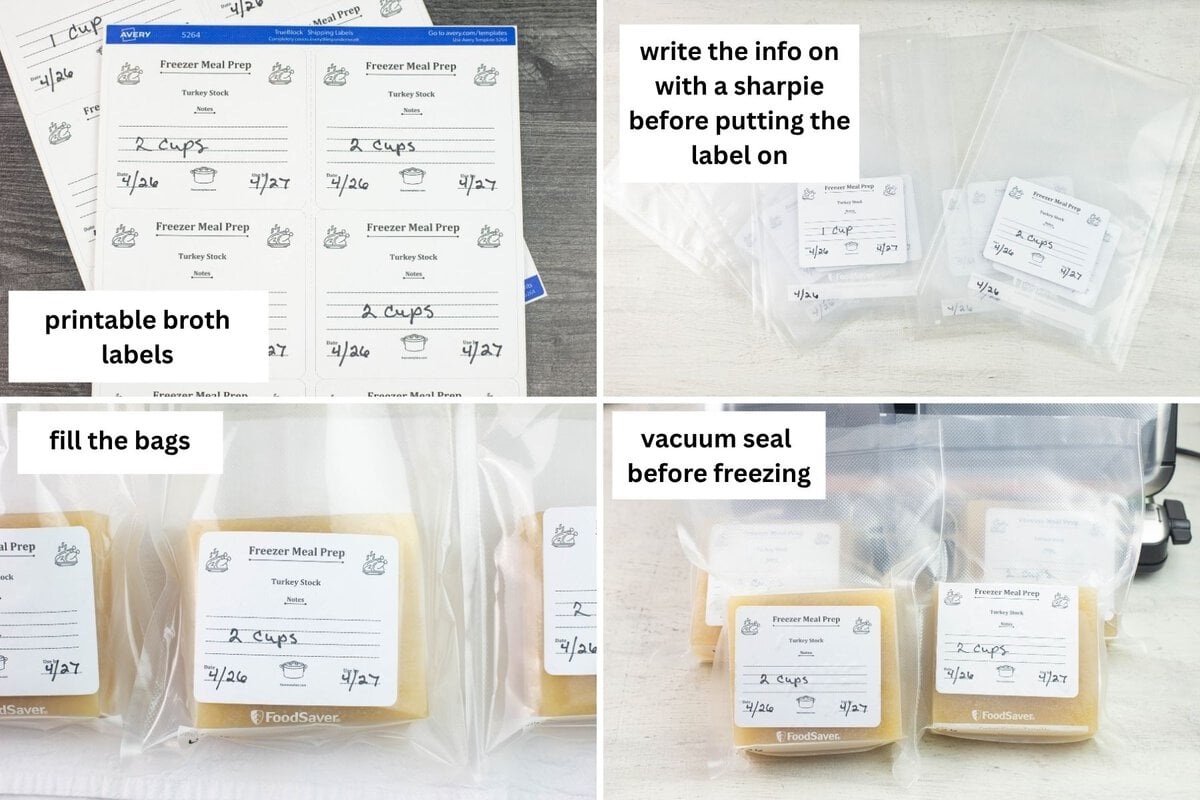
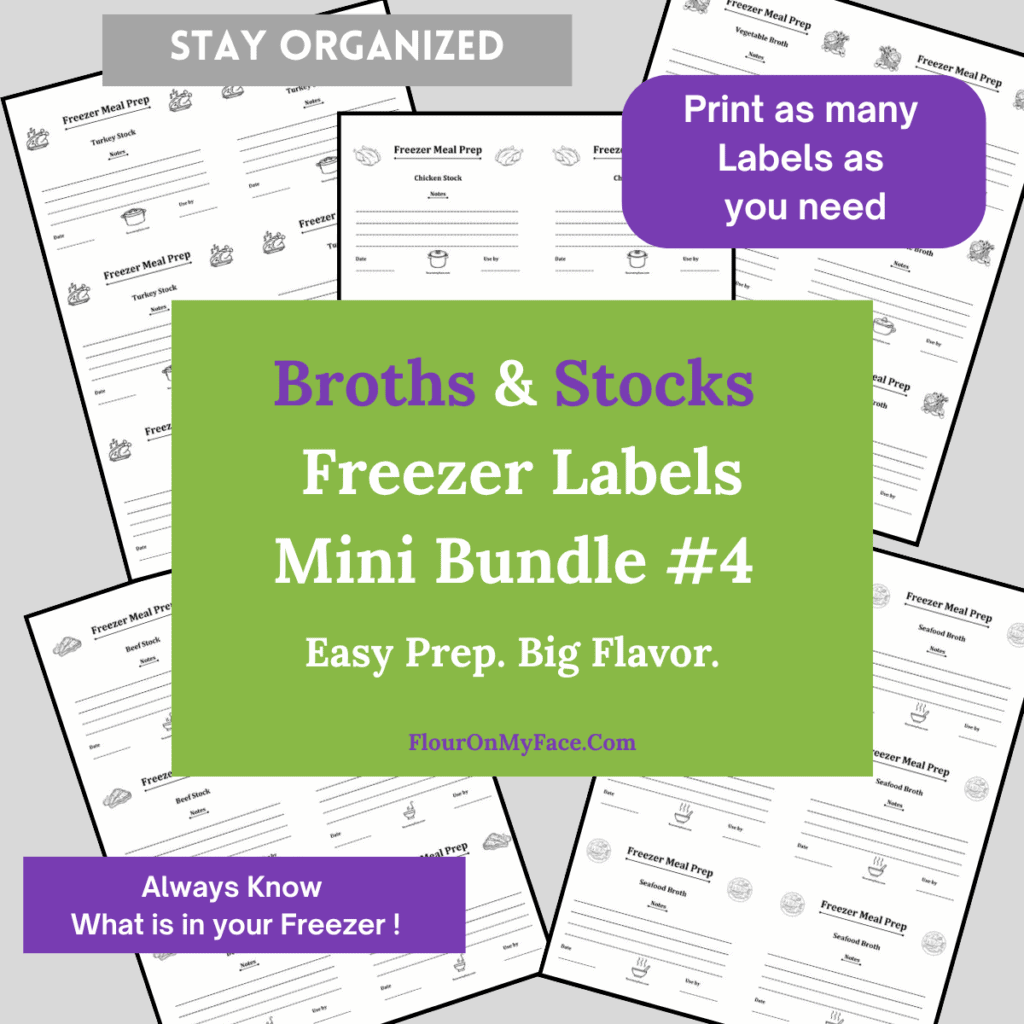
Freezer Meal Labels Mini Bundle 4
Keep your freezer stocked and organized with this cost-saving bundle of printable broth and stock labels! Includes 5 sheets for beef, chicken, turkey, seafood, and veggie - perfect for homemade cooking made easy.
How long does frozen broth last?
How long your frozen broth will last will depend on the way you have stored it in the freezer. Broth kept continuously frozen at 0°F (-18°C) remains safe indefinitely, but its quality may decline over time.
Using the best freezer bags, like vacuum sealing bags will extend the best by flavor time by months.
- Zip topped bags: Although these types of bags are sealed, a small amount of air usually remains inside. Over time, that trapped air can cause freezer burn and affect the broth's flavor and quality. Use broth frozen this way within 2 to 3 months for best quality. The broth may remain safe to eat beyond three months, but its flavor and quality will gradually decline.
- Vacuum sealed bags: Because vacuum sealing removes most of the air, it helps prevent freezer burn and preserving the best broth flavor for 18 months or longer.
Serving & Final Tips
Freezing homemade broth is an easy way to save money, reduce food waste, and keep a flavorful ingredient ready for future meals. Freeze it in useful portions so you can quickly add what you need to soups, stews, gravies, sauces, and other recipes.
Use zip-top freezer bags for broth you plan to enjoy within two to three months. For longer storage, freeze the broth into blocks and transfer them to vacuum sealed bags. Remember to label each bag with the type of broth, amount, and freezing date.
⭐Leave a Star Rating
If you tried this recipe, leave a star rating in the recipe card below and tell me how it turned out.
Email questions or recipe requests to flouronmyface@gmail.com. Follow me on Pinterest, YouTube, Instagram and Facebook.
How To Freeze Broth
Equipment
- 8 Silicone Freezer Blocks use the sizes you need
- 1 Vacuum Sealer optional
- 13 Vacuum Sealer Bags optional
- 6 freezer labels
Ingredients
- 13 Cups Homemade Broth
Instructions
Freezing the broth blocks
- Fill the molds: Pour cooled broth into silicone freezer molds using a spouted measuring cup. Fill only to the marked fill line, leaving room for the broth to expand as it freezes. Cover with the lids.
- Freeze: Place the molds flat in the freezer and freeze overnight, or until the broth is completely solid.
- Loosen the frozen broth: Remove the molds from the freezer and let them sit for a few minutes. If needed, run warm water over the outside of the mold for less than 1 minute to help loosen the frozen broth.
- Remove the broth blocks: Remove the lid and turn the mold upside down over a cookie sheet. Press on the bottom of each section while gently pulling the silicone away from the frozen broth until the blocks release.
- Store: Transfer the frozen broth blocks to freezer bags or vacuum sealed bags. Seal tightly and return them to the freezer for easy portioned storage.
Directions for sealing the broth with a vacuum sealer
- Using a vacuum sealer to freeze the broth is very easy. Load the bag into the machine following the manufacturers directions.
- Seal the bag using the wet sealing option if available. Remove the bag from the appliance and inspect the seal to make sure it has sealed the entire top of the bag.
- Freeze: Place the bags into the freezer.
- Use: Remove the amount needed from the freezer. Thaw in the refrigerator and use as needed.
Recipe Expert Tips
- Labeling frozen foods: It is easier to write the information on the freezer bag before you put the broth in. Write the name, amount and date on the freezer bag.
- How long frozen broth will last will depend on the way you have stored it in the freezer. Broth kept continuously frozen at 0°F (-18°C) remains safe indefinitely, but its quality may decline over time.
- Zip topped bags: Although these types of bags are sealed, a small amount of air usually remains inside. Over time, that trapped air can cause freezer burn and affect the broth's flavor and quality. Use broth frozen this way within 2 to 3 months for best quality. The broth may remain safe to eat beyond three months, but its flavor and quality will gradually decline.
- Vacuum sealed bags: Because vacuum sealing removes most of the air, it helps prevent freezer burn and preserving the best broth flavor for 18 months or longer.
Leave a Reply