How to Create a Raised Garden Bed
How to Create a Raised Garden Bed when you think you just don't have the room to grow your own vegetables.
How to Create a Raised Garden Bed
If the idea of a sprawling garden isn't your cup of fresh herbal tea, but you'd like to grow your own garden, a raised garden bed could be the perfect solution.
A raised bed garden can be located in the smallest of spaces. In this article, we'll discuss a 3' x 5' garden, but you can create it in any size you'd like.
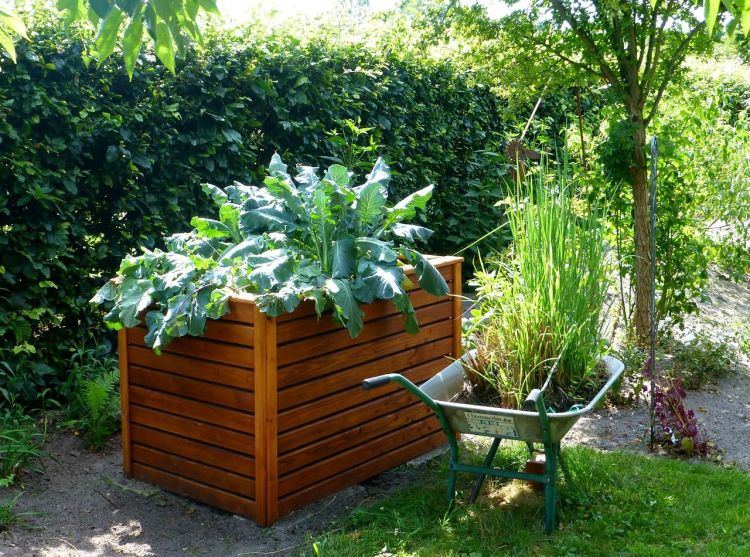
If you find it hard to bend over, you can also build your raised bed up on a platform and work on plants at waist height.
Building a raised garden bed is a lot easier than you might imagine. All you'll need are a few supplies, the right tools and the time to put it together.
1. Choose a Material
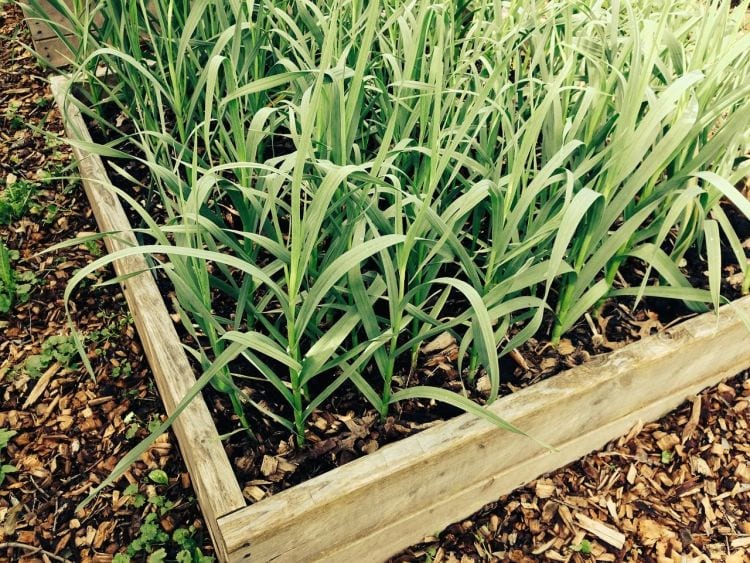
Many people use wood to create a raised bed garden, but you can also use stone pavers and bricks, or you could even mound up soil around the outside edge.
Do not use treated lumber, as the chemicals can leach into your soil and into your vegetables.
2. Pick a Location
Your next step is to choose a location for your raised bed garden. Take the time to think about how you will reach all sides of your raised bed garden.
If you have plants on the back side, can you walk around and reach them from that angle? Ideally, you'll want to leave at least 18 in. between beds for walkways.
You'll also want to make sure the location gets enough sun during the day for your plants of choice to thrive.
3. Prepare the Area
Remove grass from the location in a patch the same size as you plan to make your raised bed. Smooth the dirt and make sure it is as level as possible.
You can outline the area with a line of chalk or string so you can visualize where the raised bed will go and make sure there is enough room on all sides.
4. Kick Weeds to the Curb
Add a weed barrier to prevent weeds from creeping up and into your garden. While you may still have to do some weeding, the more you can do in preparation to prevent weeds, the less time you'll spend pulling out these pesky plants.
5. Keep a Neat Work Area
Lay out the boards or other border materials in a neat stack alongside where you plan to put your raised bed.
Set tools in a specific spot. Know where everything is and keep a neat work area.
Basically, you are creating a mini-construction site. Keeping your project visual eliminates the risk of tripping and possibly injuring yourself. The last thing you want is a simple project turning into a night in the emergency room.
6. Hammer, Nails, and a Level
Your next step is to secure the items you are using to outline your garden. If you are using wood, it is a simple matter of using nails or screws and a level to make sure everything squares up.
If you are using bricks, pavers or another material, you'll still want to utilize the level, but you may have to find different ways to secure the material.
For example, a metal spike in the corners can keep everything lined up with bricks. However, you don't want to make the structure so airtight that it has no room to flex and expand or contract during varied weather.
7. Fill 'Er Up and Add Plants
I bet you thought you couldn't grow your own vegetable garden until you read How to Create a Raised Garden Bed.
Megan Wild is a Home Improvement Writer at YOUR WILD HOME who loves growing a healthy and beautiful garden throughout the year. When she's not meandering around her local nursery, you can find her tweeting @MEGAN_WILD.
Want to learn how easy it is to Grown Your Own Herb Garden? Get your copy of the Backyard Herb Gardening today!


Leave a Reply