

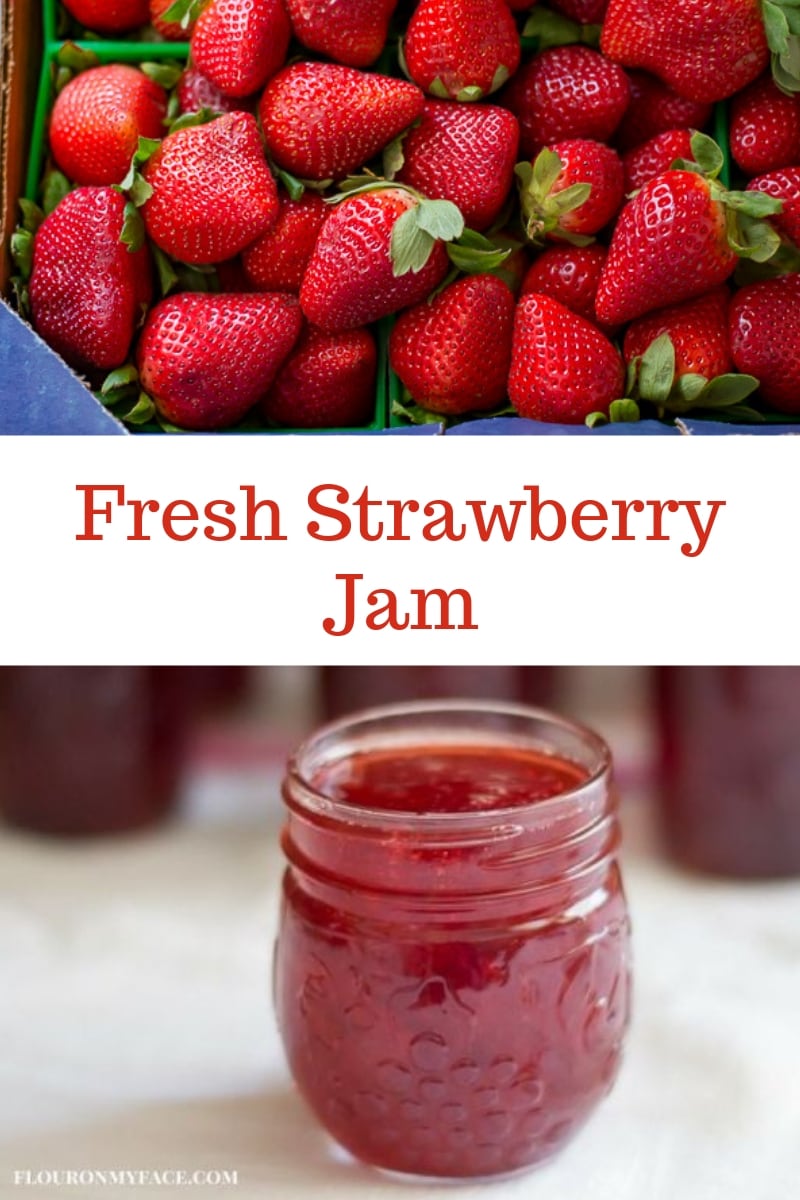
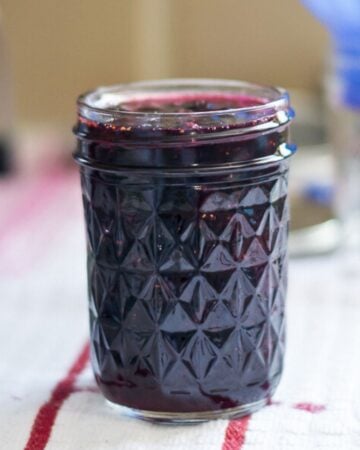
How to make Strawberry Jam with fresh strawberries? Fresh strawberry jam is one of my favorite homemade jam recipes. It was one of the first canning recipes I ever made.
During the summer when strawberry season is in full swing making strawberry jam is a good way to preserve all of those ruby red jewels of strawberries you may be harvesting from the garden. And all you need is 3 ingredients and a few hours to make a delicious homemade jam.
Maybe you don't have a plot of fresh strawberries growing in your back yard? Head to a local Farmer's Market and to buy the fresh strawberries.
If you have never made homemade jam but would like to learn I have great news for you!

Do You Want To Learn How To Make Homemade Jam?
Have you always wanted to make your own homemade jams and jellies?
Does the thought of preserving your own fresh fruits and vegetables excite you but also send a shiver of fear down your spine?
The unknown can be scary. I completely understand.
That is why I have decided to share my love of making homemade jam and jelly with you in a very fun and easy way.
I want to share my love of making homemade jam with the world!
How To Make Homemade Strawberry Jam or Strawberry Preserves
Making your own strawberry jam is an experience that promises more than just a flavorful treat - it's a process that engages the senses and brings joy to the kitchen.
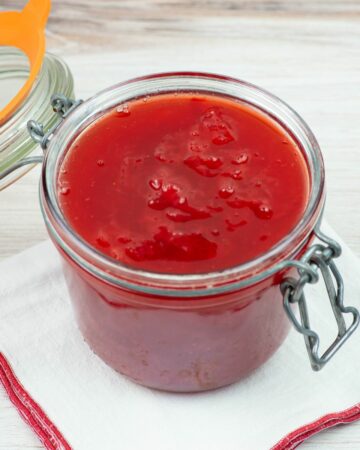
You'll love the way the vibrant red hue of mashed strawberries comes to life, and the scent of simmering sugar becomes a sweet reminder of summer's bounty.
It's a delightful project with a gratifying outcome: jars of glistening jam that capture the essence of fresh strawberries to be cherished long after their season has passed.
Plus, homemade jam is free of preservatives, packed with natural goodness, and can be tailored to your preferred level of sweetness, allowing you to craft a preserve that's uniquely yours.
You can also make Strawberry Freezer Jam. It's just as good and get stored in the freezer.
Basic Canning Supplies Needed
Below are some of the basic canning equipment you will need.
- 8 half pint canning jars, new unused wide mouth flat lids and bands
- Large pot to use for a Hot Water Bath Canner or one of my recommended electric Hot Water Bath Canner Options below
- Wide Mouth Funnel
- Jar Lifter
- Canning Ladle
- Paper towels
- Dissolvable Labels (optional) can use a sharpie but the labels are really pretty
- Progressive 3-Piece Canning Essentials Kit includes a wide mouth funnel, jar lifter, and magnetic lid lifter
Ingredients
- 4 cups prepared strawberries (about 2 quarts fully ripe strawberries)
- 7 cups sugar, measured into a separate bowl
- 1 tablespoon butter or margarine (optional)
- 1 pouch CERTO Fruit Pectin
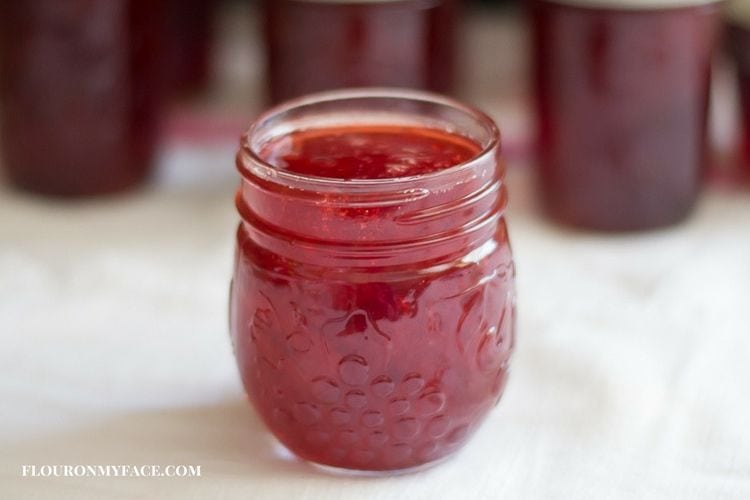
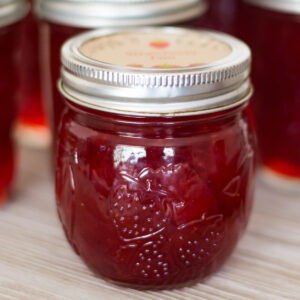
My favorite canning jar for jams and jellies is the Kerr® Wide Mouth half-pint 8 oz mason jars. I love the short squat shape and the wide mouth makes it very easy to fill.
Directions
- Prepare your jars and lids by washing in hot soapy water. Check for cracks or chips and discard any damaged jars.
- Prepare a large hot water bath canning pot that is large enough to submerge all of your jars in at once.
- Fill Hot Water Bath canning pot half-full with water and add jars. Add more water if need to allow for the water to be 2 inches over all the jars. Bring the water to a boil then reduce the heat and allow the jars to sit in the simmering water.
- Alternately if using an electric canning appliance follow the instructions from the manufacturer to prepare your canning jars.
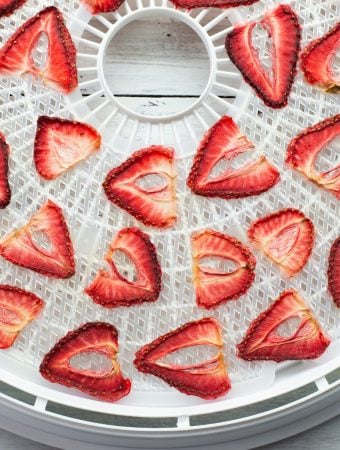
- Wash the strawberries, drain well and stem. Crush the strawberries thoroughly, one layer at a time in a large bowl or your canning pot.
- Measure 4 cups of crushed strawberries into a large 6- or 8-quart no reactive sauce-pot.
- Turn the heat on low and add the sugar to the pot. Stir to incorporate the sugar and crushed berries.
- Add the butter to the pot to help reduce the foam that will form on the top of the pot.
- Once most of the sugar has dissolved increase the heat to high and bring to a full rolling boil (a boil that doesn't stop bubbling when stirred), stirring constantly to prevent scorching.
- Stir in pectin. Return to a full rolling boil and boil for exactly 1 minute, stirring constantly.
- Remove the pot from heat and allow to settle for about 2 minutes.
- Skim off as much foam s possible with a metal spoon and discard the foam.
- Remove one jar from the hot water bath canner and place upside down on a soft towel to drain for a few seconds. Carefully flip the jar right side up using a towel to protect your hands from the hot jar.
- Place the wide mouth funnel in the top of the warm jar and ladle the hot jam into the hot prepared jar, filling to within ¼ inch of tops. Wipe the jar rim and threads with a damp paper towel.
- Place a flat lid on top of the jar then screw a band just until finger tight on the jar.
- Place the filled jar on a folded towel as you continue to fill each of the jars with jam.
- Once all of the jars are filled with jam place them on an elevated rack in you hot water bath canner.
- Carefully lower rack and jars into canner. (Water must cover jars by at least 2 inches. Add boiling water to the pot to bring the level up, if needed.)
- Cover the pot; bring water to a gentle boil. Process the jam jars for 10 minutes. Carefully remove the jars from the canner with a jar lifter and place upright on towel to cool completely overnight. You should begin to hear the magical pinging of your jars sealing as they cool.
- After the jars are cool, check seals by pressing the middle of the lid with a finger. (If lid springs back, lid is not sealed properly and the jam will not be able to be stored in a cabinet or pantry. You can refrigerate any jars that do not seal to eat immediately.
- Refrigeration is necessary for jars that have not sealed properly.
- Write the name of the jam and the date the jam was made on a label and apply to the jar. Alternately you can write this information with a Sharpie permanent marker on the flat lid.
- Jam jars that have sealed properly can be stored in a cool dry cabinet or closet for up to one year.
- Discard jam or jelly after the one-year canned date.
Helpful Canning Tools
Buy the best when it comes to canning tools and supplies.


Canning Tips
Tips to help you succeed in making strawberry jam.
- Select Ripe Strawberries: For the best flavor, choose strawberries that are fully ripe but still firm. Overripe berries can be too soft, leading to a jam that's mushy rather than spreadable.
- Use the correct type of Pectin: Only use the type of pectin called for in this recipe to ensure your jam sets properly.
- Sterilize Your Jars: Always begin with clean, sterilized jars to prevent bacteria from spoiling your jam. Boil them for 10 minutes or run them through a hot dishwasher cycle before using.
- Check the Seal: Ensure a proper seal on your jars by pressing the center of the lid after processing. If it doesn't pop back, your jam is sealed and can be stored at room temperature.
- Sugar to Fruit Ratio: Maintain the balance of sugar to fruit as suggested in the recipe. Altering this ratio can affect not only the taste but also the setting qualities of your jam.
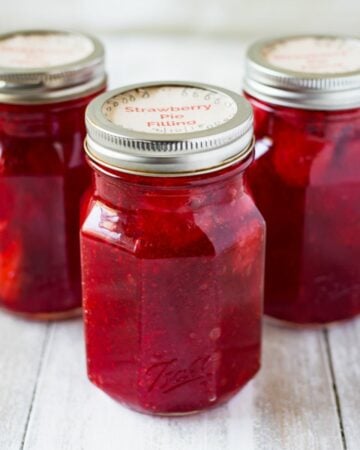
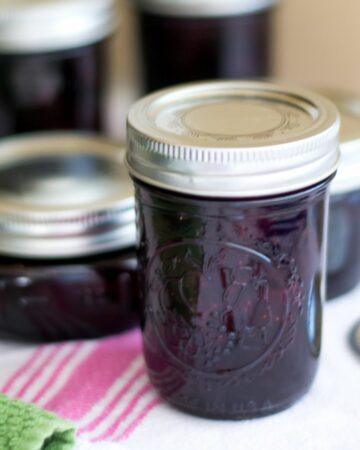
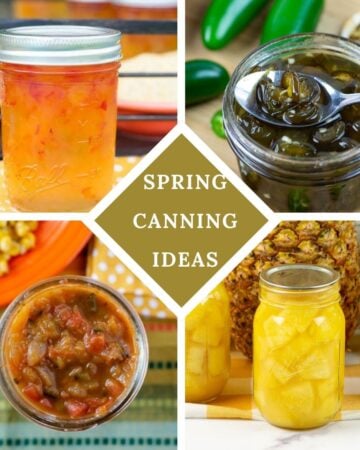
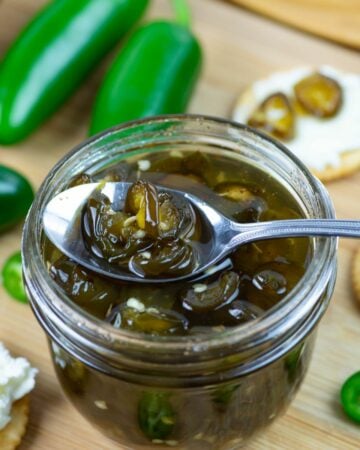
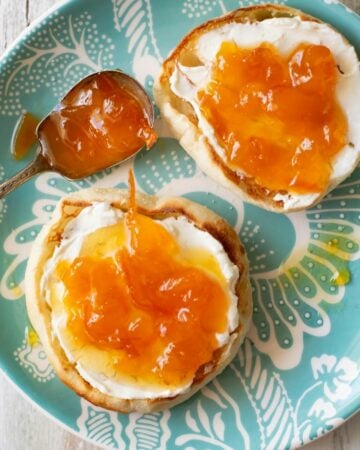
More Canning Recipes
If you love strawberry jam you should check out some of my other favorite ways to use or preserve fresh strawberries.
Print the Strawberry Jam Recipe below
You can easily print, save or share this recipe from the recipe card below.
Email questions or recipe requests to flouronmyface@gmail.com. Follow me on Pinterest, YouTube, Instagram and Facebook.
How To Make Strawberry Jam
Ingredients
- 4 cups prepared strawberries (about 2 quarts fully ripe strawberries)
- 7 cups sugar (measured into separate bowl)
- 1 tablespoon butter or margarine (optional)
- 1 pouch CERTO Fruit Pectin
Instructions
- Prepare your jars and lids by washing in hot soapy water. Check for cracks or chips and discard any damaged jars.
- Prepare a large hot water bath canning pot that is large enough to submerge all of your jars in at once.
- Fill Hot Water Bath canning pot half-full with water and add jars. Add more water if need to allow for the water to be 2 inches over all the jars. Bring the water to to a boil then reduce the heat and allow the jars to sit in the simmering water.
- Alternately if using an electric canning appliance follow the instructions from the manufacturer to prepare your canning jars.
- Wash the strawberries, drain well and stem. Crush the strawberries thoroughly, one layer at a time in a large bowl or your canning pot.
- Combine 4 cups of crushed strawberries, 7 cups of granulated sugar and 1 tablespoon of butter (if using) in a large 6- or 8-quart non reactive pot.
- Turn the heat on low. Stir to mix the sugar and crushed berries together.
- Once most of the sugar has dissolved increase the heat to high and bring to a full rolling boil (a boil that doesn't stop bubbling when stirred), stirring constantly to prevent scorching.
- Stir in pectin. Return to full rolling boil and boil for exactly 1 minute, stirring constantly.
- Remove the pot from heat and allow to settle for about 2 minutes.
- Skim off as much foam s possible with metal spoon and discard the foam.
- Remove one jar from the hot water bath canner and place upside down on a soft towel to drain for a few seconds. Carefully flip the jar right side up using a towel to protect your hands from the hot jar.
- Place the wide mouth funnel in the top of the warm jar and ladle the hot jam into the hot prepared jar, filling to within ¼ inch of tops. Wipe the jar rim and threads with a damp paper towel.
- Place a flat lid on top of the jar then screw a band just until finger tight on the jar.
- Place the filled jar on a folded towel as you continue to fill each of the jars with jam.
- Once all of the jars are filled with jam place them on an elevated rack in you hot water bath canner.
- Carefully lower rack and jars into canner. (Water must cover jars by at least 2 inches. Add boiling water to the pot to bring the level up, if needed.)
- Cover the pot; bring water to gentle boil. Process the jam jars for 10 minutes. Carefully remove the jars from the canner with a jar lifter and place upright on towel to cool completely over night. You should begin to hear the magical pinging of your jars sealing as they cool.
- After the jars are cool, check seals by pressing the middle of the lid with a finger. (If lid springs back, lid is not sealed properly and the jam will not be able to be stored in a cabinet or pantry. You can refrigerate any jars that do not seal to eat immediately.
- Refrigeration is necessary for jars that have not sealed properly.
- Write the name of the jam and the date the jam was made on a label and apply to the jar. Alternately you can write this information with a Sharpie permanent marker on the flat lid.
- Jam jars that have sealed properly can be stored in a cool dry cabinet or closet for up to one year. Discard jam or jelly after the one year canned date.
Recipe Expert Tips
- Select Ripe Strawberries: For the best flavor, choose strawberries that are fully ripe but still firm. Overripe berries can be too soft, leading to a jam that's mushy rather than spreadable.
- Use the correct type of Pectin: Only use the type of pectin called for in this recipe to ensure your jam sets properly.
- Sterilize Your Jars: Always begin with clean, sterilized jars to prevent bacteria from spoiling your jam. Boil them for 10 minutes or run them through a hot dishwasher cycle before using.
- Check the Seal: Ensure a proper seal on your jars by pressing the center of the lid after processing. If it doesn't pop back, your jam is sealed and can be stored at room temperature.
- Sugar to Fruit Ratio: Maintain the balance of sugar to fruit as suggested in the recipe. Altering this ratio can affect not only the taste but also the setting qualities of your jam.
Nutrition
Check out the Flour On My Face Canning page for more easy canning recipes.

Melissa
I haven't made strawberry jam in years! I love it and need to make it this year!
Gloria @ Homemade & Yummy
When I was young, my mom and baba did ALL kinds of canning. Jam, pickles, sauerkraut...you name it. For some reason this type of thing did not rub off on me. I have done "freezer" jam...but never this way.
Veena Azmanov
Arlene... I love that colors!! Such a pretty red... I make strawberry jam but I never can them because the quantity is so small! I make like two jars but I do freeze strawberries for the year. My mom use to sell them so she canned fruit jams all the type. Wish I had learned from her then.. Thank God I have your blog now.. Thanks
Sarah @ The Fit Cookie
This jam looks delicious! I love strawberry jam, one of my favorites by far 🙂 I haven't done any canning myself, but I need to try it sometime!