


Have you found yourself with more green onions or scallions than you know what to do with? Maybe your garden is overflowing, or you bought a big bunch at the farmers market. Don't let them go to waste! Dehydrating is a simple way to preserve that fresh flavor for months to come. Learning how to dehydrate green onions or scallions is so easy to do!
Preserving Green Onions or Scallions
Dehydrating is one of my favorite preserving methods that I use to save money and keep my pantry stocked with ingredients I can use in soups, casseroles, and dips or any time I need a little burst of flavor. I also use canning and freezing to keep my freezer and pantry stocked.
But I've come to depend on my stash of dehydrated vegetables when I cook. They also come in handy during hurricane season. It is comforting knowing I have dried food in my pantry when a storm rolls in.
I like to use my dried bell peppers, dried cubed potatoes, green beans and dried carrots when I make soup or any other recipe that calls for vegetables.
The Easy Way to Stop Wasting Green Onions
Whenever I buy green onions it seems like I always end up throwing some in the garbage. Since my recipes only use a few of the onion stalks at a time. Inevitably, I always have some leftover that wilt or go slimy.
I decided instead of buying a bunch or two at the grocery store and tossing half of them in the trash I would just buy multiple bunches and dehydrate them. That way I will always have sliced green onion on hand for a recipe or a garnish.
If you want an easy way to preserve fresh green onions, scallions, or even homegrown green garlic stems for weeks, months, or even years, dehydrating is the way to go. Lets get started!
Ingredient Notes & Equipment
Before you start, gather these supplies to make the process smooth and efficient:
- Green onion bunches - Choose ripe, high-quality produce for the best results. Trim off any brown ends at the tip of the onion bunches and pull off any soft or brown pieces that are on the bulb end. Trim off the roots if they are still attached.
- Kitchen scissors - I tried using a sharp paring knife to cut the onions into ¼ inch pieces but the knife crushed them. So I switched to a pair of kitchen scissors that worked much better. It also made cutting them go faster.
- Dehydrator - I prefer to use my food dehydrator with adjustable temperature controls. It's an Excalibur 9 tray dehydrator. I love it! If you don't have one you can use the oven or an air fryer.
- Mesh Dehydrator Sheets - You will need to use mesh tray liners to keep the smaller pieces from falling through trays. In a pinch you can use parchment paper but it will move from the hot air blowing. You can try taping it to the edges of your trays. If using dehydrator mesh trays or sheets you will need to buy the type that fit your specific dehydrator.
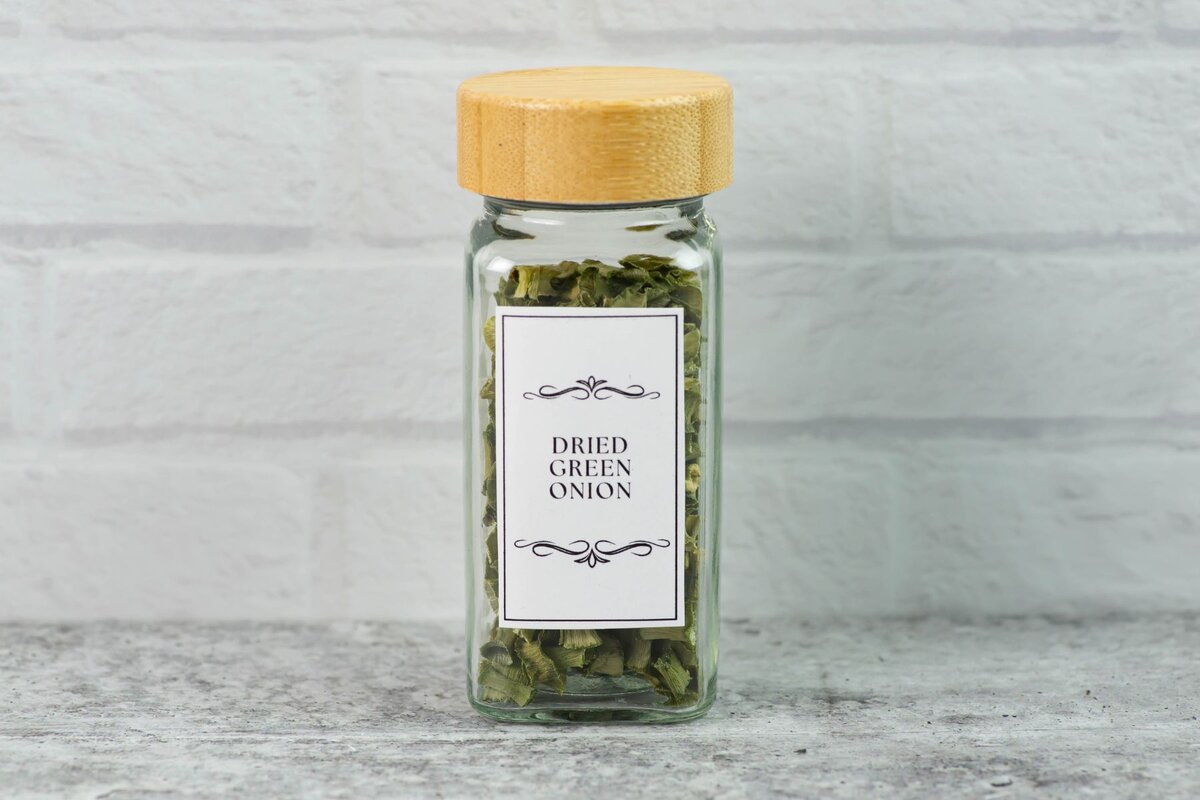
- Airtight Storage Containers - Once you have dried them you will need to store them in airtight containers to keep them fresh and stop them from absorbing moisture. I like to use Mason jars, vacuum-sealed bags, or mylar bags with oxygen absorbers for long-term storage.
🔪Best Prep Tips
- Trim the roots from the bottom of each bunch of onions before washing them.
- Wash and dry the green onions in cold water to wash away any dirt or insects.
- Trim away any dried out and brown tips or leaves. If there are any mushy or discolored parts remove them also.
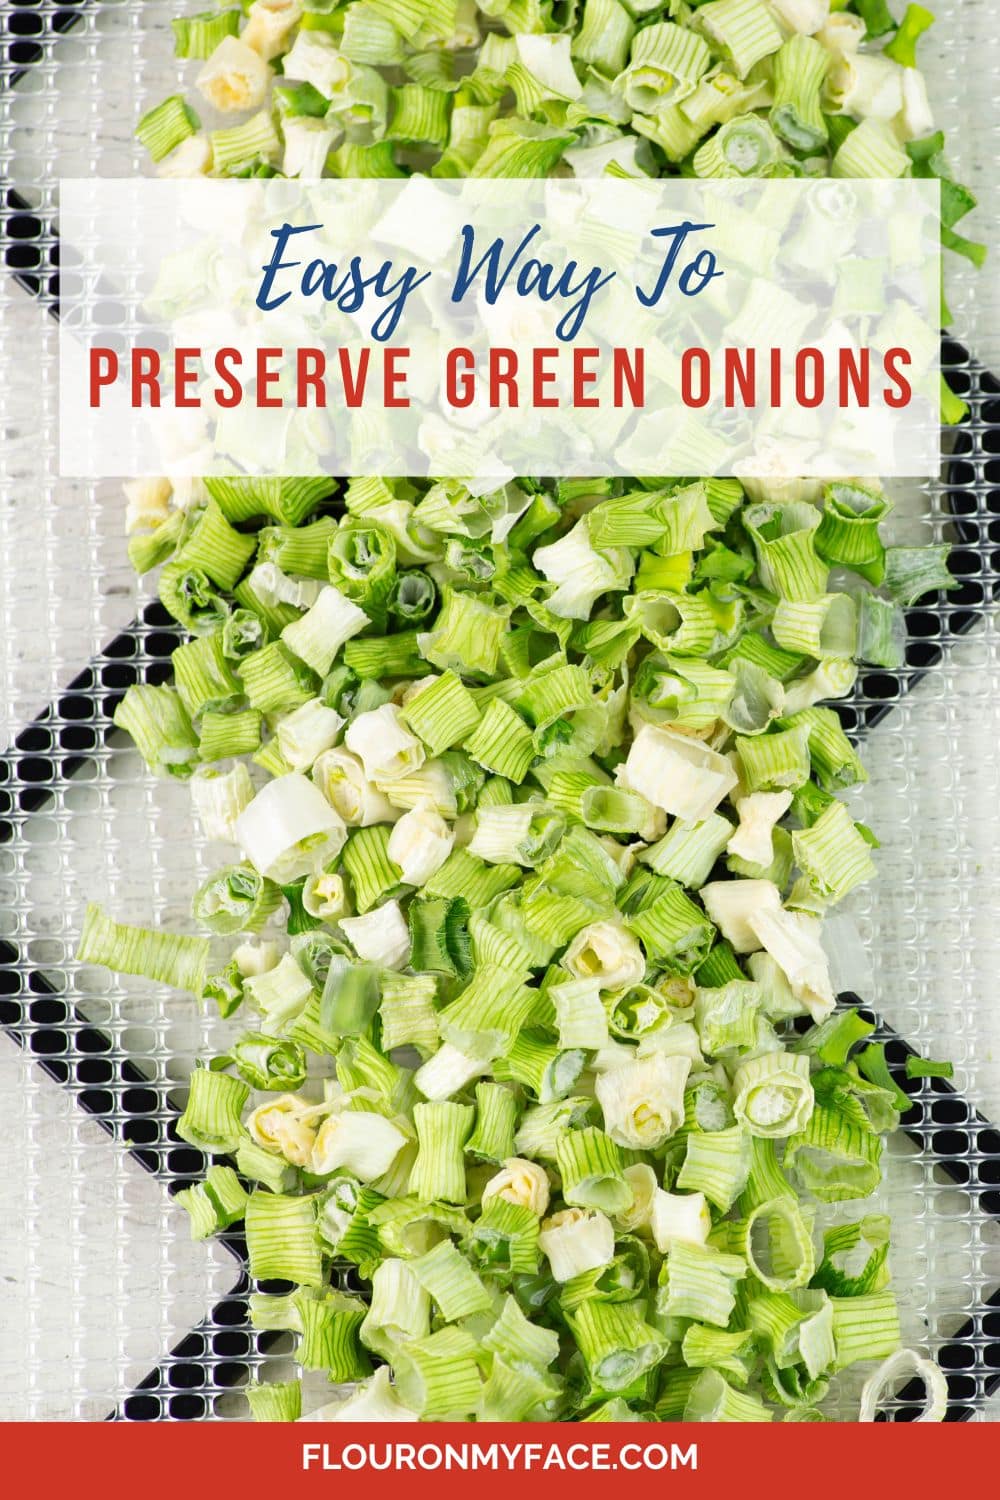
- Use a scissor to cut the green onions into ⅛th to ¼ inch wide slices.
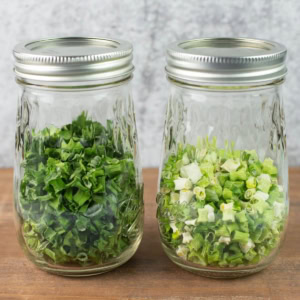
- Cut the green and white sections into two different bowls so it is easy to arrange them separately on their own drying trays. The less bulky thinner green pieces will dehydrate much faster than the white ends which are dense layered spirals.
Why separate the green onion leaves from the white ends?
Since the white bulb ends of green onions and scallions are much thicker than the tender green tops, I sliced them into ¼-inch pieces and dehydrated them separately.
I'm glad I thought to do this because it took me 2 to 3 hours longer to dry the thicker white pieces verses the slices from the thinner green stalks.
Separating them before dehydrating worked out so much better and saved me the time I would have wasted to pick out the dried green pieces when they were done.
Picking through and removing the dried green tops doesn't sound that hard until you are sorting through 5 full trays of dried onion pieces.
I am so glad I decided to do it this way to make my life easier. Take my word for it. You will want to separate the pieces before loading your trays. You can thank me later!
FREE Dehydrating Quick Guide
Curious about dehydrating or just getting started? Subscribe below to get my Quick Guide To Dehydrating.
Step by Step Directions with photos
Follow along with my easy step by step direction and photos below.
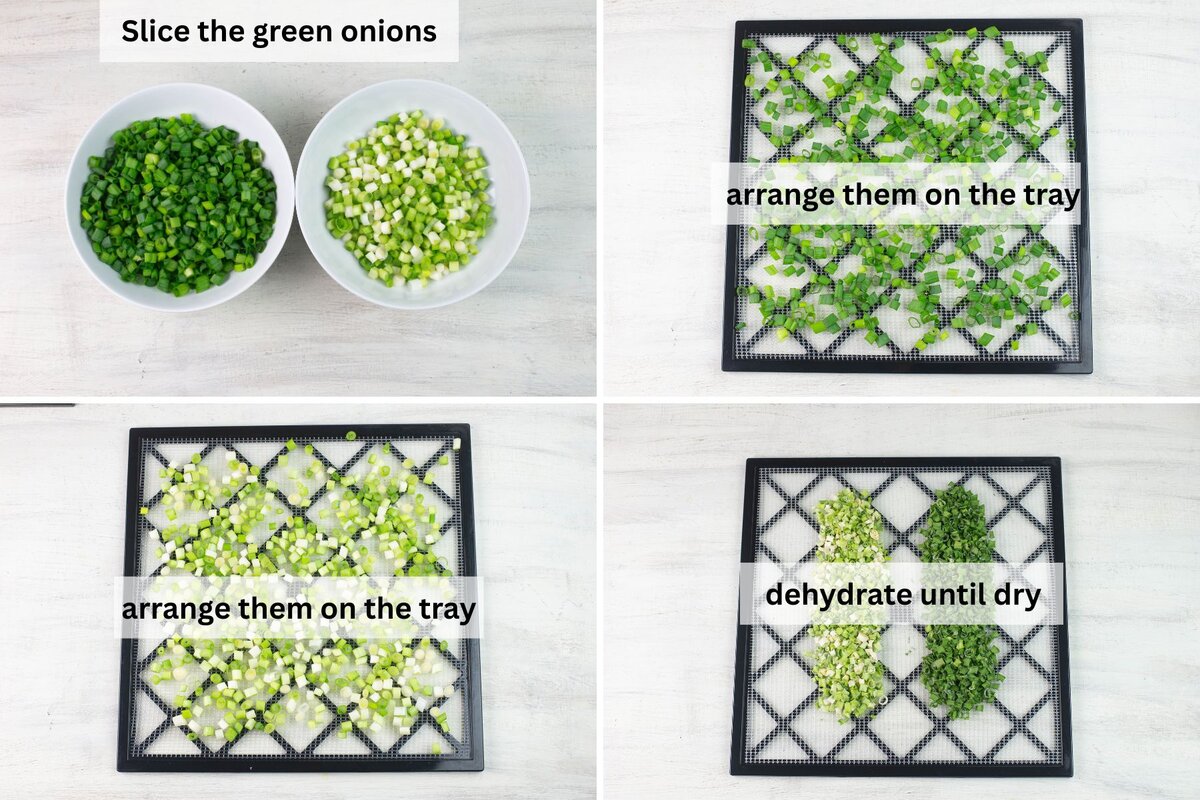
- Step 1: Cut the green onions into ⅛ to ¼ inch pieces.
- Step 2: Spread the pieces of onions in a single layer on each dehydrator tray.
- Step 3: Load the filled trays into the dehydrator.
- Step 4: Set the temperature to 105 degrees. If your model has a timer set it to 4 hours to start.
- Step 5: After 2 hours rotate the trays and check to see how dry the pieces are. Most likely they are not done. Make adjustments to the timer if needed.
- Note & Exception: If you are using a dehydrator that has a preprogramed temperature without the ability to adjust it they could be done. Those types run at a much higher temperature. One that I had years ago ran at 165 F. degrees. If you are using one of these models the onions pieces will dry much quicker. Keep an eye on it.
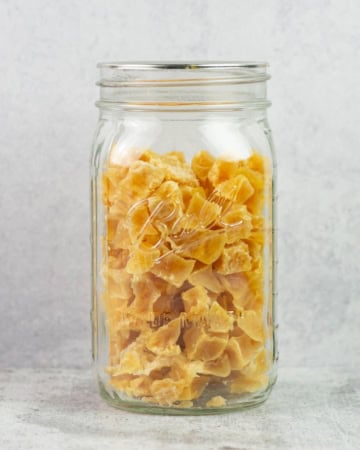
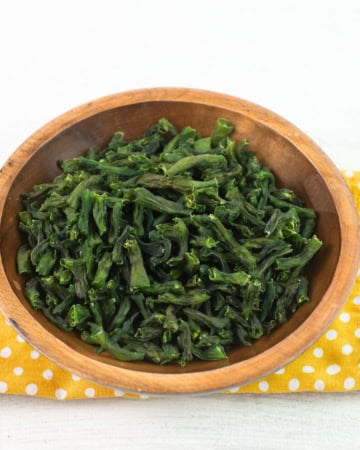
- Step 6: For those of us using the 105 degrees to dehydrate it will probably take anywhere from 6 to11 hours for them to be done. The green tops will be done way sooner than the white pieces. Remove the trays of the green tops from the dehydrator once they feel brittle. Continue to dry the white tops until they are done.
How to know when they are done?
Green onion or scallions should feel crispy or brittle when they have been dehydrated completely.
The green tops of onions took me 4 hours to dry completely and feel crispy when I squeezed a small handful.

The thicker white pieces took 7 more hours to get to the crispy stage. Keep in mind that the thickness and size you cut the pieces, and the temperature and humidity of your home all play a part in the time it will take for your trays to reach the perfect dried stage.
Be sure to allow the onions to come to room temperature before you check to see if they are crispy.
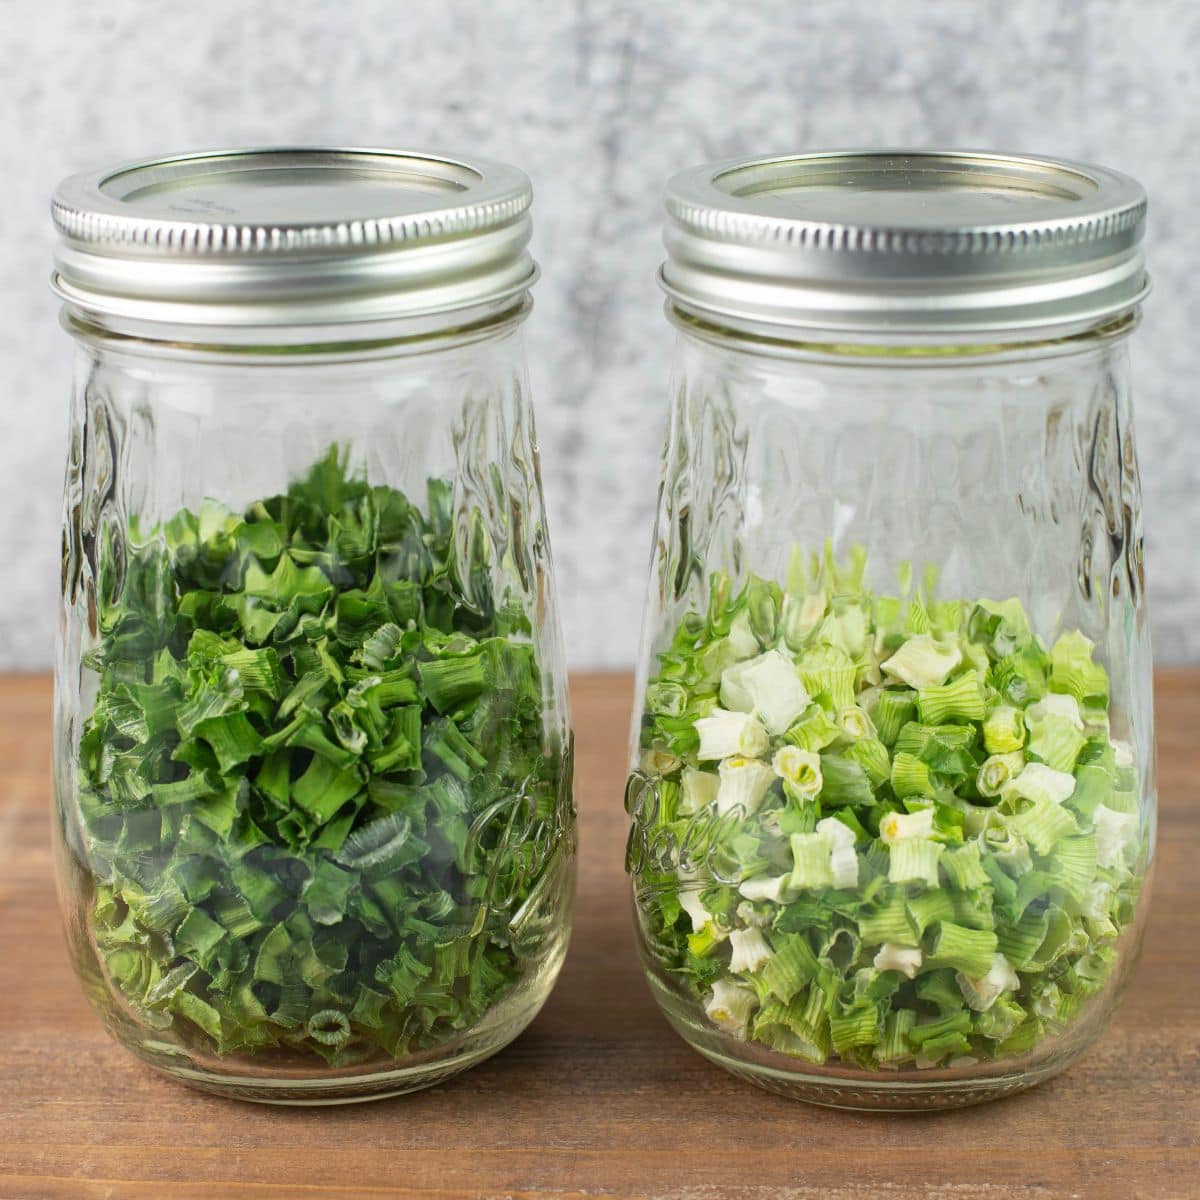
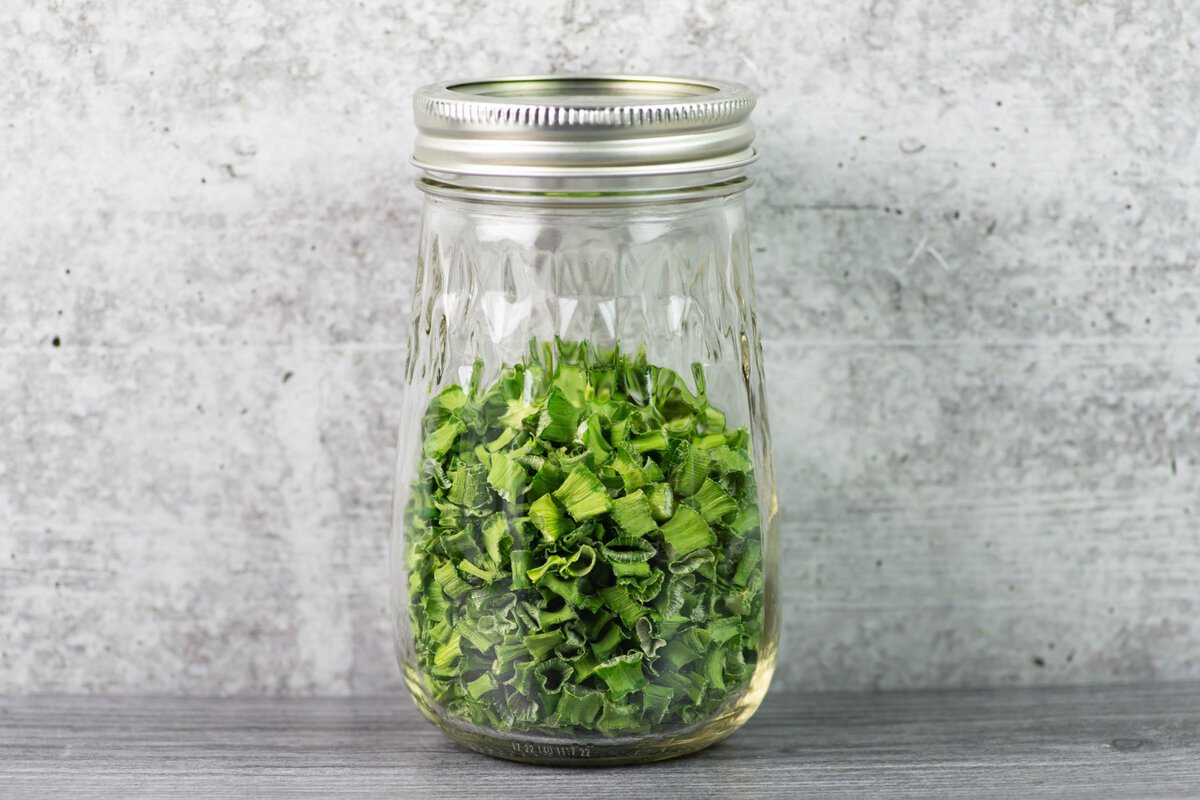
How to Store and Use
Storage is the second most important step when it comes to using dehydration as a preserving method.
Always store in an air tight container. You can use glass jars, vacuum sealed jars, vacuum sealed bags and mylar bags.
Ways to use dried green onions
- Add them to the pot with soups, stews, and sauces as you cook them. The liquid will rehydrated them.
- Sprinkle some into your salads to add a mellow onion flavor.
- Stir some into egg and meat breakfast casseroles, tuna salad wraps or chicken salad, potato salad, pasta salad or sprinkle them over a baked potato.
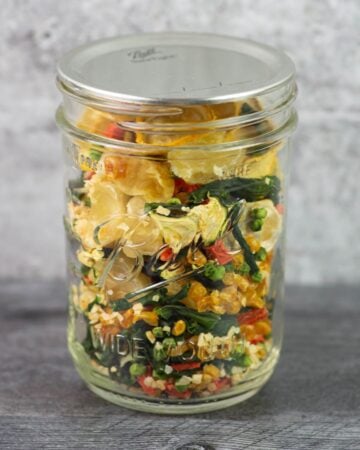
- Sprinkle some over a bowl of Ramen. Ramon fans should check out my dried vegetable soup mix. It is perfect for homemade Ramen bowls.
How to rehydrate dried green onions?
Place the desired amount of dried green onion slices into a bowl and cover them with hot water. Allow to steep until softened.
Make Dried Onion Powder
Grind them up with a spice grinder and make homemade onion powder like I did when I made dried spinach powder for my smoothies.
Dried onion powder is great when you want to add a little bit of onion flavor to mashed potatoes, soups, or stews. Using vegetable powders is a great way to add flavor but also sneak the flavor in so picky eaters don't see the vegetables.
After dehydrating use a spice blender to grind the dried onion pieces into a fine powder.
⭐Leave a Star Rating
Have you tried the recipe? Leave a star rating in the recipe card below to let me know how the recipe turn out.
Email questions or recipe requests to flouronmyface@gmail.com. Follow me on Pinterest, YouTube, Instagram and Facebook.
How To Dehydrate Green Onions
Equipment
Ingredients
- 4 bunches Green onions or Scallions
Instructions
- Cut the green onions into ⅛ to ¼ inch pieces.
- Spread the pieces over each dehydrator tray in a single layer. Load the trays into the appliance.
- Turn the dehydrator on and set the temperature to 105 °F
- After 2 hours rotate the trays and check to see how dry the green onion pieces are.
- Every couple of hours check for doneness. The green tops will dry in about 6 hours total. It will take about another 4 to 6 hours for the thicker white pieces to dry completely.
- Once done allow to cool completely before storing.
- Transfer to mason jars, air tight containers or mylar bags.
- Dehydrated onions will last a year or longer depending on how well you store them.
Recipe Expert Tips
- Dried green onions can be used the same way fresh scallions or green onions can be used.
- Cut the onion parts separately.
- If using a dehydrator that does not have a temperature control check for doneness every hour. These models usually run at about 165 degrees. Read the manufacturers guide that came with it. Anything you are dehydrating will be done much more quickly because of the higher temperature.
Joanne
Such a great idea! We got a huge batch of green onions from our CSA box this summer and I sliced them up and threw them into a giant freezer bag to store in the freezer since I knew I would not be able to use up all the fresh ones before they went bad. I was thinking it would be great to dry them out though!