


Want to dehydrate vegetables for long term storage? Drying vegetables like carrots is very easy to do.
Using a dehydrator will help the process go quicker. Before you know it you will be making dehydrated vegetables and looking for more food dehydrator recipes so you can preserve all your favorite vegetables and have them in your pantry to cook with all year long.
Dehydrating vegetables is one of the easiest ways you can save money on groceries.
You can preserve them when they are fresh from the garden or you buy them in bulk when the price is cheaper.
One of the best advantages of dehydrating vegetables or fruits is you never have to worry about having fresh vegetables on hand for your meals.
FREE Dehydrator Guide
New to dehydrating and not sure where to start? Grab my free Dehydrating Quick Guide to get started.
The pantry will always be stocked with your favorite vegetables that you never have to worry about going bad before you have a chance to cook with them.
Dehydrated vegetables have a much longer shelf life than fresh and can be rehydrated to be used in a variety of recipes.
It also helps to maximize storage space and reduces weight, making them a great option for storing.
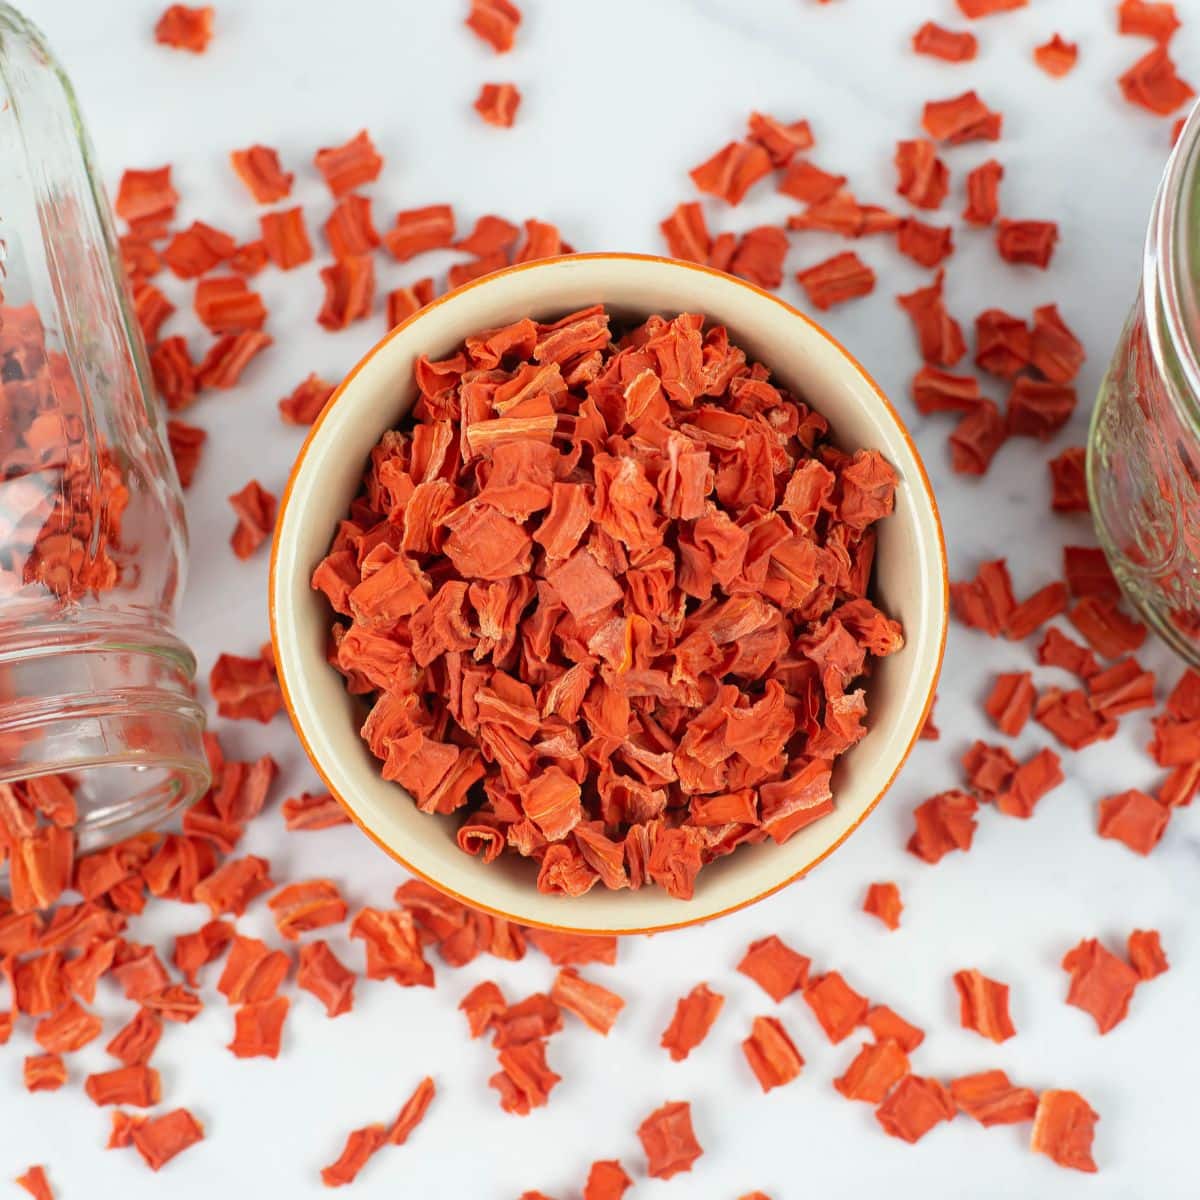
6 Easy Steps To Dehydrate Carrots
Dehydrating sliced or diced carrots is an easy, inexpensive safe way to preserve carrots in 6 easy steps. While removing all of the moisture by air drying makes them shelf stable they are an excellent source of beta carotene, fiber, and vitamins A, C, and K.
- Prep: Peel, trim and slice or dice fresh carrots.
- Pre-Treatment: Carrots should be blanched before drying. Blanching cuts back on oxidation of some fruits and vegetables that tend to turn brown.
- Dehydrating: A food dehydrator is used to preserve foods by drying. Sliced coins, cubes or shredded carrots can be dried. Choice the shape and cut of carrot based on how you plan to use them.
- Conditioning: Conditioning dried vegetables is an important step that should not be skipped. During the conditioning process tiny amounts of trapped moisture will evaporate if the carrots have been dehydrated properly. If the carrots have not been properly dried you will know quickly and be able to return them to the dehydrator to finish drying properly avoiding mold, a waste of time and money. Moldy foods will need to be thrown away. Without conditioning it could be many months later when you discover that they have not been dried completely.
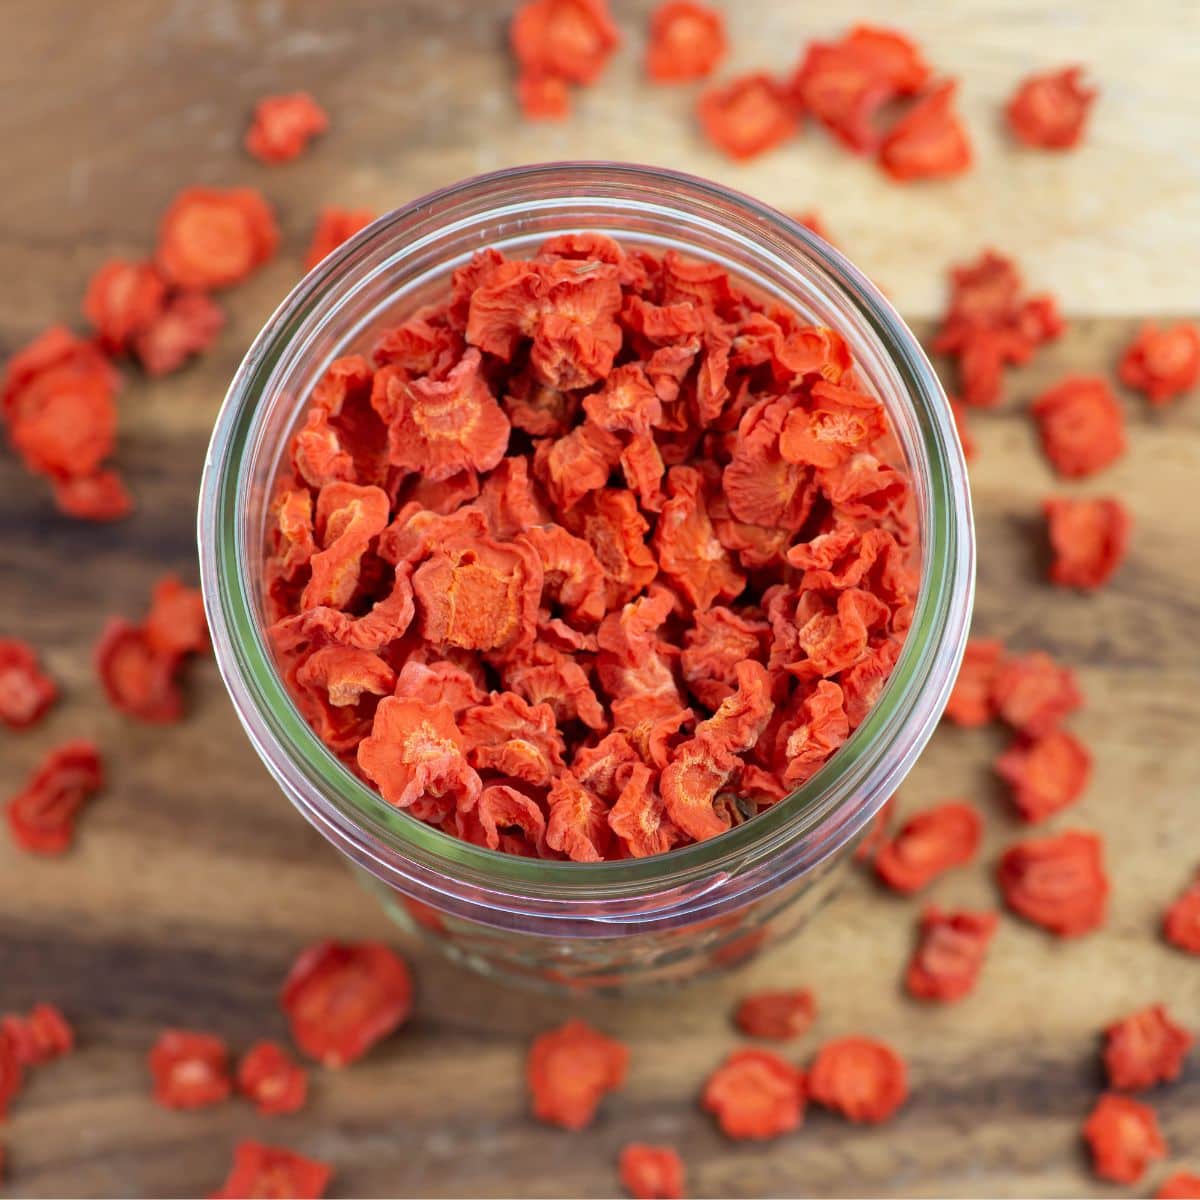
- Storage: Airtight containers, glass jars or vacuum sealing jars or bags can be used to properly store your dried foods so they last for months or years.
- Using: While some dried vegetables will be eaten as a dried snack many of them will be used as ingredients when cooking or making backpack meals. You can rehydrate or reconstitute them by pouring boiling water over them and letting them soak, steam them, or by adding them right to the pot when cooking soups or stews.
Ingredients & Supplies
- fresh carrots
- a food dehydrator
- a mandolin, very sharp paring knife or a vegetable chopper
- cutting board or mat
- large pot to use to blanch the carrots
- a plastic dishpan basin or large bowl that will fit in the sink
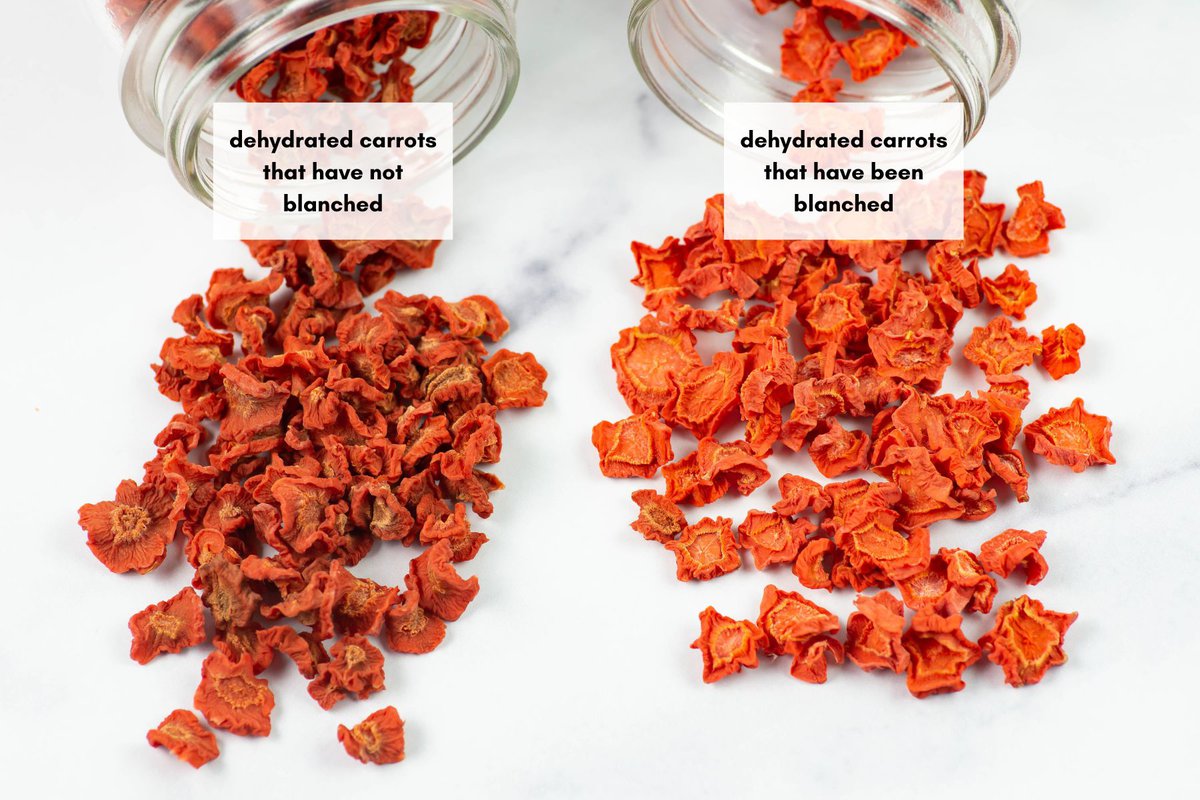
Blanching vegetables before dehydrating
Carrots should be blanched before dehydrating. Blanching keeps the colors bright, helps with the texture and flavor of vegetables that will be dehydrated.
Directions
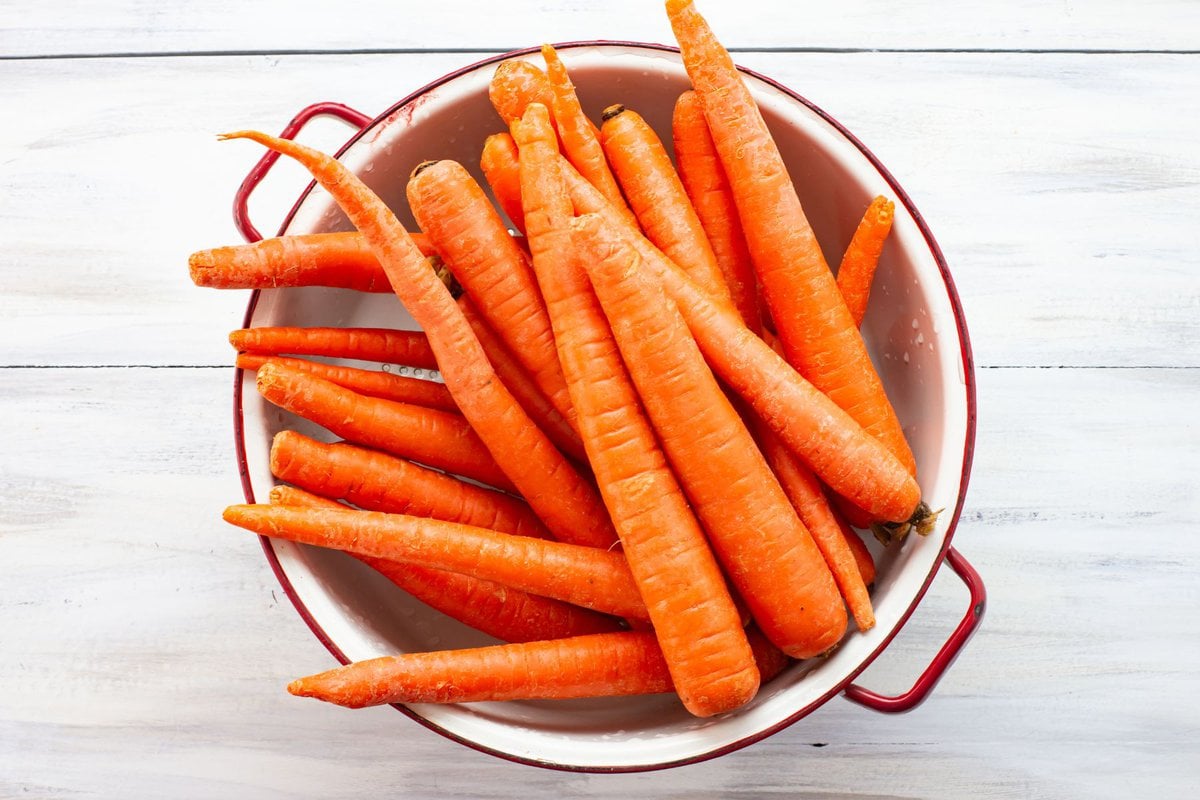
Prepping fresh carrots to dehydrate: Wash and scrub the carrots to remove all dirt. Trim the ends and peel the carrots.
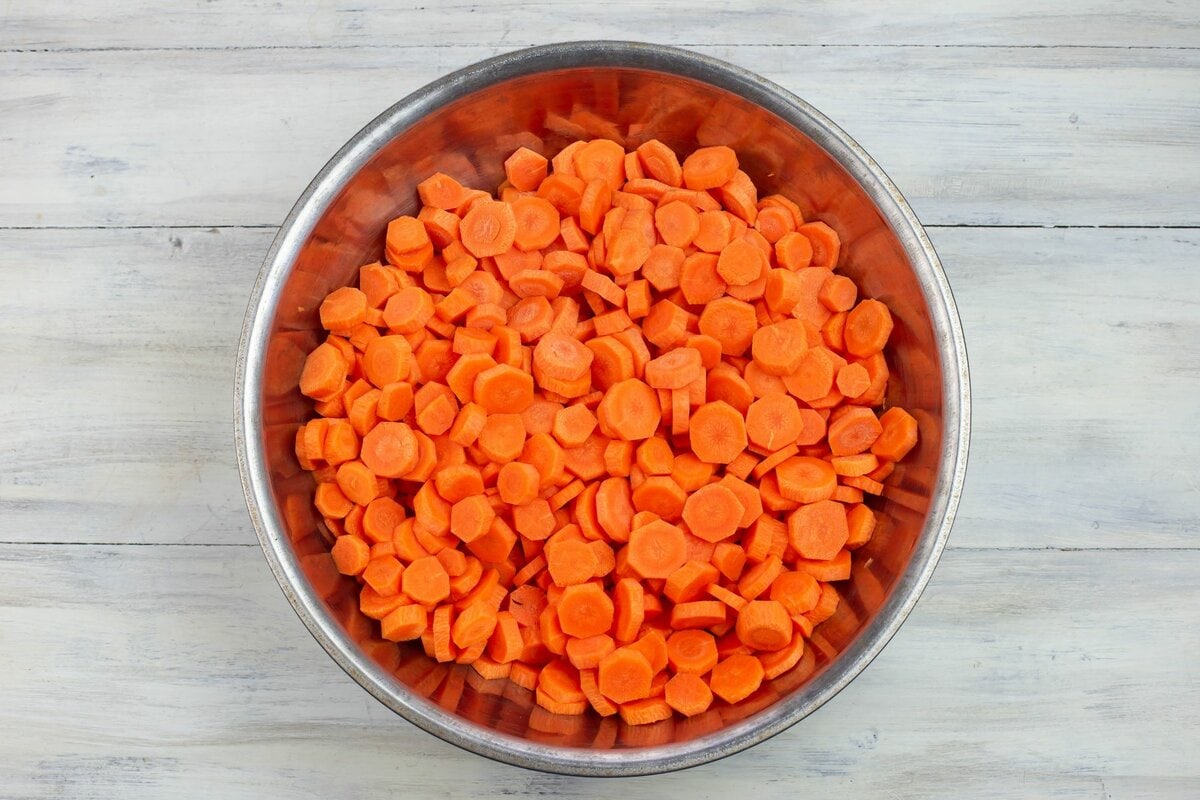
How to cut the carrots: Choose to slice or cube the carrots for drying. Slice the carrots into thin round slices about ¼ inch thick for dried sliced carrots.
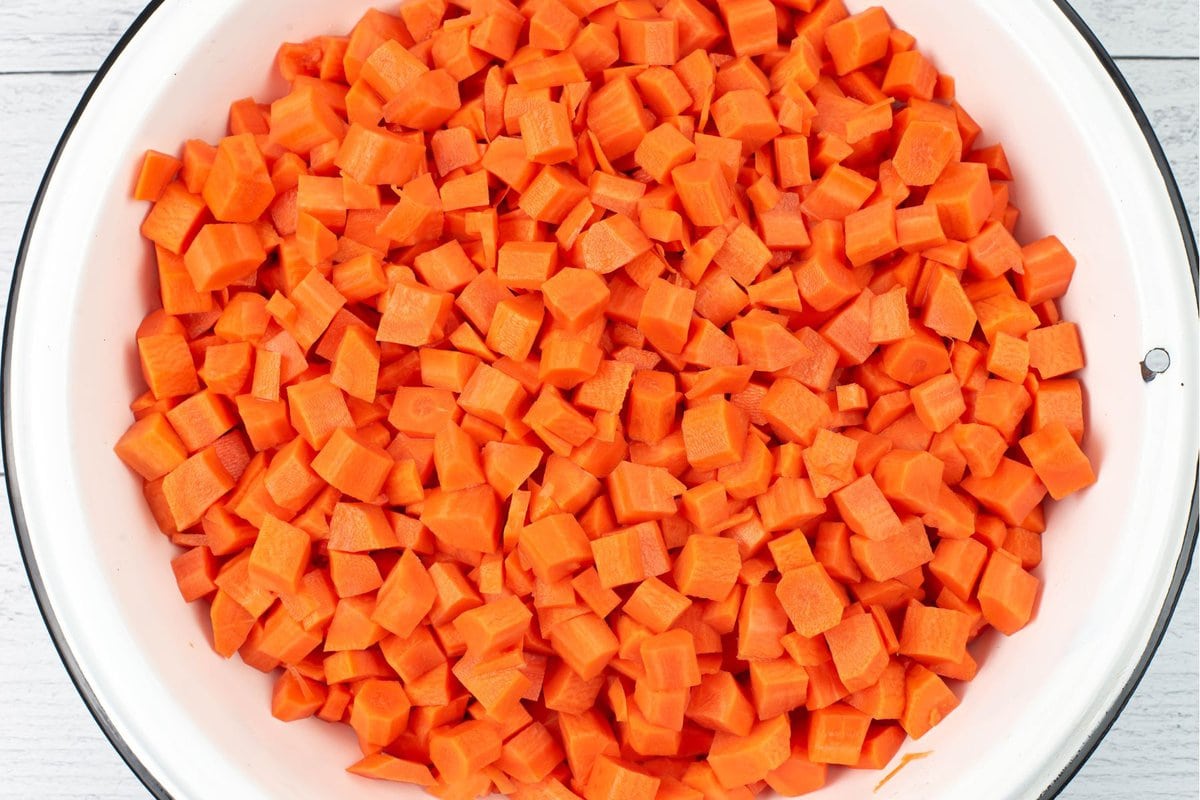
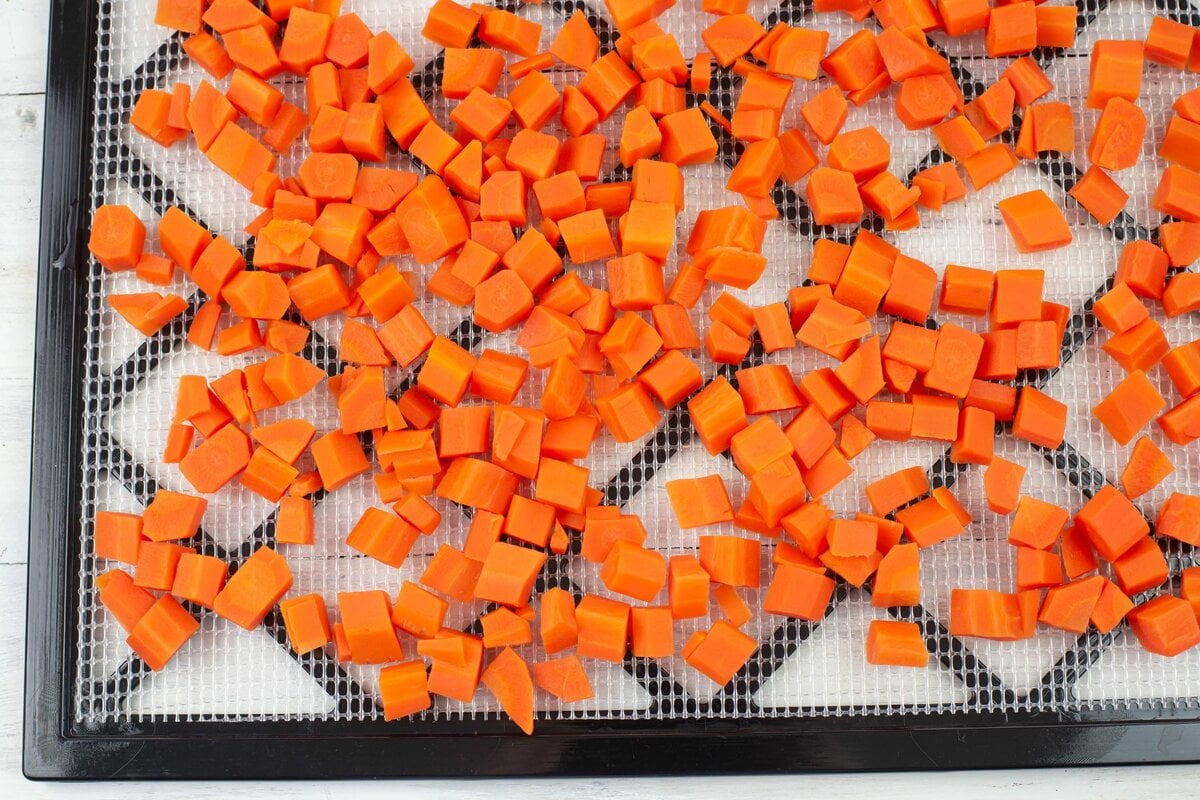
Or use a knife or vegetable chopper to cube the carrots into ½ inch cubes.
I used this Vegetable Chopper that came with 3 sizes of blades to cube the carrots.
I used the medium size blade that made ½ inch sized cubed pieces of carrots. A vegetable chopper is so much easier to use than to try to cut the cubes by hand with a knife.
Step 3 Blanch the sliced carrots: You can blanch the carrots in boiling water or by steaming. I used the boiling water blanching method.
Bring a large pot of water to boiling. Add the sliced or cubed carrots to the water and return to a boil. Blanch sliced carrots for 2 minutes and the thicker cubed carrots for 4 minutes. Remove them from the boiling water with a slotted spoon or drain through a colander.
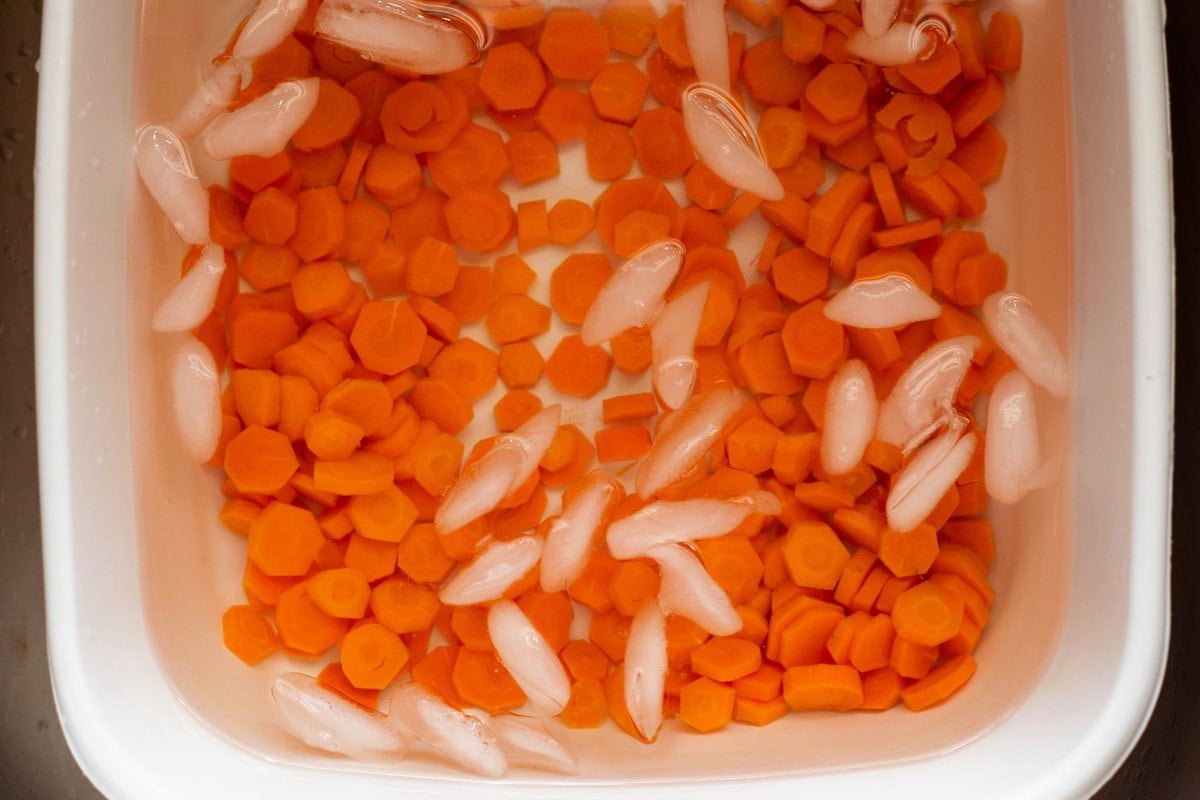
Step 4 cooling blanched carrots quickly: While you are waiting for the carrots to blanch fill the plastic basin or a large bowl with ice cubes and a small amount of cold water to create an ice bath.
Immediately plunge the hot blanched carrots into the ice bath to quickly cool them down and to stop them from cooking and getting soft.
Step 5: Once the carrot pieces have cooled down drain them very well using a large colander. You will want to remove as much water as possible before loading them onto the dehydrator trays. I like to use a salad spinner to remove most of the water.
The more water you can remove at this point will help speed up the drying time.

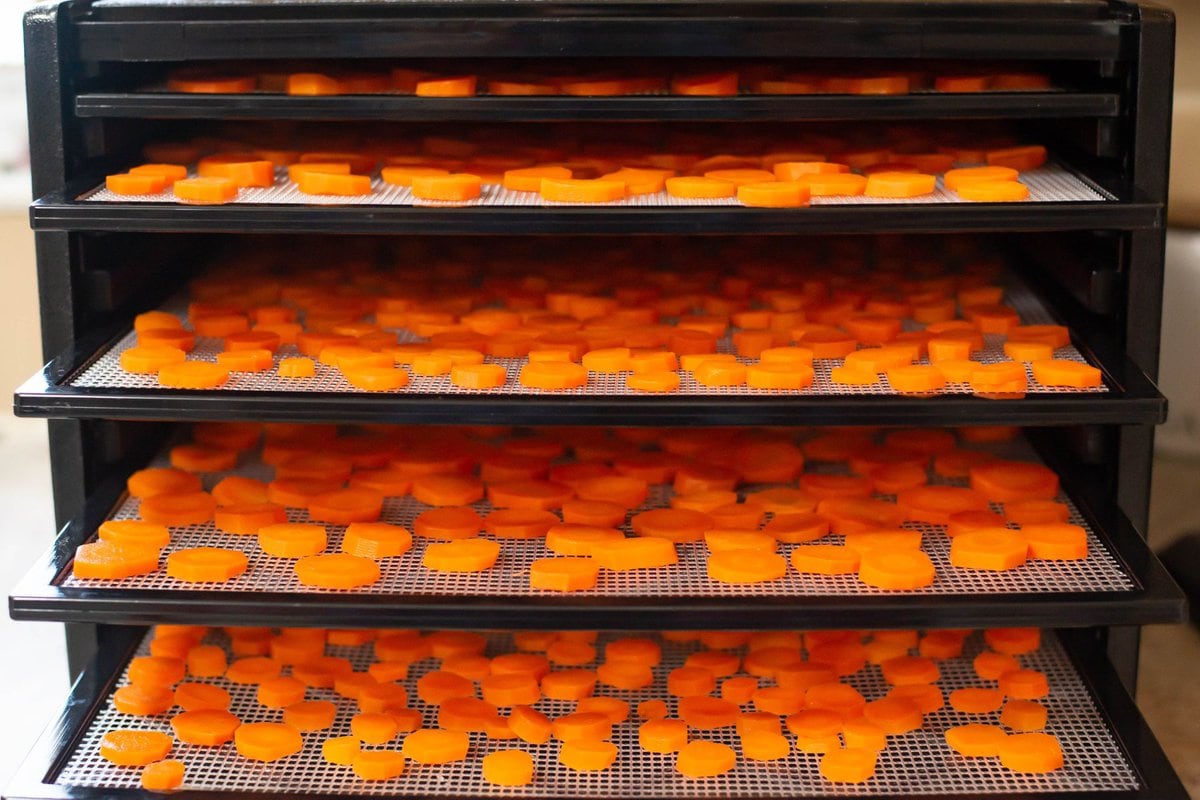
Step 6 loading the dehydrator trays: Arrange the blanched and cooled carrot pieces in a single layer on the dehydrator trays.
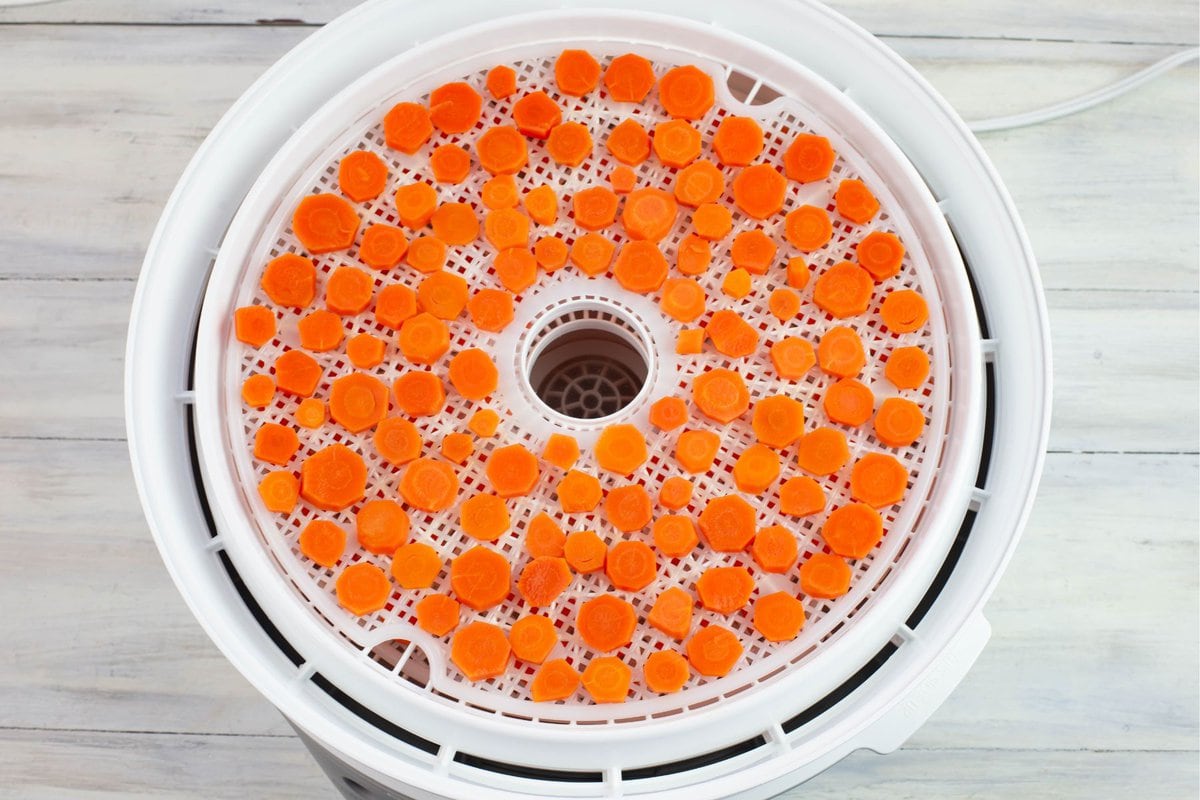
The number of trays you will be able to fill will depend on the amount of carrots you will be dehydrating and the type of dehydrator you are using.
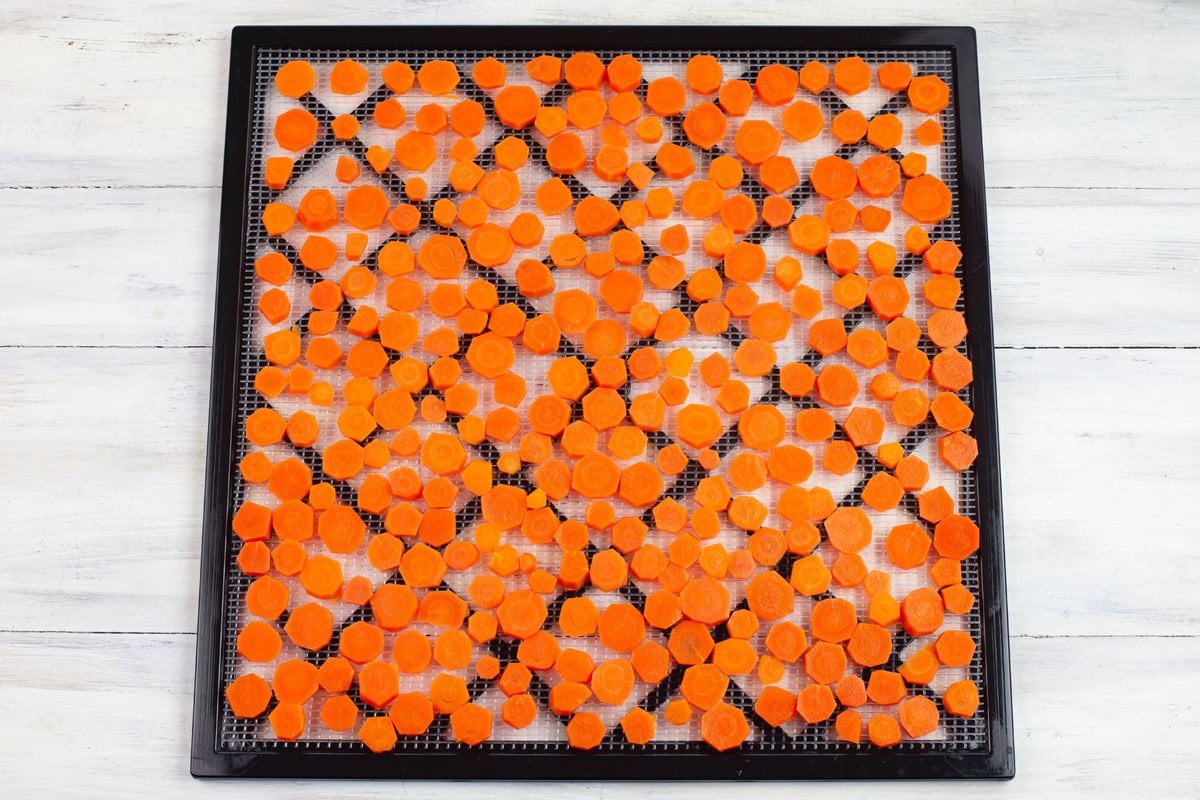
As you can see from the photos above a square tray that comes with the (affiliate link) Excalibur Dehydrator will hold more carrots than the round trays.
I filled 5 square trays and a couple of round trays with the peeled and sliced 5 pounds of carrots I was dehydrating.
Slide or load the trays into the appliance and place the cover on.
Step 7 dehydrating carrots: Set the dehydrator temperature to 125 F. degrees. If your model has a timer set it to 6 hours.
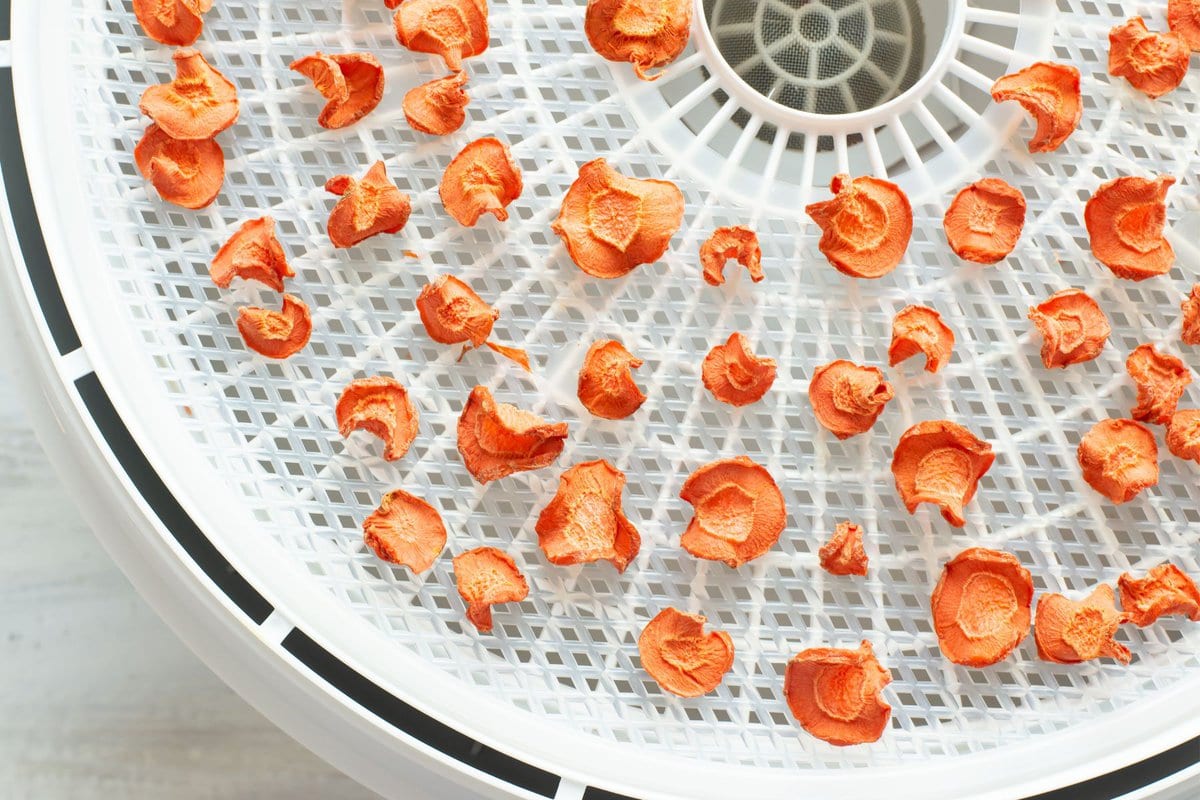
Dehydrate the carrots for 4 to 6 hours or until they are completely dried through the center of each piece.
How will you know when the carrots are done drying?
Every couple of hours pull out a tray and check the carrots to see how dry they are. Touch the entire piece, press down on the center then break the piece in half down the center.
If you feel any moisture at all they are not done drying.
Thinner smaller pieces will dry quicker and will feel leathery and dry to the touch. These pieces can be removed from the dehydrator when they are dry.
Continue to dry the thicker larger pieces if needed until they are completely dry. You can turn the pieces over and rotate the trays to help them along.
You should rotate the trays every few hours for even drying.
If after 6 hours the pieces are not dry continue to dry them for a few more hours. Check them every hour until they are done.

Drying times will vary as many factors will determine the exact drying time in your home environment and the type of dehydrator you are using.
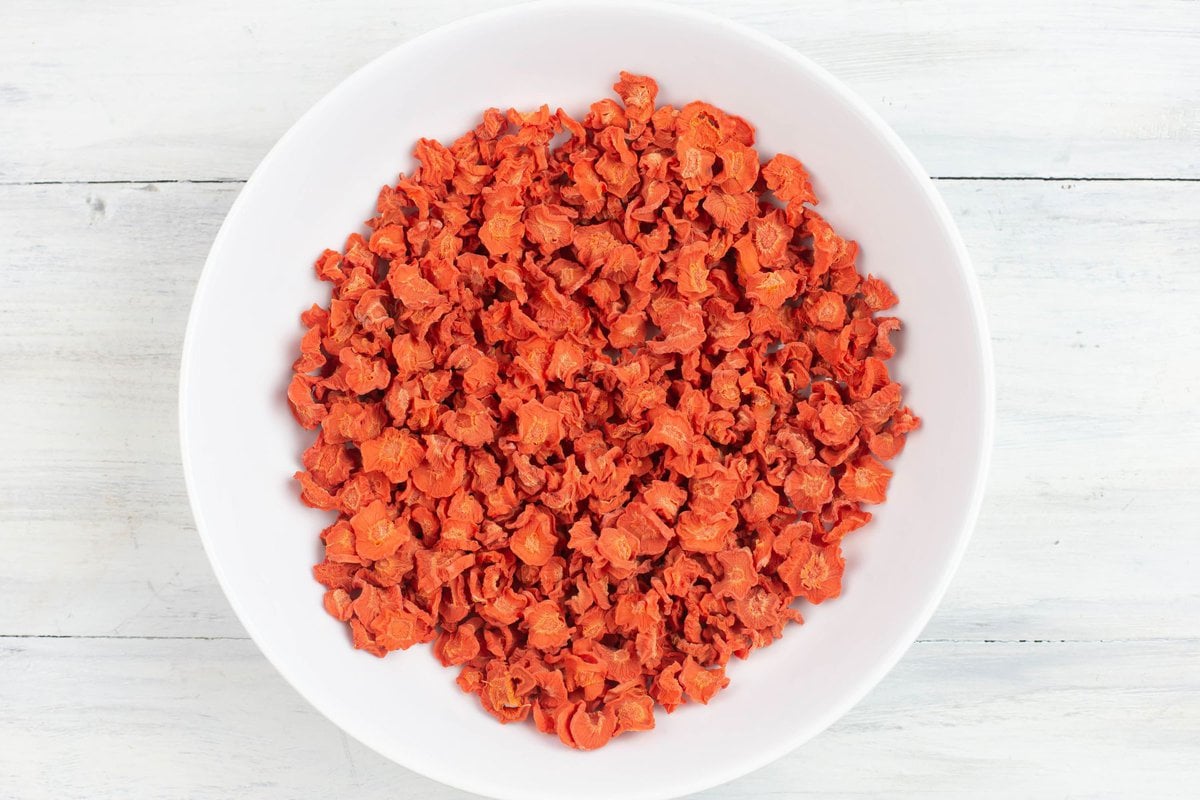
Transfer the dried carrots to a bowl and allow to cool to room temperature.
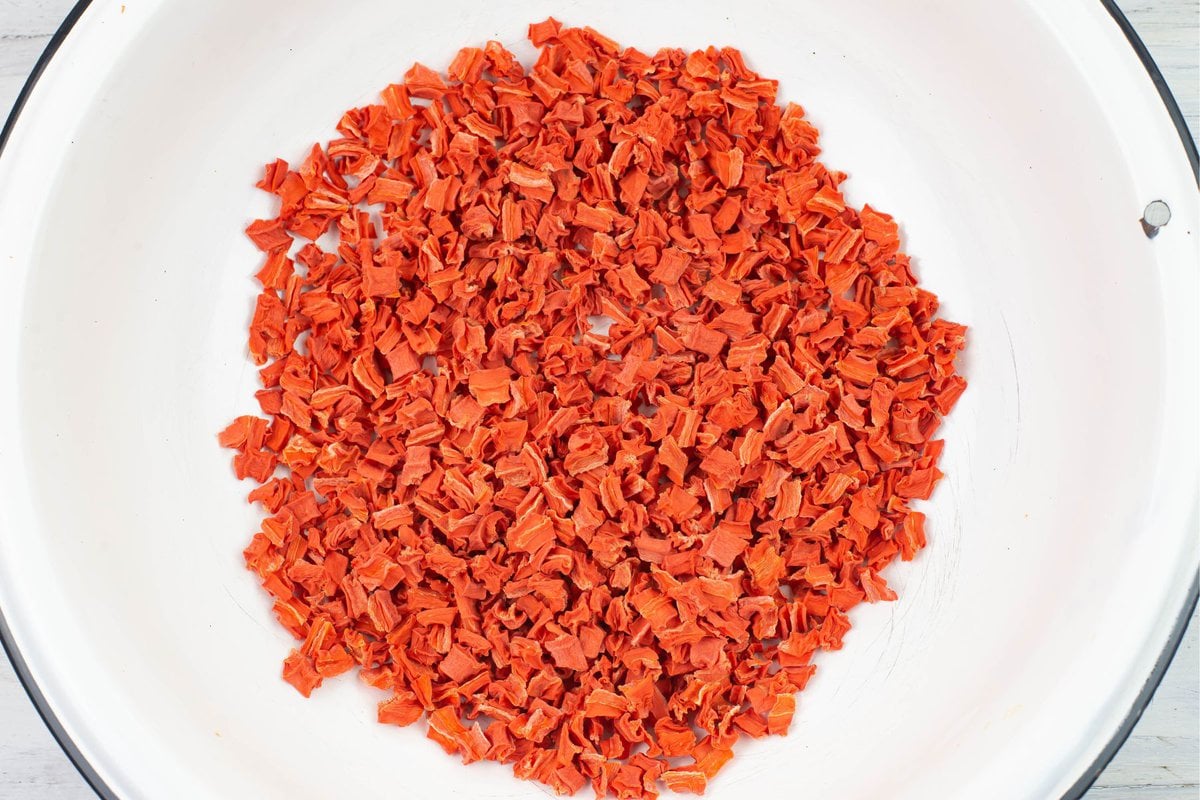
Step 7 Conditioning dried vegetables: Most vegetables and fruits should be conditioned after dehydrating and before storing.
To condition the dried carrots place them in a glass jar with a lid.
Place the jar in a safe place out of direct sunlight and any type of hot or cold air like a heating or cooling vent.
For 5 days occasionally shake the jar to shift the pieces around.
Each day check the jars for any sign of moisture forming on the inside walls of the jar.
At the first sign of any moisture immediately return the carrot pieces to the dehydrator and dry them until they a dry and leathery to touch. You must condition them again after the second drying.
If no moisture is present the dried carrots have been dehydrated completely. It is safe to store them in the jar in a cool dark cabinet or pantry and use as needed.

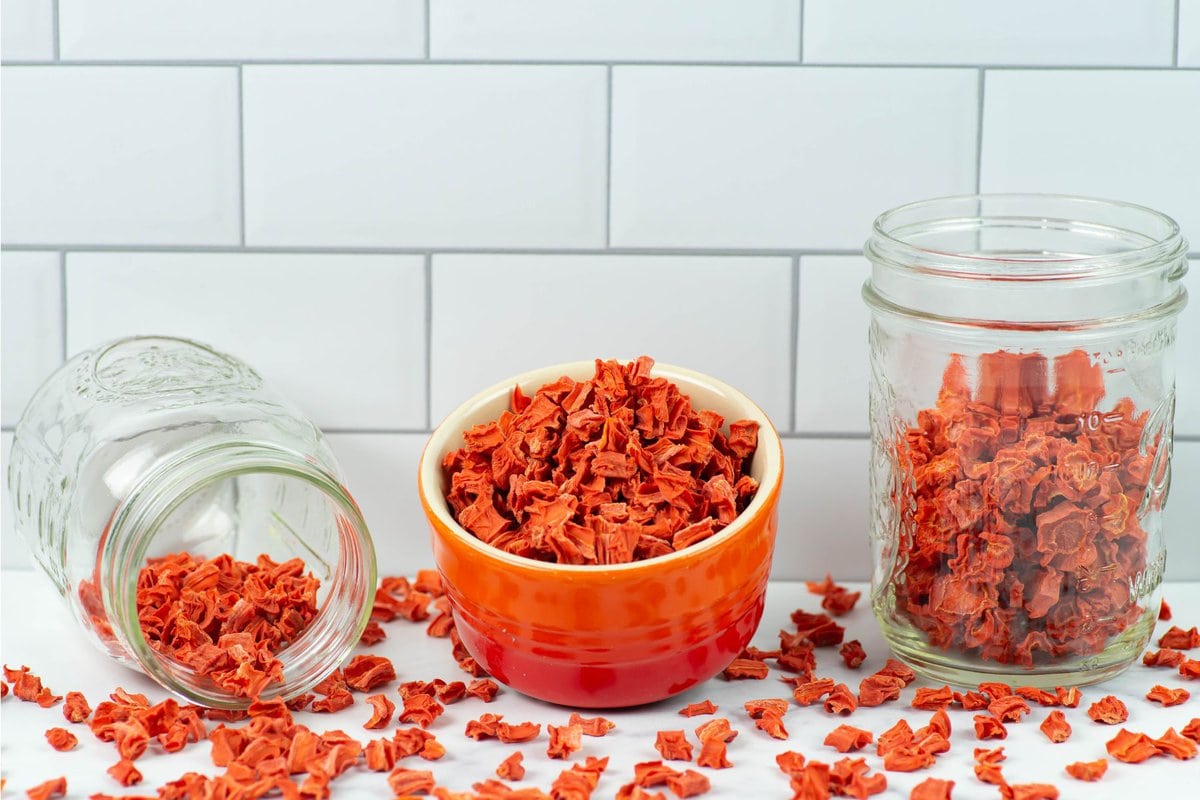
How to store dehydrated carrots
There are a couple of options when it comes to storing dried vegetables. Each option has its pros and cons.
- Zip topped baggies: The easiest way to store dehydrated carrots is to put them in a zip topped bag. This option is the least expensive storage solution. But it also has the shortest shelf life. The bags are not airtight. I would not suggest using them except for in the case of a dried snack that will be eaten within a day or two.
- Airtight food grade plastic containers: These handy dandy containers are inexpensive and can be purchased at almost all retailers. Most of them are a good option for storing leftovers but when it comes to keeping air out of the container of dried food they don't do a very good job for long term storage. If you will only need to store the dried produce for a week or less before using food grade containers with a very tight fitting lid will work.
- Glass mason jars: Glass jars are my preferred method of storing my dehydrated produce. They are airtight and can be vacuum sealed using a hand pump jar sealer or a jar sealer if you have a FoodSaver vacuum sealer appliance. This method of storage will extend the shelf life of dehydrated fruits and vegetables for a year or longer.

What can affect the drying time when dehydrating fruits and vegetables?
- The type of dehydrator you are using can affect the drying times. Some models have a better air flow than others.
- The temperature the dehydrator is set on. The recommended temperature to dehydrate carrots and most other vegetables is 125 F. degrees. Some dehydrators do not have a temperature setting and will run at a higher temperature. Check your vegetables frequently.
- How thick you have sliced the carrots will also make a difference. Many people will use a vegetable mandolin to slice the whole carrots into evenly thickness so they dry evenly and will finish at the same time.
- How much moisture is in your environment. Is it damp in your house or outside? Is the humidity high? The drying times can vary from day to day and is determined by the surrounding environment. It is a good idea to place your dehydrator in a "dry" room away from windows or the sink where the humidity and temperature will fluctuate.
Pro Dehydrating Tip
- Dehydrated carrots should feel leathery when they are done. They should not feel soft, mushy or wet. Always check random pieces of the vegetables you are dehydrating.
- Check the larger thicker pieces. Press a finger into the center which will be the last area to dry.
What kind of dehydrator do you need
Food dehydrators come in many shapes, sizes and price points. I own three dehydrators. Two round inexpensive models that I bought on Amazon and a higher end 9 tray Excalibur box dehydrator.
I use all three of them when I am dehydrating a large quantity of vegetables.
If you are new to dehydrating I suggest you start with an inexpensive round dehydrator until you decide that you are enjoying preserving food this way. Once you have decided that dehydrating is for you then investing in a more expensive model will be worth the expense.
How long do dried carrots last?
- Properly dehydrated sliced or cubed carrots will last months if not years if sealed in an airtight container properly. If you vacuum seal the jars or use vacuum sealing bags to store them out of direct sunlight they can last years.
- To help extend the shelf life you can place a food grade oxygen absorber packet in the jar.
Recipe FAQs
Yes, fresh carrots should be blanched before dehydrating to keep them from browning.
Dehydrated carrots can be used in any recipe that calls for sliced or diced carrots like soups and stews. You can rehydrate them with hot water to plump them back up. Or you can add them to a pot of soup or stew as it is cooking. The dried carrots will absorb the cooking liquids and rehydrate as it cooks.
Recipe Expert Tips
Tips to make this recipe a success.
- Blanching carrots: blanching does make a difference in the finished dried carrots.
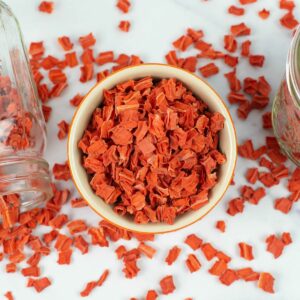
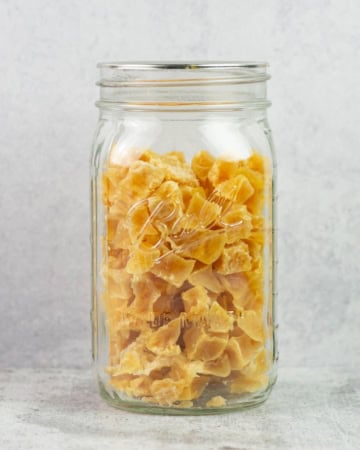
- When dehydrating carrots keep in mind that the dried carrots will shrink over 50%. 5 lbs. of dried carrots can be stored in two mason jars.
- If a recipe calls for ½ cup of fresh sliced carrots you will only need to use ¼ cup of the dehydrated carrots for your recipe.
- Store dehydrated vegetables in a cool dark cabinet away from direct sunlight. Sunlight will cause color changes to any dehydrated fruit or vegetable. The heat from the sun can also cause moisture to form on the inside of the jar ruining the dried foods.
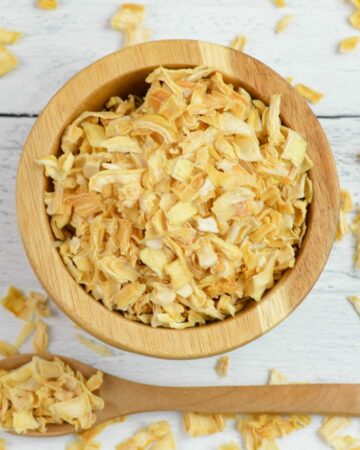
More recipes preserving vegetables
Learn how to preserve these other vegetables by dehydrating.
Email questions or recipe requests to flouronmyface@gmail.com. Follow me on Pinterest, YouTube, Instagram and Facebook.
How To Dehydrate Carrots
Equipment
- Sink basin to chill down the carrots after blanching
Ingredients
- 5 lbs. fresh carrots
- water
- ice
Instructions
Prepping Carrots Before Drying
- Wash and scrub the carrots clean to remove all dirt.
- Trim the ends off the carrots and peel.
- Slice the carrots into thin round slices about ¼ inch thick.
Pre-Treatment: Blanching
- Bring a large pot of water to boiling. Add the sliced carrots and return to a boil. Blanch sliced carrots for 2 minutes.
- While waiting for the carrots to finish blanching fill a large bowl or plastic tub with ice cubes to create an ice bath.
- Remove them from the boiling water with a slotted spoon. Immediately plunge the blanched carrots into the container of ice cubes to quickly cool them down and to stop them from cooking and getting soft.
- Drain the carrots very well using a large colander to remove as much water as possible before loading them onto the dehydrator trays.
Dehydrating Carrots
- Arrange the sliced carrot pieces in a single layer on the dehydrator trays.
- Set the temperature to 125 F. degrees on your dehydrator. Dry the carrots for 4 to 6 hours or until they are completely dried through the center of each piece. They should feel dry and leathery.
Conditioning Dehydrated Carrots
- Condition the dried carrots by placing them in a glass jar with a tight fitting lid. Place the jar in a safe place out of direct sunlight and any type of hot or cold air like a heating or cooling vent. For 5 days occasionally shake the jar to shift the pieces around. Each day check the jars for any sign of moisture forming on the inside walls of the jar. If no moisture is present the dried carrots have been dehydrated completely. Re-dehydrate if you see any moisture.
Storing Dehydrated Carrots
- Store the dehydrated carrots in an airtight container out of sunlight. A cool dark pantry cabinet is the best storage option.
Video
Recipe Expert Tips
- Blanching carrots: blanching does make a difference in the finished dried carrots.
- When dehydrating carrots keep in mind that the dried carrots will shrink over 50%. 5 lbs. of dried carrots can be stored in two mason jars.
- If a recipe calls for ½ cup of fresh sliced carrots you will only need to use ¼ cup of the dehydrated carrots for your recipe.
- Store dehydrated vegetables in a cool dark cabinet away from direct sunlight. Sunlight will cause color changes to any dehydrated fruit or vegetable. The heat from the sun can also cause moisture to form on the inside of the jar ruining the dried foods.
Leave a Reply