


Imagine having a pantry stocked with a variety of vegetables, available at your fingertips regardless of the season, and without the worry of spoilage. Food Dehydrating recipes can revolutionize your food storage.
Dehydrating frozen vegetables is a game-changer for home cooks, food storage enthusiasts, and outdoor adventurers alike.
Not only does it extend the shelf life of your favorite greens (and yellows and reds!), but it also ensures you have the necessary ingredients readily available for a quick meal, no matter where your kitchen might be - from the backcountry of a hiking trail to the comfort of your own home.

The Ease and Benefits of Dehydrating Frozen Vegetables
Dehydrating frozen vegetables is a remarkably easy process that can drastically simplify preserving food. You can effortlessly stock your pantry with an assortment of dried vegetables for use in countless recipes.
These make great dehydrated vegetables to add to a Ramen recipe or any homemade soup recipe. You can grind them into a powder and use them to make your own vegetable stock.
FREE Dehydrating Guide
New to dehydrating and not sure where to start? Grab my free Dehydrating Quick Guide to get started.
Why should you consider dehydrating store bought frozen vegetables? The benefits are plentiful:
- Long Shelf Life: Dried vegetables can last for months, even years, when stored properly, reducing food waste.
- Nutrient Retention: The dehydration process retains most of the vitamins and minerals in the vegetables.
- Space Saving: Dehydrated vegetables take up less space in storage, making them perfect for smaller kitchens or compact packing for trips.
- Reduced Weight: For hikers and campers, dehydrated vegetables are lightweight and easy to carry.
- Versatility: They can be rehydrated for use in cooking, making them versatile pantry staples.
Choosing the Right Dehydrator
When selecting a dehydrator, consider the following features:
- Capacity and space: Look for a size that fits your typical batch needs and you have the space to set it up to use.
- Adjustable Temperature Control: Different vegetables may require different temperatures. A dehydrator with an adjustable temperature is a little more expensive but worth it in the long run.
- Timer with Auto Shut-off: Offers convenience and prevents over-dehydrating and will shut off automatically if you need to run the dehydrator late at night.
- Even Air Flow: Ensures consistent drying throughout the batch.
Recipe Prep
- Thaw the frozen vegetables and drain well.
Recipe Name-Ingredients
Below is a quick look at the ingredients and directions. You can find the entire ingredient amounts and step by step directions in the recipe card below. P. S. You can also save your favorite recipes to your personal recipe box! ⬇️
👇See the step by step directions below!
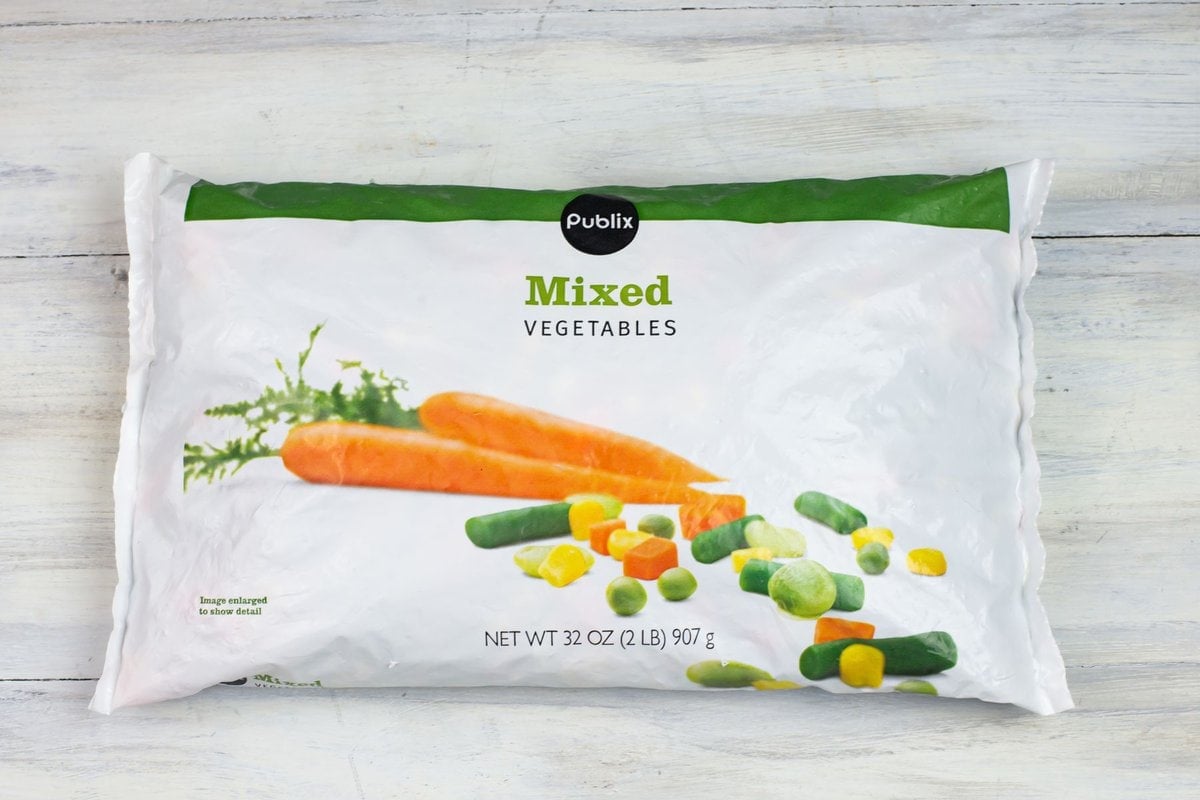
All you need is a few bags of frozen mixed vegetables that you have bought on sale.
And you are on your way to stocking the pantry with ready to use soup or stew vegetables any time of the year.
- bags of frozen mixed vegetables
Step-by-Step Directions to Dehydrate Frozen Vegetables
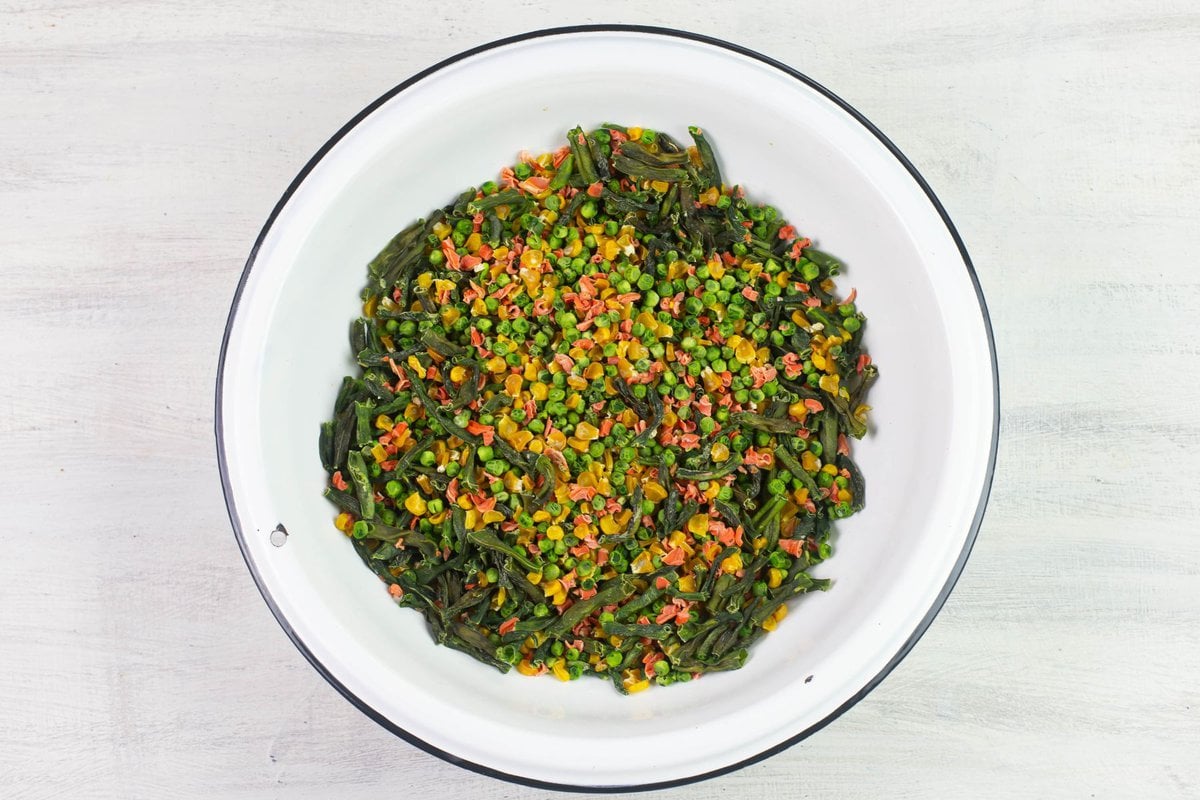
- Step 1: Select Quality Frozen Vegetables: Choose any type of frozen vegetable. Leafy greens, peas, corn, carrots, and peppers are known to dehydrate well. I am using a basic mixed vegetables that include carrots, corn, green beans and peas.
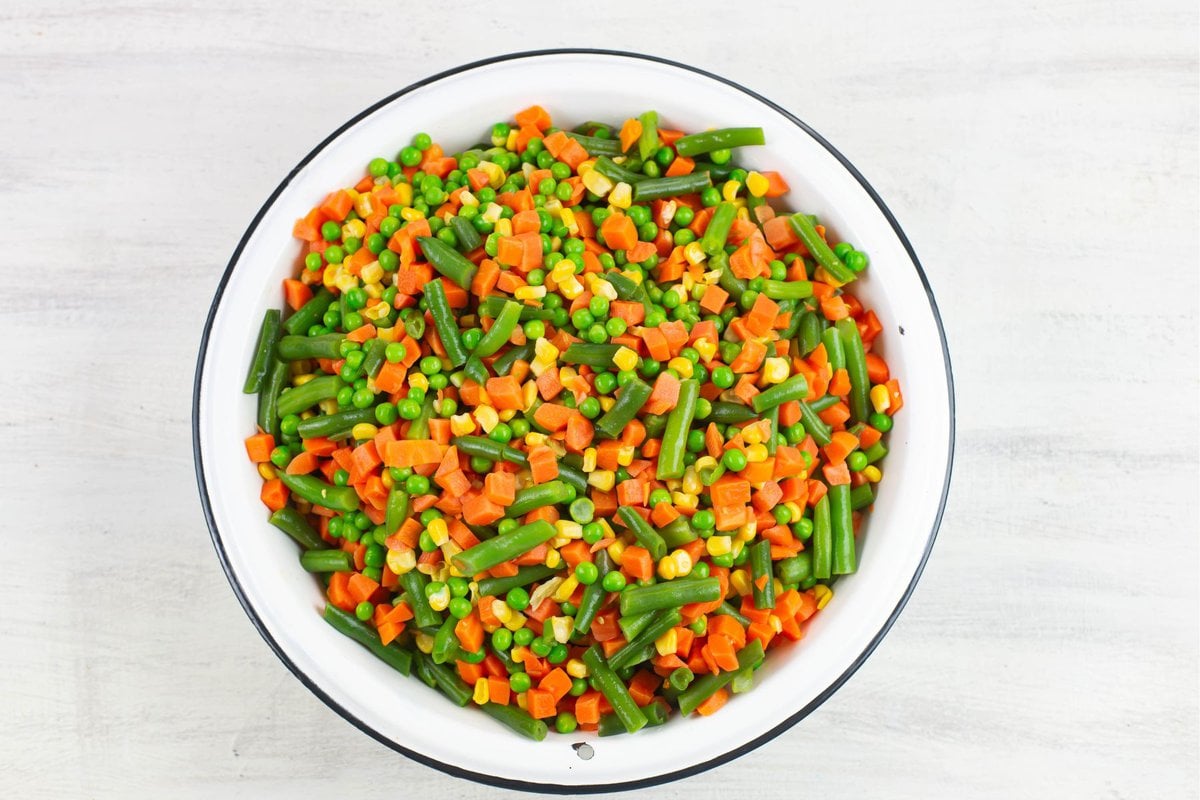
- Step 2: Defrosting: Thaw the mixed frozen vegetables and drain them well in a colander first to speed up the dehydration process. The less moisture the faster they will dehydrate.
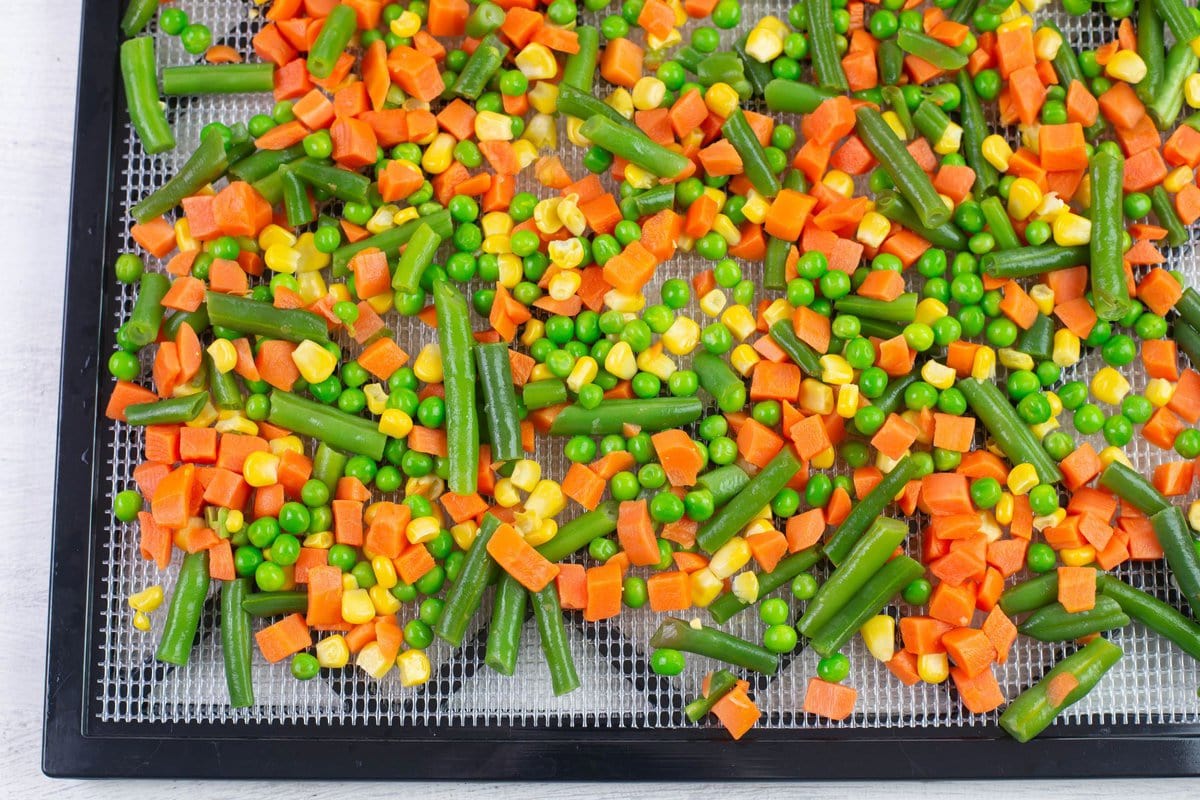
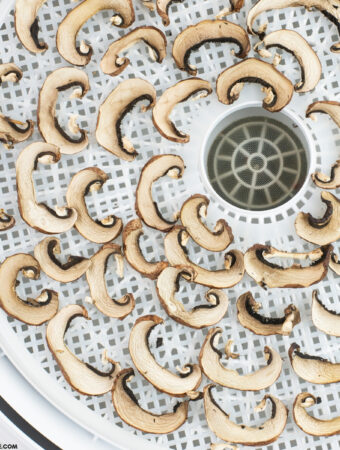
- Step 3: Arrange on Dehydrator Trays: Spread the vegetables evenly on the dehydrator trays.
- Step 5: Set Temperature: Follow your dehydrator's guide; temperatures typically range from 125°F to 135°F.
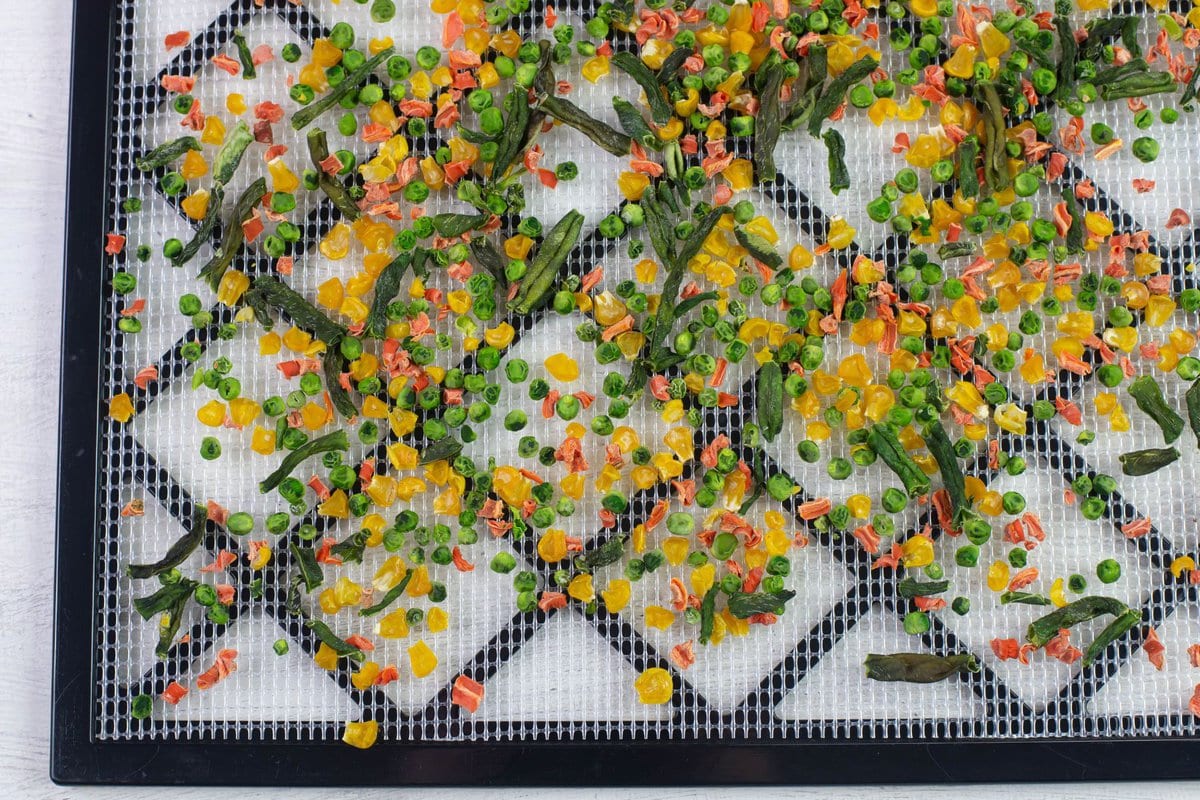
- Step 6: Drying Time: Expect anywhere from 4 to 10 hours depending on the vegetable and thickness you have covered the tray. It took 4 hours to completely dry these mixed vegetables.
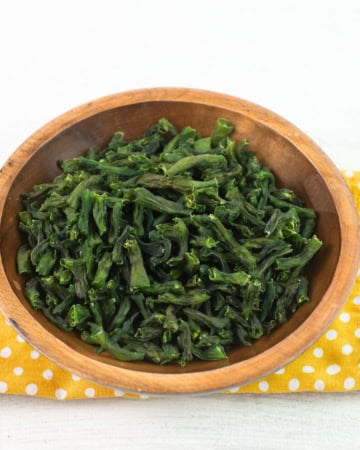
- Step 7: Check for Dryness: Vegetables should be brittle or very tough when adequately dried.
- Step 8: Cool Down: Allow the dehydrated vegetables to cool to room temperature before transferring them to storage containers.
Using Dehydrated Frozen Vegetables in Recipes
Dehydrated vegetables are not only a convenient option for long-term storage but also an inventive way to enhance your cooking with concentrated flavors and nutrients. Here are some creative ways to incorporate them into your recipes:
- Soups and Stews: Rehydrate dehydrated corn, dehydrated bell peppers, and dehydrated mixed vegetables directly in the liquid.
- Casseroles: Mix in with other ingredients, and they'll rehydrate as it cooks.
- Trail Mixes: Enjoy as a crunchy snack on their own.
- Backpacking Meals: Lightweight and easy to pack, they rehydrate quickly with boiling water.
- Seasoning Blends: Grind into powder for homemade vegetable stock powders.
- Ramen Soup Vegetables: Make your own customized Ramen Soup with dehydrated mushrooms, hot peppers and dried soup vegetables.

Benefits of Dehydrated Vegetables for Outdoor Adventures
Dehydrated vegetables are a boon for hikers and campers who need to pack light but still want nutritious meals on their adventures.
- Lightweight and compact, these vegetables can be easily rehydrated with water from a campfire or portable stove, instantly expanding the range of dishes that can be prepared in the wilderness.
- They are ideal for quick trail meals, such as instant soups, stews, and pasta dishes, providing essential vitamins and a taste of home even when miles away from civilization.
Additionally, the concentration of flavors in dehydrated vegetables means that a little goes a long way, helping adventurers to carry less while still enjoying satisfying and energy-boosting meals.
Storage and Longevity of Dried Vegetables
After dehydrating, ensure the vegetables have cooled completely before storing them. Properly dried and stored vegetables can last several months to a year. To extend this period, consider:
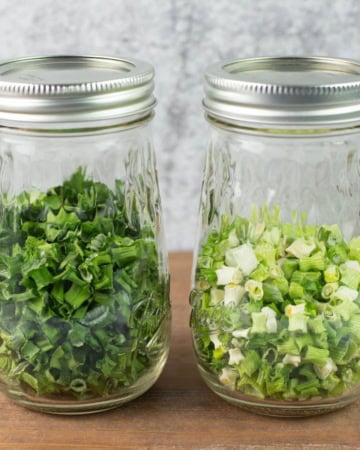
- Airtight Containers: Vacuum-sealed bags, jars with oxygen absorbers, or airtight plastic containers work best.
- Cool, Dark Place: Store containers in a pantry or cabinet away from direct sunlight.
- Silica Gel Packets: Consider adding these to containers to absorb any excess moisture.
📌Pro Dehydrating Tips
When dehydrating frozen vegetables for food storage, consider the following six important tips:
- Preparation: Prior to dehydrating, ensure that all vegetables are defrosted and pat them dry to remove excess moisture. This step is crucial for an even and efficient dehydration process.
- Slicing: If starting with large cut frozen vegetables cut the vegetables into even, thin slices if needed. This will promote uniform drying. Inconsistent sizes can lead to some pieces being over-dehydrated while others may still contain moisture.
- Arrangement: Lay out the vegetables in a single layer with space between them on the dehydrator trays. Overcrowding can limit airflow and cause uneven drying.
- Temperature and Timing: Set your dehydrator to the recommended temperature range-usually 125°F to 135°F- I always use 135°F when drying vegetables and check the progress periodically. Times can vary depending on vegetable type and thickness.
- Rotation: Rotate dehydrator trays occasionally to ensure even drying, especially if your dehydrator does not have a fan or has uneven heat distribution.
- Storage: Once dehydrated, cool the vegetables to room temperature, and store them in airtight containers in a cool, dry place to maximize shelf life.

Exploring the Joys of Vegetable Dehydration
Transitioning into dehydrating vegetables can open a new world of culinary possibilities, whether you're looking for tasty, nutrient-packed snacks or efficient, flavor-rich ingredients for your next camping adventure.
Dehydrated vegetables maintain all the flavors of their fresh counterparts, concentrated into a convenient, versatile form.
Give it a try, and experience how simple yet fulfilling the process of dehydrating frozen vegetables can be!
More Dried Vegetable Recipes
For more delicious and practical dehydrating recipes to enhance your food storage, be sure to check out our other recipes.


⭐Leave a Star Rating
Have you tried the recipe? Leave a star rating in the recipe card below to let me know how the recipe turn out.
Email questions or recipe requests to flouronmyface@gmail.com. Follow me on Pinterest, YouTube, Instagram and Facebook.

How To Dehydrate Frozen Vegetables
Equipment
Ingredients
- 3 large bags frozen mixed vegetables (32 oz bags)
Instructions
Prep
- Choose any type of frozen vegetable. Leafy greens, peas, corn, carrots, and peppers are known to dehydrate well. I am using a basic mixed vegetables that include carrots, corn, green beans and peas.
- Thaw the frozen vegetables.
- Drain the thawed frozen vegetables well in a colander.
Dehydrate the Frozen Mixed Vegetables
- Spread the vegetables evenly on the dehydrator trays.
- Set the dehydrator temperature to 135°F.
- Dehydrate the mixed vegetables for 4 to 8 hours. Drying times will vary.
- Half way through the drying time check for dryness: The vegetables should be brittle or very tough when adequately dried.
- Once the vegetables are done dehydrating allow the dried mixed vegetables to cool to room temperature before transferring them to storage containers.
- Conditioning dehydrated vegetables is a recommended but optional step.
- Place the cooled dried mixed vegetables into airtight containers. Store in a cool dark cabinet for up to a year.
Recipe Expert Tips
- Prior to dehydrating, ensure that all vegetables are defrosted and pat them dry to remove excess moisture. This step is crucial for an even and efficient dehydration process.
- If starting with large cut frozen vegetables cut the vegetables into even, thin slices if needed.
- Once dehydrated, cool the vegetables to room temperature, and store.
- Airtight Containers: Vacuum-sealed bags, jars with oxygen absorbers, or airtight plastic containers work best.
- Cool, Dark Place: Store containers in a pantry or cabinet away from direct sunlight.
- Silica Gel Packets: Consider adding these to containers to absorb any excess moisture.


Leave a Reply