


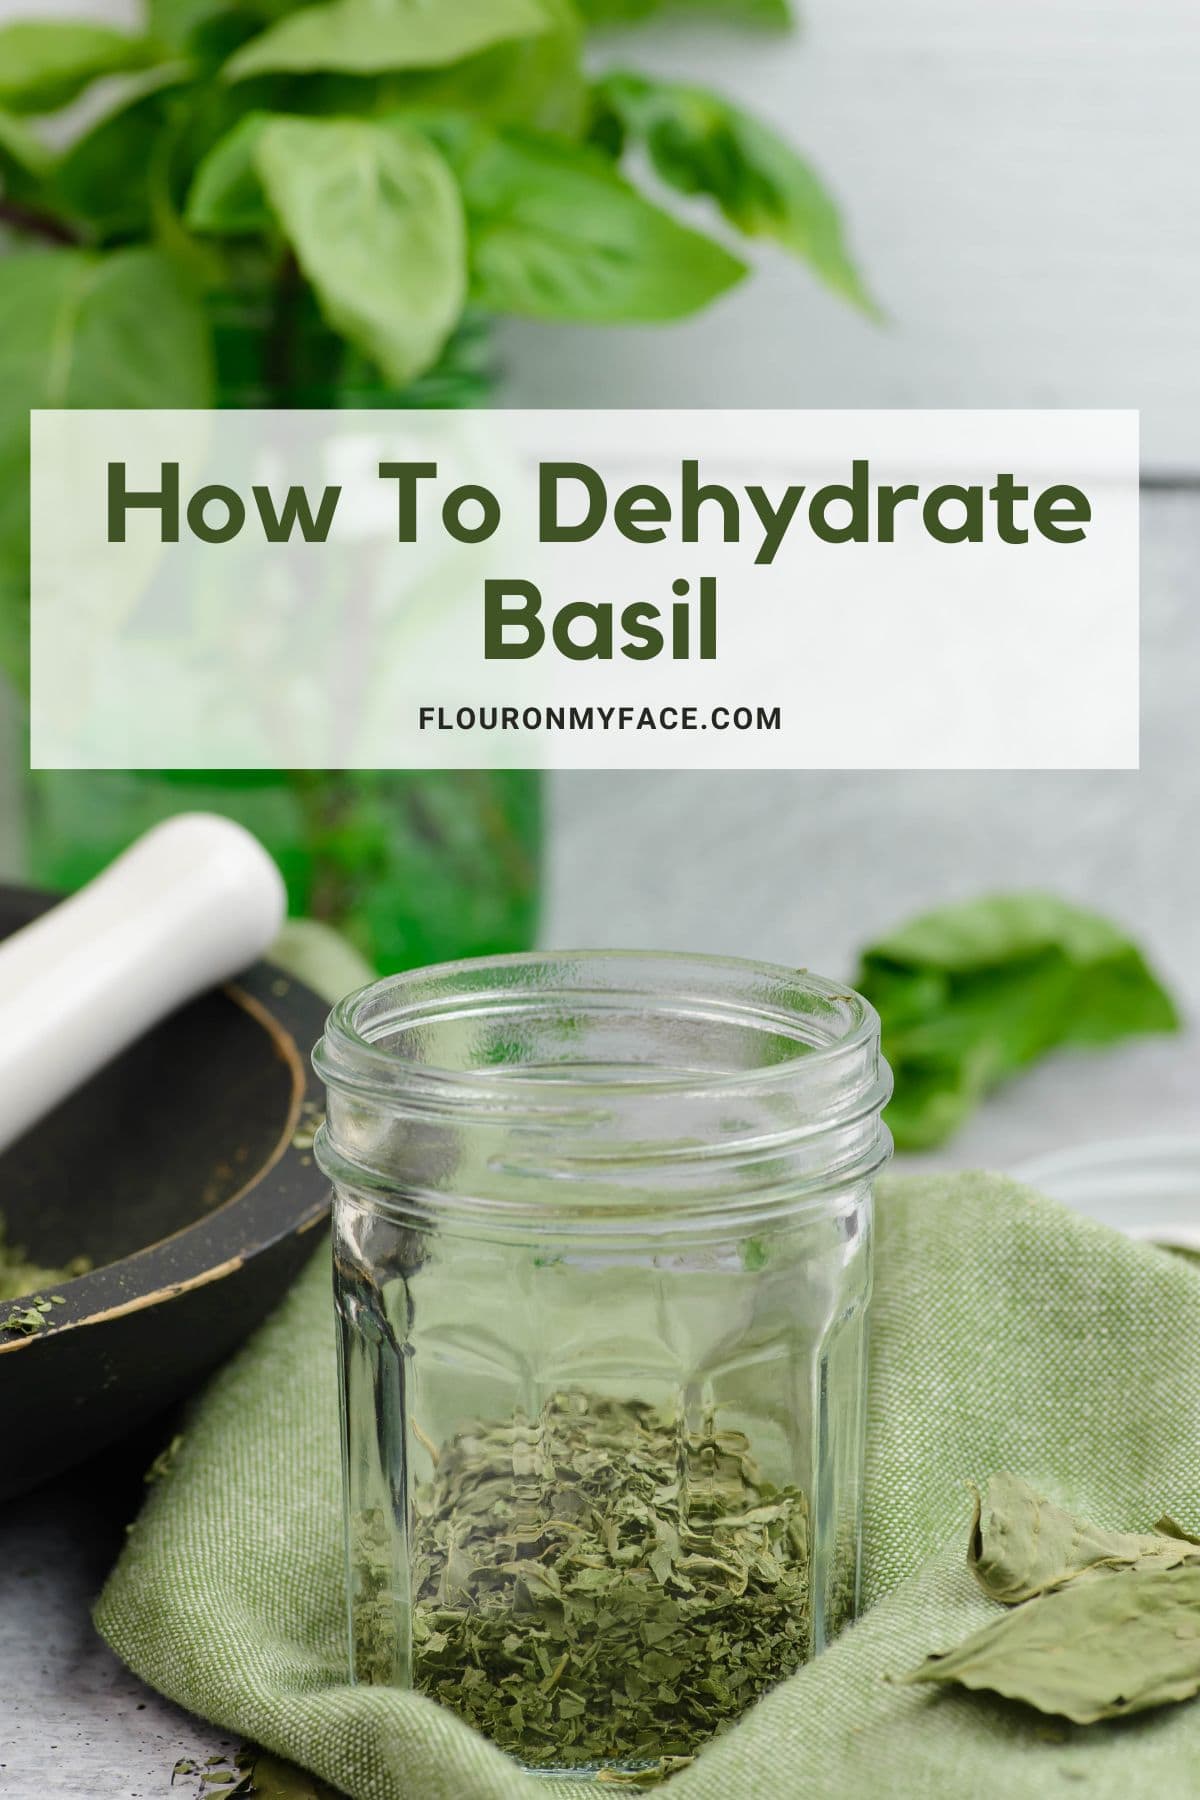
Learn how to dehydrate basil fresh from the garden and make it last longer with this step-by-step guide on dehydrating basil.
Follow these easy instructions and have delicious, dried basil all year long!
Incorporate the herb into your dishes and enjoy the fragrant taste of summer all year round. Food dehydrator recipes can help you preserve all your favorite herbs.
If your garden is bursting with fresh basil dehydrate some to keep the spice cabinet full of this favorite sweet and savory culinary herb.
You can dry basil in a dehydrator and it will be fresh and ready to use in your pantry any time a recipe calls for it.
Making dried herbs at home is so easy to do and a great way to save money.
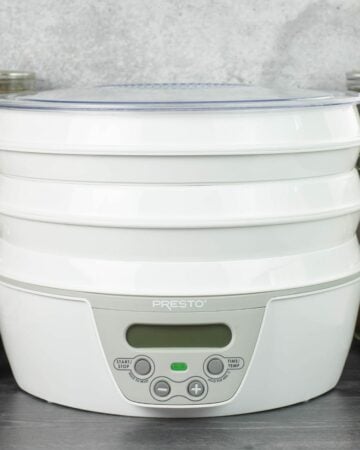
The initial cost to start dehydrating fresh herbs, fruits and vegetables is under $75 if you buy an entry level dehydrator.
If you make food dehydrating a priority in your food storage and start dehydrating on a regular basis you can easily save hundreds of dollars a year on your grocery bill.
Plus you have the added food security that comes with stocking your pantry with dried foods that can last years if stored properly.
FREE Dehydrating Guide For Beginners
New to dehydrating and not sure where to start? Grab my free Dehydrating Quick Guide to get started.
Dehydrating for Gardeners
Dehydrating is perfect for the home gardener. If you love to grow fresh herbs and miss them during the winter months when the garden is tucked away investing in an inexpensive food dehydrator will allow you to have all your favorite herbs on hand.
You can stock your spice cabinet with the herbs you grow and use the most.
If you don't have the space or time to plant an herb garden you can always grow a few herbs in pots on the porch and harvest them to dry. Or just buy a few bunches of basil the next time you are at the farmers market.
Ingredients
- fresh basil: I like to grow and dry Genovese basil or Cardinal Basil. Any variety of large leaf basil will do. The large leaf basils will yield a larger amount of dried basil.
- cold water: always wash or rinse fresh herbs well before dehydrating.
How do you prepare basil for a dehydrator?
Preparing basil for dehydrating is as simple as picking the basil and washing and drying the fresh herb.
- Picking the basil: For the best flavor pick the basil first thing in the morning after the dew has dried off the leaves and before the sun has risen high in the sky for the best basil flavor. This is when the herbs oils are the strongest.
- Washing and drying fresh basil: rinse the basil well with cold water until all dirt and any insects are removed. Pat the herb dry with a lint free towel or use a salad spinner.
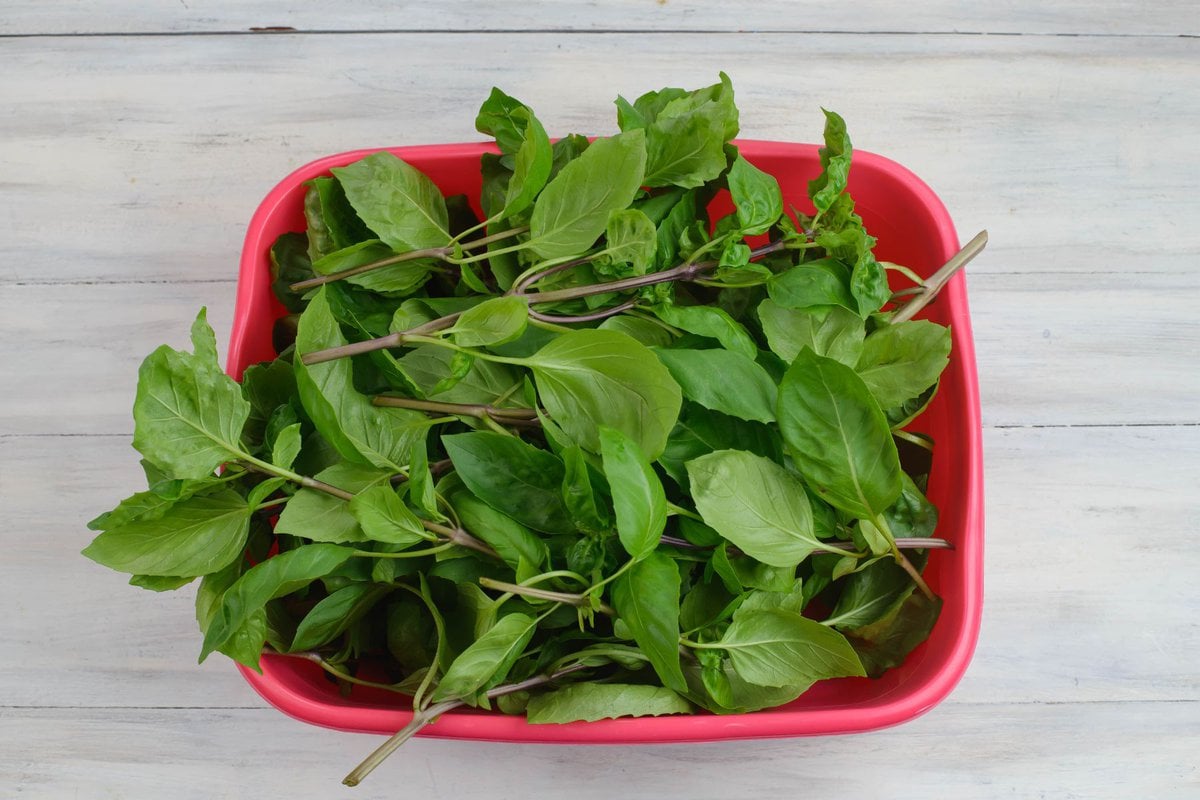
Step 1: When drying large leaved basil varieties like Genovese or Cardinal basil strip the large leaves from the thick woody stems. For smaller basil varieties you can keep the leaves attached to the thinner stems and strip the dried leaves after dehydrating.

Step 2: Place the large basil leaves in a large plastic tub, large bowl or the sink filled with cold water.
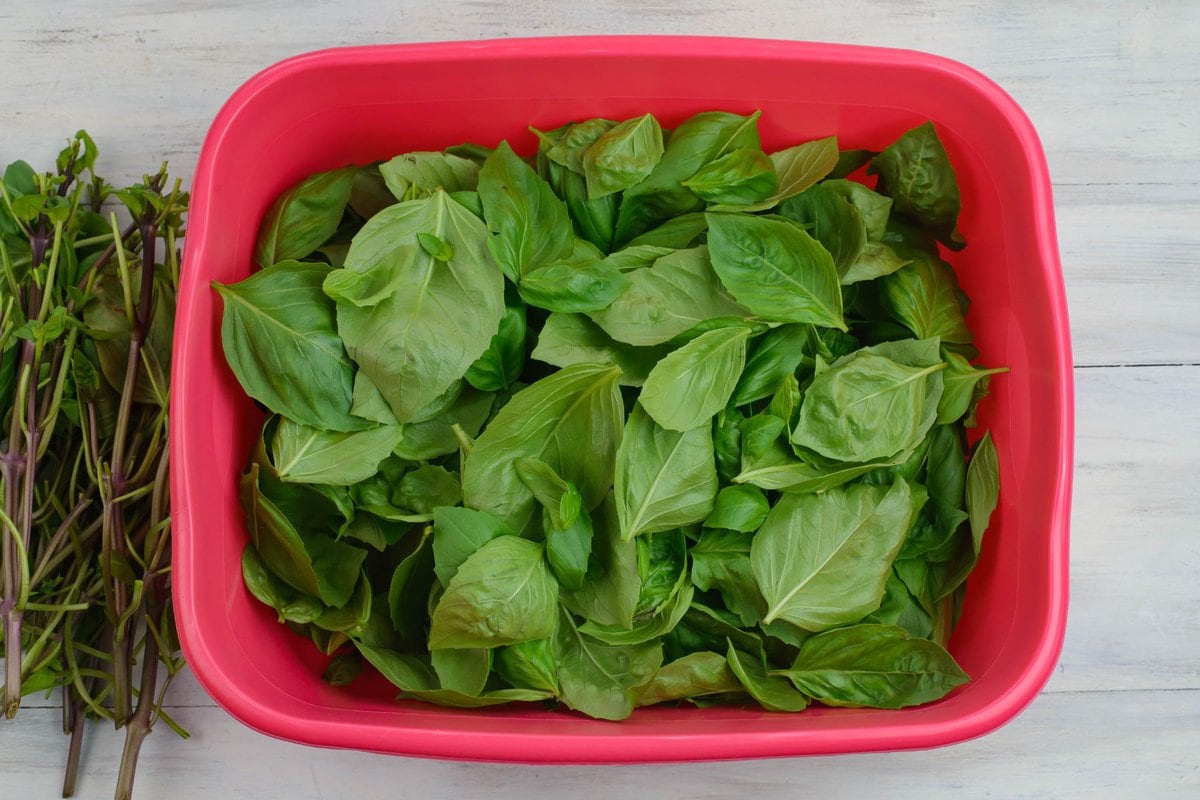
Step 3: Fill the tub with cold water covering the herb. Agitate the water with your hand. Dump the water and repeat until all debris has been removed from the herb.
Step 4: Remove the basil from the water and shake off to remove most of the water. Pat the basil with lint free towels to remove as much moisture as possible.
Or use a salad spinner to dry the wet basil leaves.
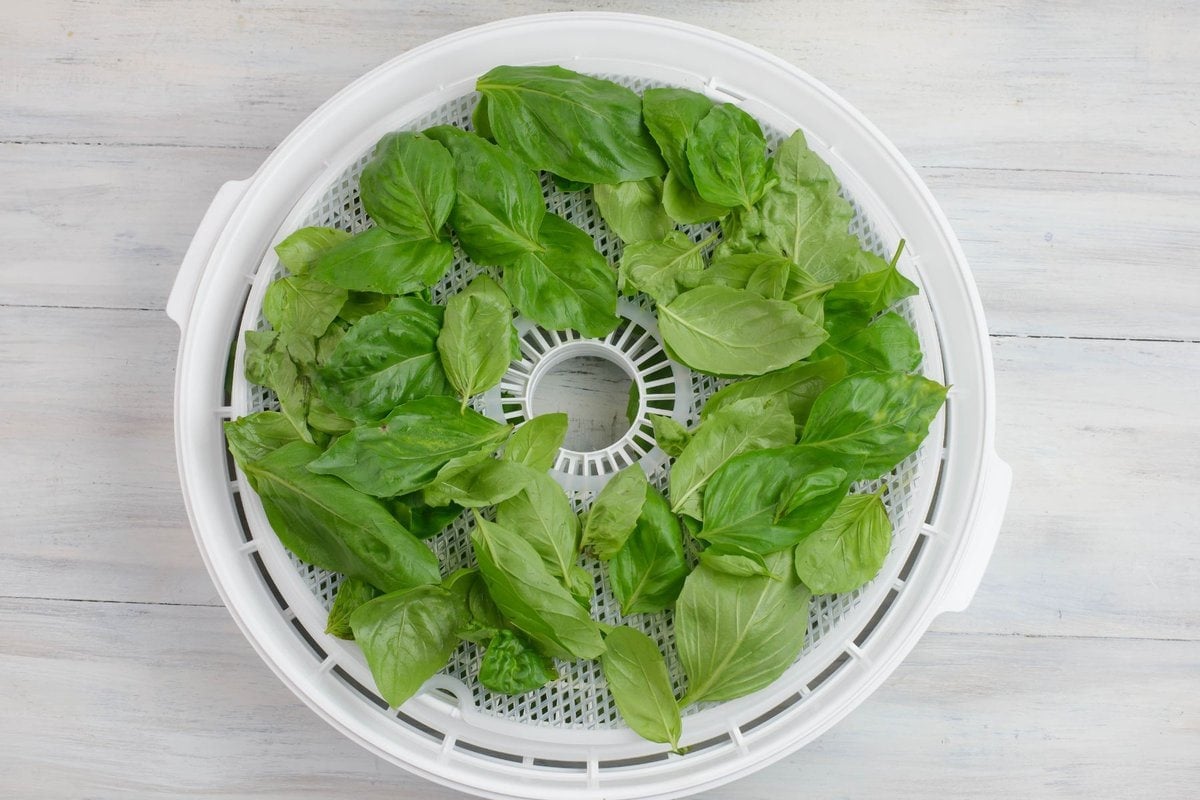
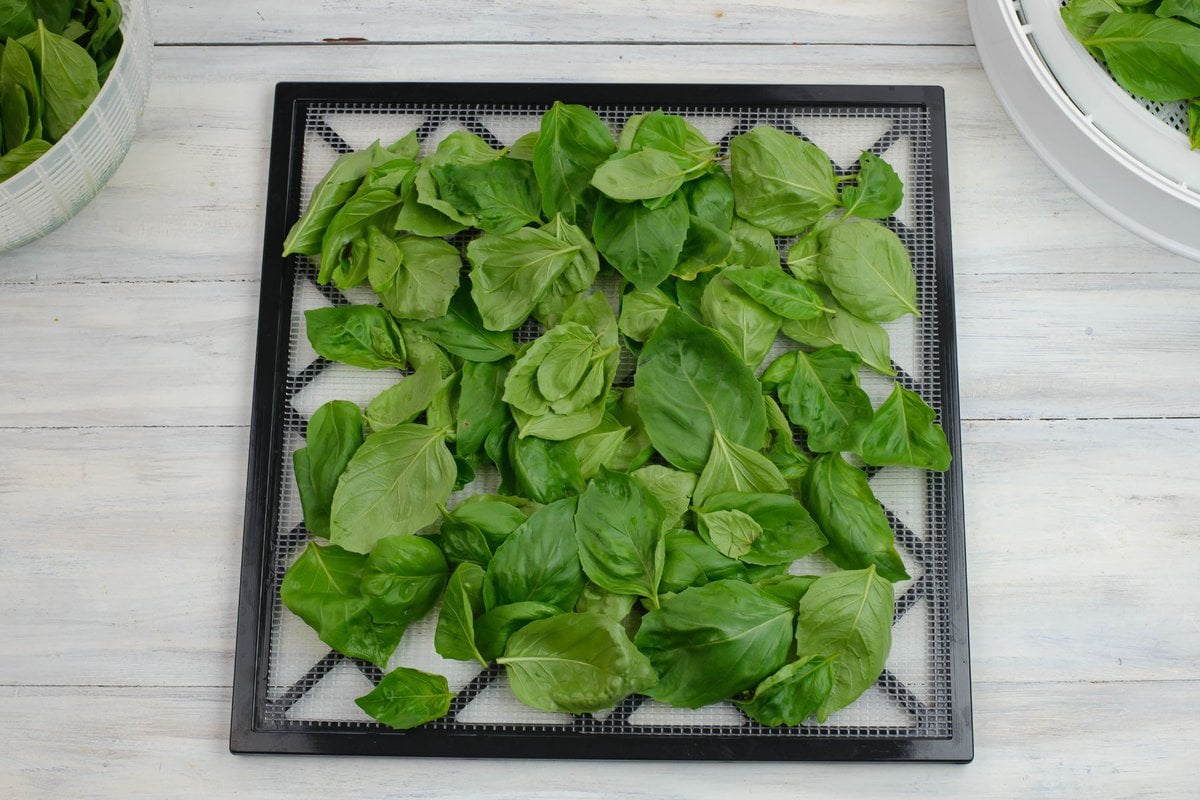
Step 5: Fill the dehydrator trays with the basil leaves. Fill as many trays as needed with the basil. The basil can slightly over lap on the trays.
Step 6: Slide or stack the trays into or onto the dehydrator base. Place the lid on and set the temperature to 95 F. degrees if your dehydrator has a temperature dial.
Step 7: Dry the basil for anywhere from 2 hours to 12 hours or longer. Check the basil every couple of hours. If the basil leaves are stacked on top of each other flip them each time you check them so they dry evenly.
Step 8: Once all of the leaves have evenly dried turn the dehydrator off and allow the leaves to cool completely before storing them in an airtight container.

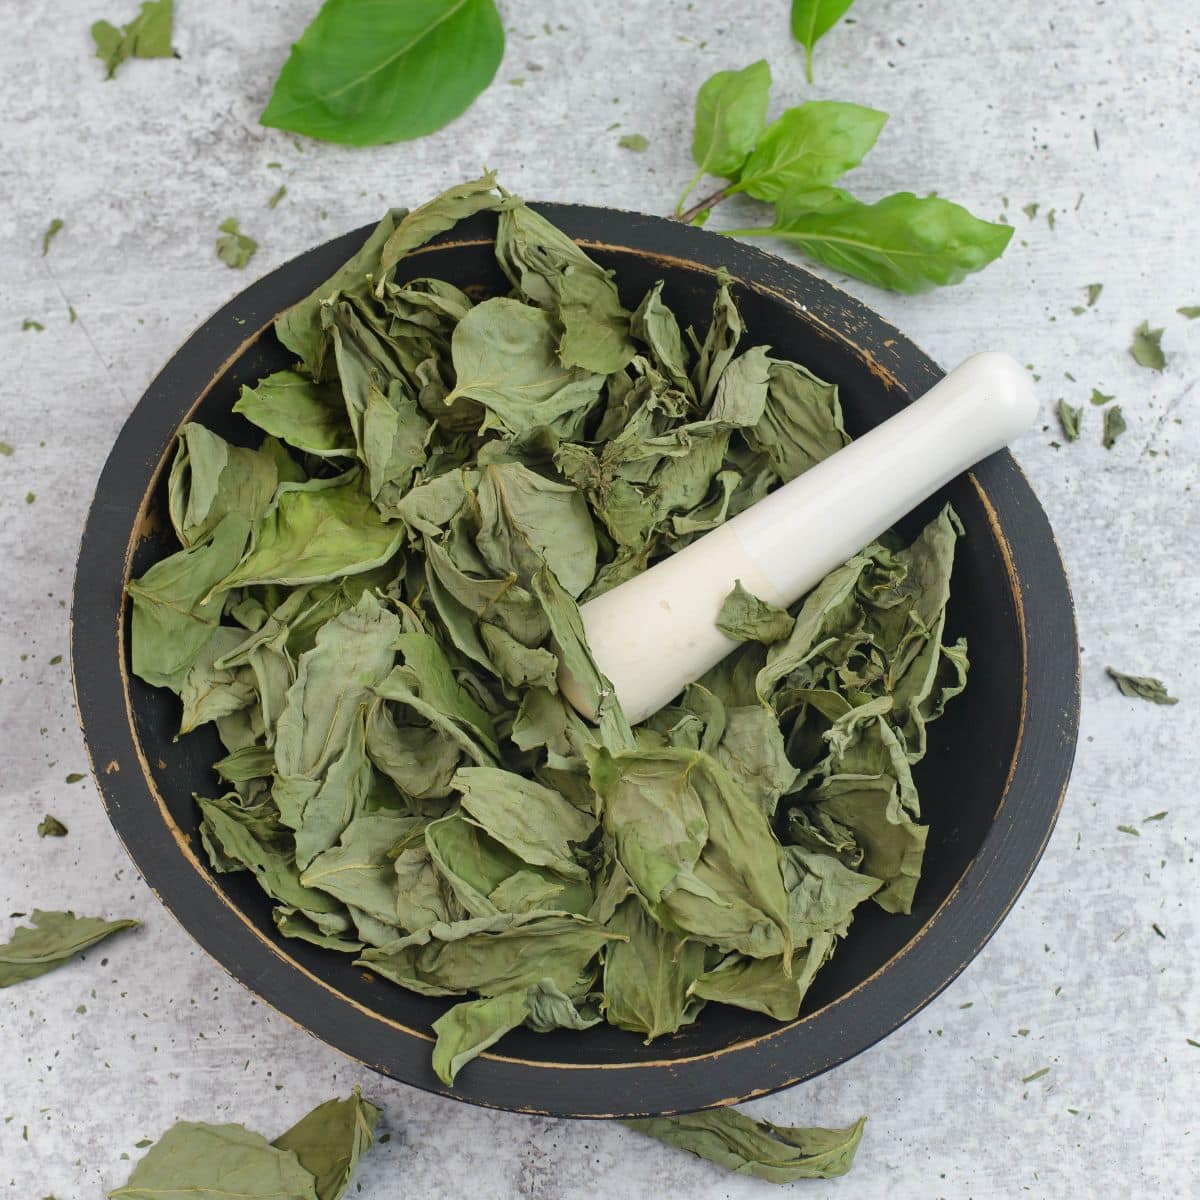
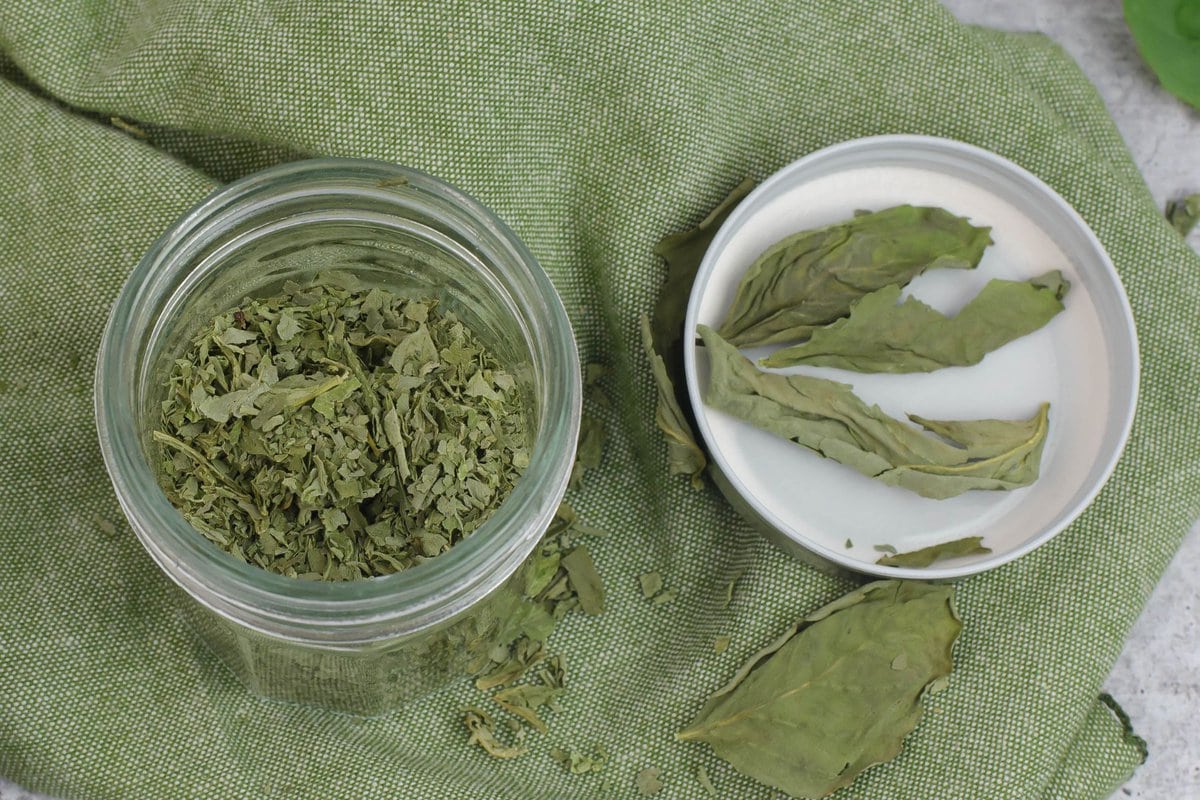
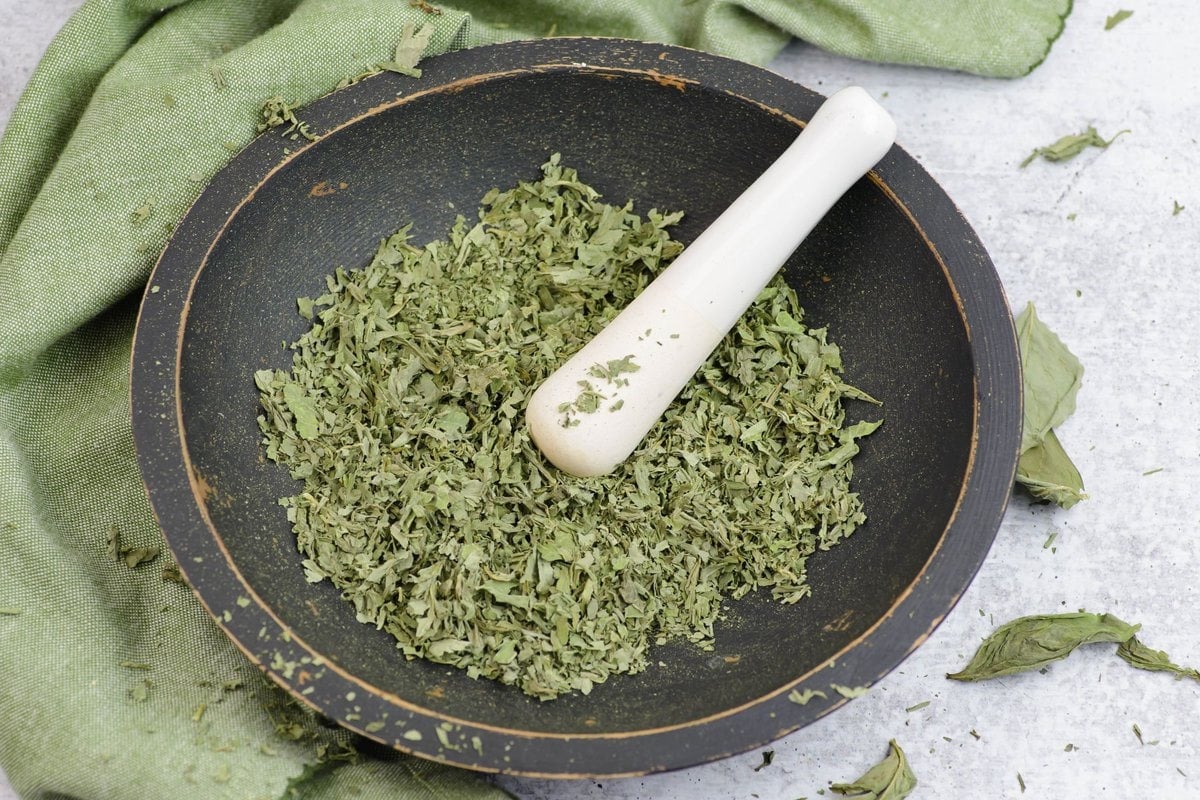
Step 9: Once the dried basil has cooled to room temperature crush the dried leaves. You can rub the leaves between your hands to crush them or use a mortar and pestle.
How long to dehydrate basil?
Basil with its larger wide flat leaves can take a longer time to dry then other herbs. The drying time will depend on the variety of the basil you are drying.
Today I was drying Cardinal Basil. For me this basil variety grew huge thick fragrant leaves. Some of them three inches wide. At 95F. degrees it took 12 hours to dry until it was dry enough to crush the leaves.
Pro Dehydrating Tips
- Drying times: Smaller varieties of basil will dry quickly in just a couple of hours compared to larger basil varieties that can take up to 12 hours to dry if you have packed the trays thickly and are drying at the recommended 95F. degrees for herbs. Check smaller varieties more frequently.
- Small basil varieties: Varieties of basil like delicate lemon basil grow smaller and thinner leaves and stems. The smaller varieties will take much less time to dry than the larger varieties.
- Checking the drying herbs: Always check the herbs you are drying every couple of hours to see how fast they are drying.
- Size does matter: Large thicker basil varieties can take from 8 to12 hours to dry at 95 degrees Fahrenheit.
- Dehydrators without a temperature control: Read the booklet that came with your dehydrator to see what temperature it runs on. These types of dehydrators run at a higher temperature. Some as high as 165F. degrees. This will cause herbs to dry much more quickly and should be checked more frequently.
How do you know when basil is finished dehydrating?
Properly dried basil leaves will feel dry to the touch and crumble when rubbed between two fingers.
To test the dehydrated basil to see if it is done pick up a few leaves and squeeze them in your hand or rub them between your fingers. They should feel dry to the touch and not cool to the touch or damp. It should crumble easily when you rub it between two fingers.
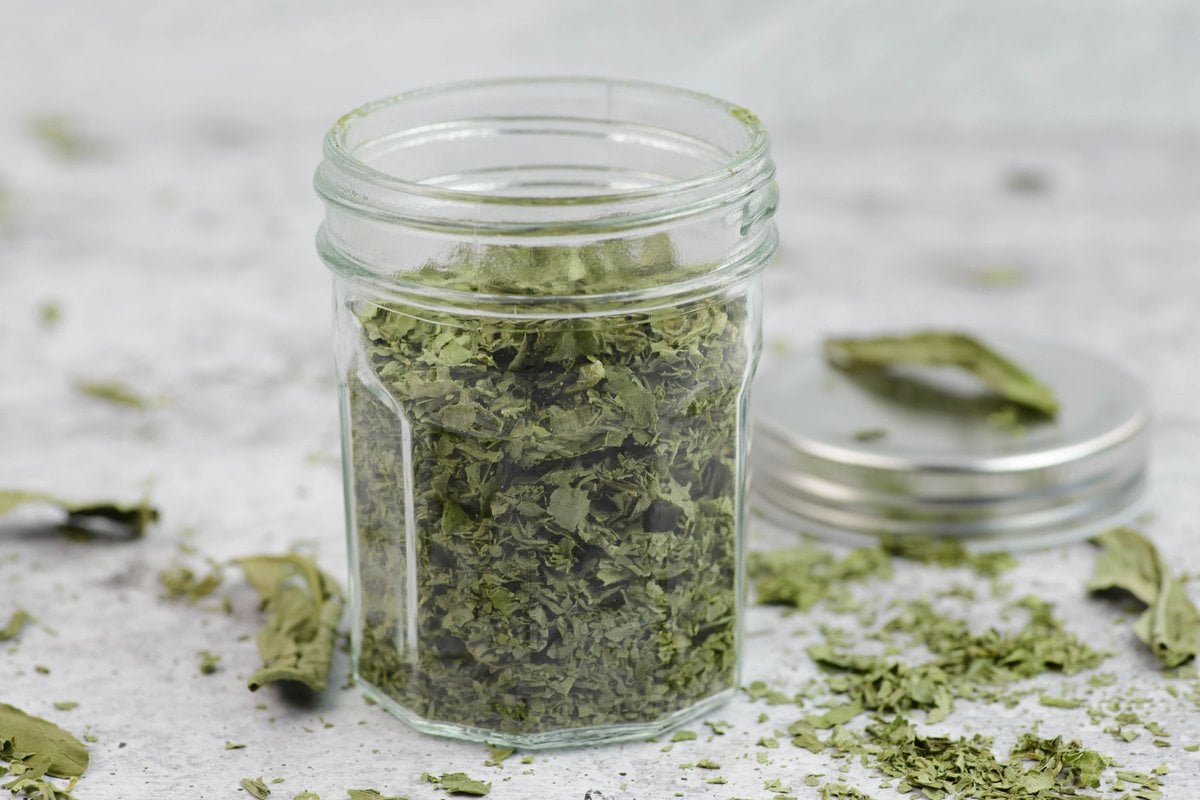
Storing Dehydrated Basil
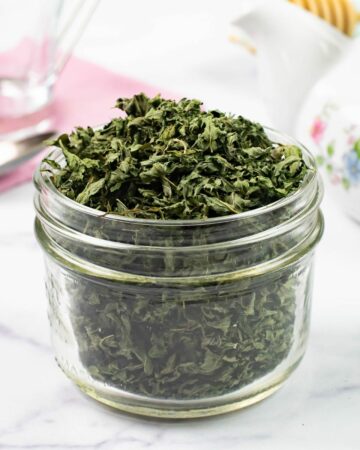
All dried herbs like basil should be stored in an airtight container and stored in a dark cabinet away from direct sunlight and heat.
I like to use mason jars to store my dried basil.
How to use dried basil?
When you pick the fresh basil yourself, immediately dehydrate it and have properly stored it you will be cooking with a dried basil that has the best flavor possible.
Dried basil is a favorite culinary herb used in many recipes. If you love cooking Italian food you will be amazed at the difference in the flavor of the dried basil you have made.
Here are a few recipes you can use dried basil in.
- Use dried basil to flavor Italian Meatball Soup
- Dried basil can be used instead of fresh basil in Marinated Mozzarella
- Use it to season Pepperoni Bruschetta Bites
The flavor is so much better compared to the dried basil you have bought in the store. There is no telling how old the dried herbs you buy from the store are.
Recipe Expert Tips
- What variety of basil to dry: All varieties of basil dry very well. Larger varieties are best because you will be able to have a larger amount of dried basil for cooking.
- Prepping basil before dehydrating: The only prep you need to do is wash the stems and leaves well, pat dry and strip the leaves from the stems.
- Drying times: Drying times will vary. The variety of basil used, the amount and the temperature will all play a roll in the dehydrating time.
- Storing dried basil properly: Always store dried herbs in an airtight container in a dark cabinet out of direct sunlight.
More Dehydrating Recipes
Once you start dehydrating herbs you will want to try dehydrating other things like fruits and vegetables. Below are a few more recipes for you to try.
- Dehydrated Banana Chips
- Dehydrated Cherries
- Dehydrated Dill
- Dehydrated Peaches
- Dehydrated Strawberries
Email questions or recipe requests to flouronmyface@gmail.com. Follow me on Pinterest, YouTube, Instagram and Facebook.

How to Dehydrate Basil
Equipment
Ingredients
- 2 bunches fresh basil (dry as much or as little basil as you like)
- 1 bowl cold water
Instructions
Preparing basil for dehydrating
- Pick or buy fresh basil.
- Wash the basil under cold water until the water runs clear of debris.
- Dry the basil by patting it dry with lint free cotton or linen dish towels. Or use a salad spinner to spin all the water off the herb.
How to dehydrate basil
- Strip large basil leaves from the stems and arrange on mesh lined dehydrator trays. Repeat until you run out of basil. Small leaved basil can be left on the thin stems when dehydrating.
- Place the trays on the dehydrator base and place the lid on.
- Turn the temperature on the dehydrator to 95 °F
- Dry the basil for any where from 2 hours to 12 hours or longer. Check the basil every couple of hours. If the basil leaves are stacked on top of each other flip them each time you check them so they dry evenly.
- Once all of the leaves have evenly dried turn the dehydrator off and allow the leaves to cool completely before storing them in an airtight container.
- Once the dried basil has cooled to room temperature crush the dried leaves. You can rub the leaves between your hands to crush them or use a mortar and pestle.
- Store the crushed basil in an airtight container in a cool dark cabinet away from direct sunlight and heat.
Recipe Expert Tips
- Drying times: Smaller varieties of basil will dry quickly in just a couple of hours compared to larger basil varieties that can take up to 12 hours to dry if you have packed the trays thickly. Check smaller varieties more frequently.
- Small basil varieties: Varieties of basil like lemon basil grow smaller and thinner leaves. The smaller varieties will take much less time to dry than the larger varieties.
- Checking the drying herbs: Always check the herbs you are drying every couple of hours to see how fast it is drying.
- Size does matter: Large thicker basil varieties can take from 8 to12 hours to dry at 95 degrees Fahrenheit.
- Dehydrators without a temperature control: Read the booklet that came with your dehydrator to see what temperature it runs on. These dehydrators run at a higher temperature. Some as high as 165F. degrees.
- What variety of basil to dry: All varieties of basil dry very well. Larger varieties are best because you will be able to have a larger amount of dried basil for cooking.
- Prepping basil before dehydrating: The only prep you need to do is wash the stems and leaves well, pat dry and strip the leaves from the stems.
- Drying times: Drying times will vary. The variety of basil used, the amount and the temperature will all play a roll in the dehydrating time.
- Storing dried basil properly: Always store dried herbs in an airtight container in a dark cabinet out of direct sunlight.

Jeanne
I want to dehydrate basil! But can you use an oven? It would be great not to get another gadget.
Arlene Mobley
Jeanne yes you can use an oven to dehydrate basil. I have never used an oven so I can't really tell you how well it works. You would need to use the lowest temperature or you will burn the basil. A dehydrator has a very low temp compared to my oven. Good luck!
Arlene
Joanne
What a great idea to do with all the fresh basil grown in summer.
JANIS L Neill
You are one of my favorites!!!
Arlene Mobley
Janis thanks so much!