Easy DIY Mimosa Bar
An Easy DIY Mimosa Bar is a perfect way to celebrate any special occasion or it can be served during brunch. Mimosa are a traditional brunch cocktail that everyone should have the chance to sip on once in awhile.
The best part about a DIY Mimosa Bar is no bartender needed. Once the Mimosa Bar is set up your guest can serve themselves.
A DIY Mimosa Bar is a perfect way to celebrate Spring at brunch.
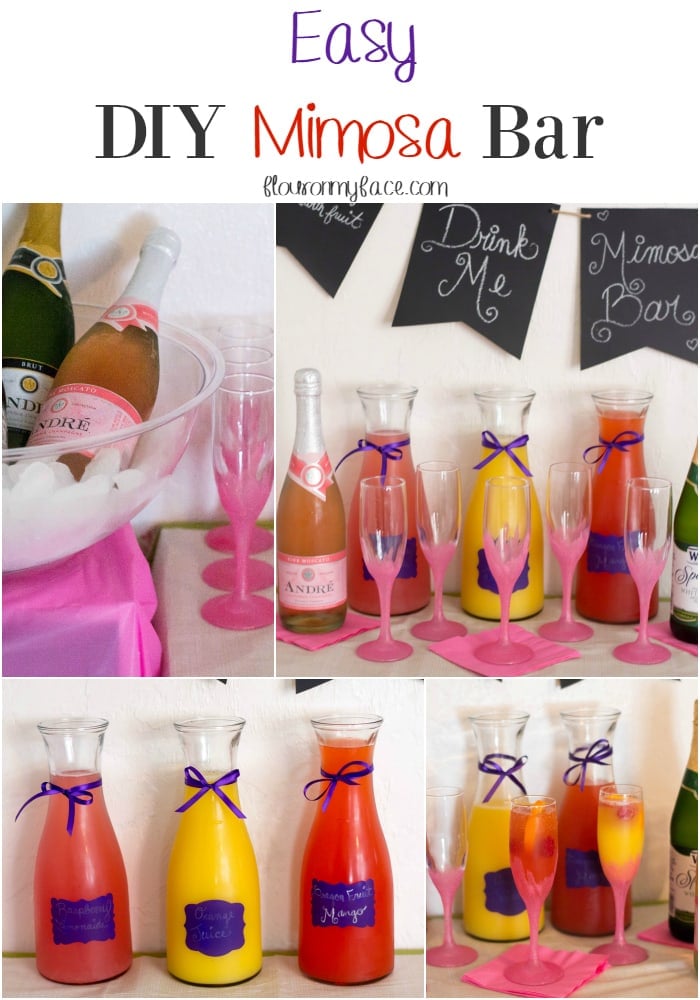
Baby Shower Mimosa Bar
You may think a DIY Mimosa Bar is a strange thing to have at a baby shower but as a non-prego guest at one of my daughter Megan's best friends baby showers, I promise you it was a hit.
A DIY Mimosa Bar is perfect for any celebration. It would be perfect for a New Years Eve party, a Baby Shower, brunch or for a New Years Eve party, or for a Girls Night In.
I've mentioned a few times that we either host or go to a lot of baby showers.
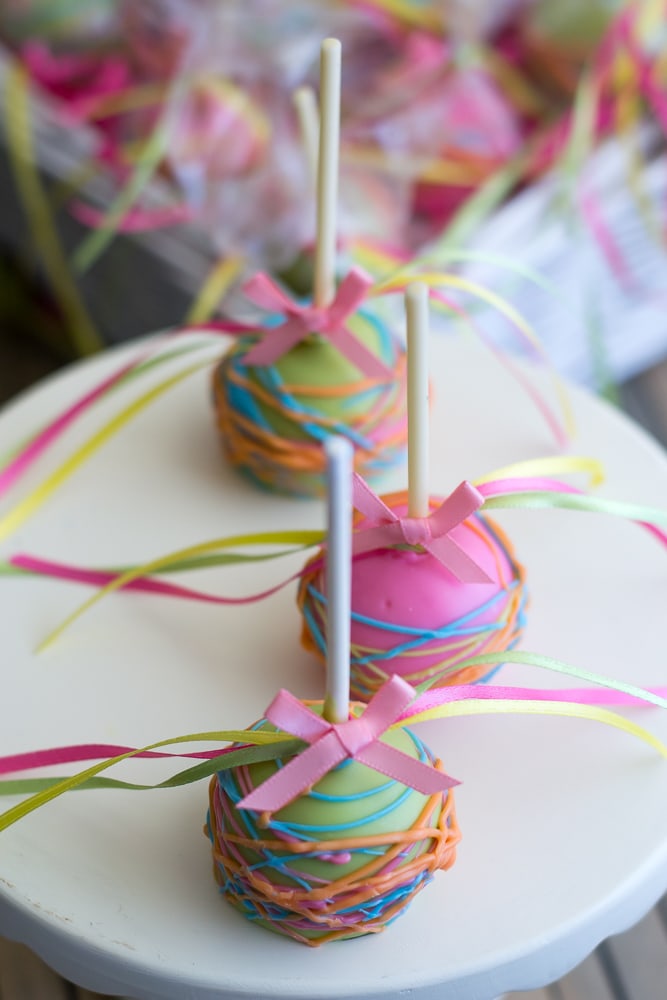
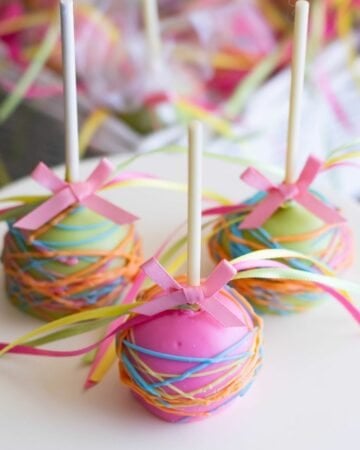
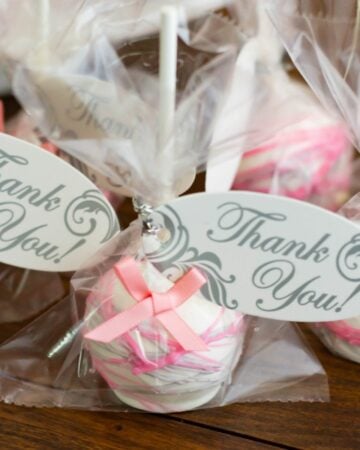
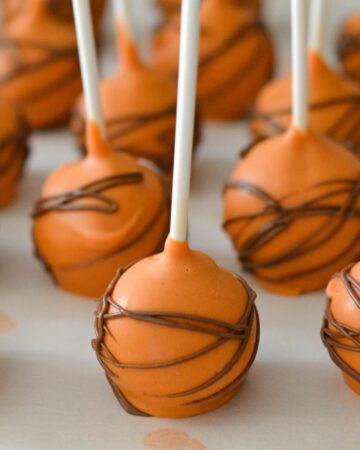
I usually make the cake pops for all of the baby showers we host.
The baby shower theme for this girl baby shower was paisley.
I'm not talented enough to actually decorate cake pops with a paisley pattern so I matched to colors of the paisley party napkins.
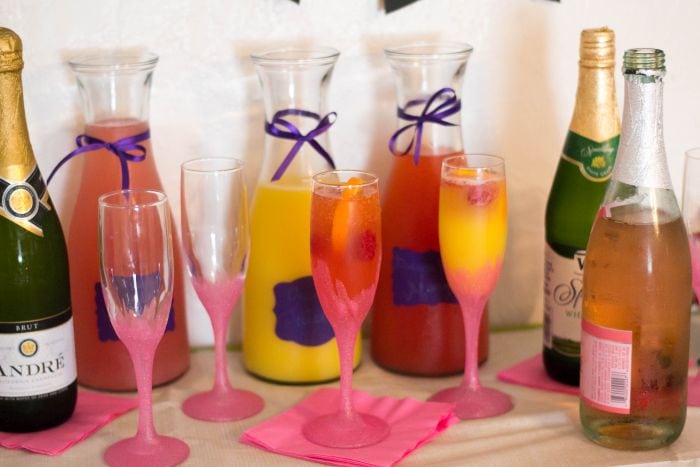
My daughter set up a Mimosa Bar for the guests. She included non-alcoholic sparkling grape juice for the guest of honor and other expectant moms to be.
The rest of the guests had Champagne in their Mimosa's. My daughter did such a great job setting up her DIY Mimosa Bar that I knew I had to share it with you.
Pink Rose Mimosa
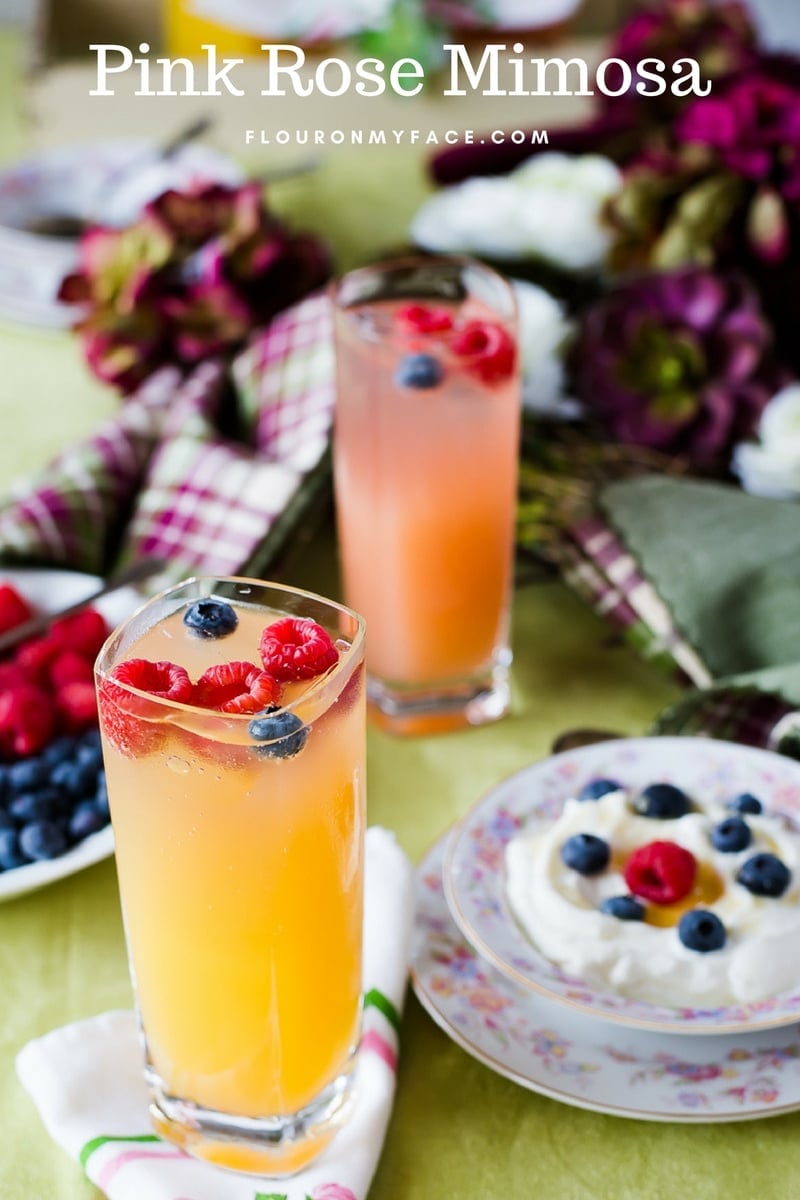
If your planning a Spring time brunch you might like this Pink Rose Mimosa recipe. It is delicious and the flavor of this floral cocktail is perfect for a Spring brunch.
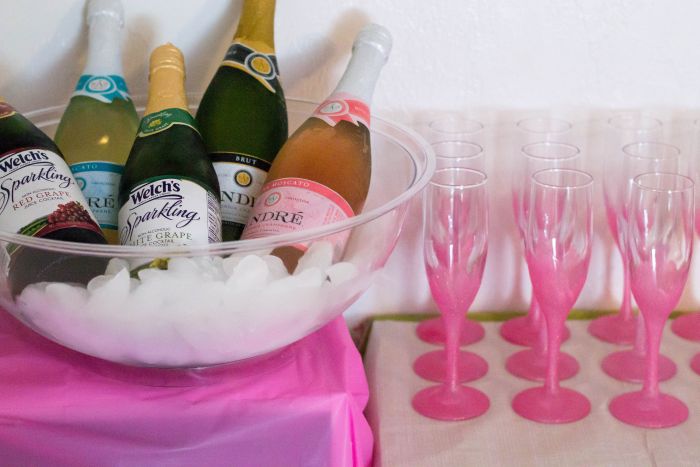
Disclosure: Most of the supplies can be ordered on Amazon. I've included affiliate links below. If you should make a purchase through one of these links I will earn a small commission.
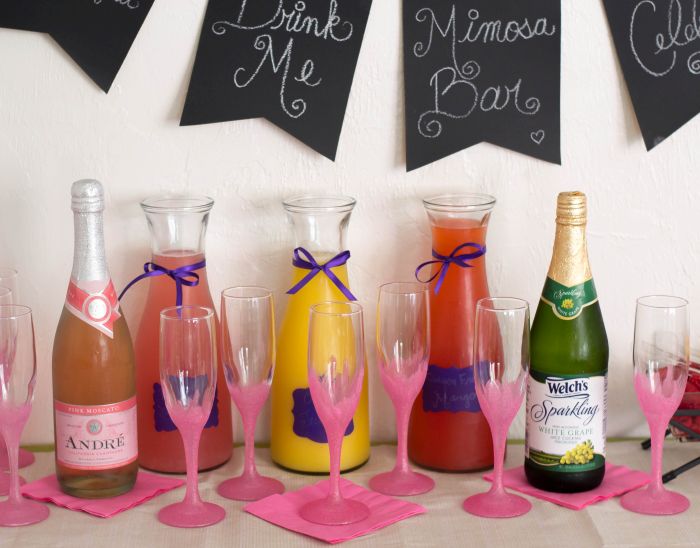
A word of warning when placing the chalkboard labels on your juice carafes.
Be very careful when you fill the carafes with juice. Some juice ran down the label side of the carafes as my daughter was filling them.
When she wiped them some of the chalkboard ink came off.
Pour carefully and turn the label side of the carafe away from the side as you are pouring the juice in to prevent your chalk pen labels to bleed.
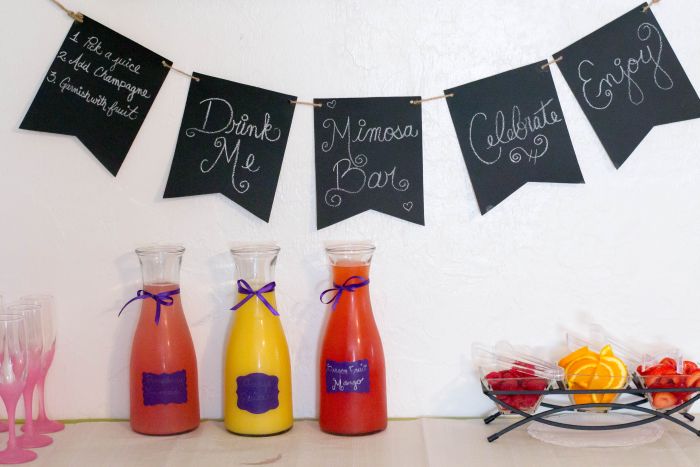
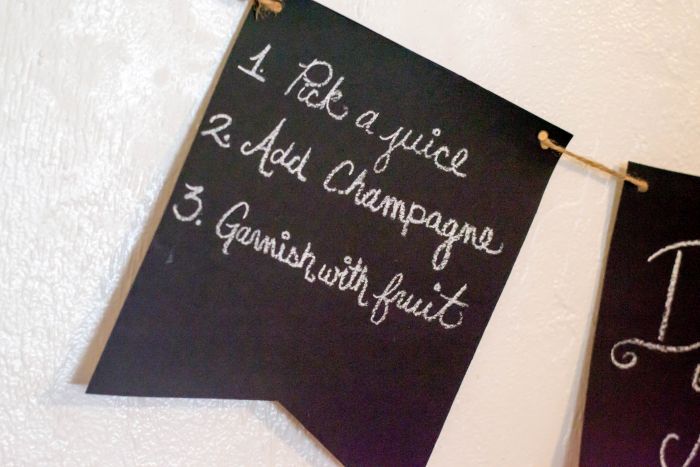
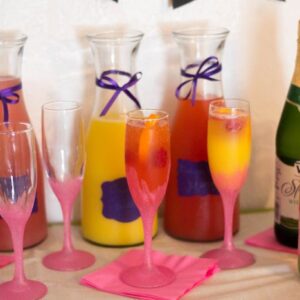
My daughter included directions on how to mix a Mimosa on the chalkboard banner. That was such a nice little detail because I had never had a mimosa before and was happy to see the directions right above the Mimosa Bar.
How to DIY Mimosa Bar
Supplies
- 1 bottle Andres Pink Moscato Champagne
- 1 bottle Andres White Moscato Champagne
- 1 Bottle Welch Sparkling White Grape Juice Cocktail
- 1 Bottle Welch Sparkling Red Grape Juice Cocktail
- 3 Glass Carafes
- 3 different types of fruit juice
- strawberries
- 1 or 2 oranges
- raspberries
- Plastic Champagne Flutes
- Large Plastic Bowl for ice & wine
- Pink Plastic Table Cloth
- Black Chalkboard Banner
- ¼ inch purple ribbon
- Chalkboard Labels
- Fine point Chalk Pen
- Divided Serving Bowl
- Mini Plastic Tongs
- Pink Napkins
- Mod Podge
- Fine Pink Glitter
Instructions
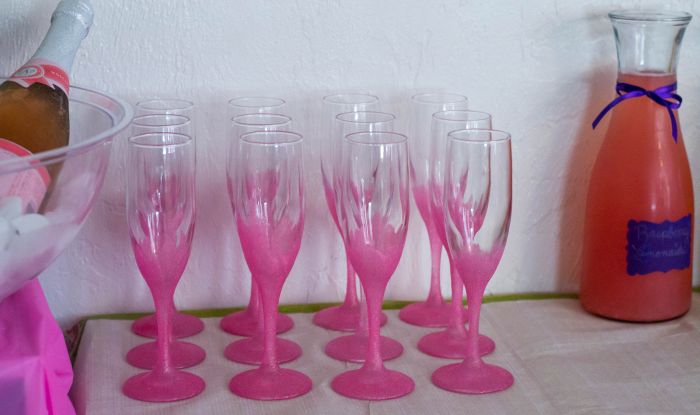
- At least a day before the party use the Mod Podge and glitter to decorate plain plastic Champagne flute.
- Using the chalk pen write the easy directions on how to mix a Mimosa and add a party message on the chalkboard banner. Hang it on the wall behind the table you plan to set up the Mimosa Bar up on.
- Write the names of the fruit juice on the chalkboard labels and adhere to each glass carafe.
- We had Raspberry Lemonade, Orange, and Dragonfruit Mango juice.
- Drape the table with the plastic tablecloth.
- Carefully pour the bottled juice into the glass carafes being careful not to drip juice on the labels.
- Place a large bowl or ice bucket filled with ice on the table and put the sparkling grape juice and champagne in the ice to chill before guest begin arriving.
- Cut the fruit: slice the citrus and if the strawberries are large cut them into smaller pieces.
- Place the fruit into the divided serving dish and place it with plastic tongs on the table.
- Arrange the champagne flutes near the ice bucket.
- Arrange the carafes of juice on the table.
- Place napkins on the table.
Easy DIY Mimosa Bar
Equipment
- Glass Carafes
- Plastic Champagne Flutes
- Large Plastic Bowl or Ice Buckets
- Pink Plastic Table Cloth
- Black Chalkboard Banner
- ¼ Purple ribbon
- Chalkboard Labels
- Fine point Chalk Pen
- Divided Serving Bowl
- Mini Plastic Tongs
- Pink Napkins
- Mod Podge
- Fine Pink Glitter
Ingredients
- 1 bottle Andres Pink Moscato Champagne
- 1 bottle Andres White Moscato Champagne
- 1 bottle Welch Sparkling White Grape Juice Cocktail
- 1 bottle Welch Sparkling Red Grape Juice Cocktail
- 3 Bottles different flavors of fruit juice
- 1 cup strawberries
- 1 whole or 2 oranges
- ½ quart raspberries
Instructions
- At least a day before the party use the Mod Podge and glitter to decorate plain plastic Champagne flute.
- Using the chalk pen write the easy directions on how to mix a Mimosa and add a party message on the chalkboard banner. Hang it on the wall behind the table you plan to set up the Mimosa Bar up on.
- Write the names of the fruit juice on the chalkboard labels and adhere to each glass carafe.
- We had Raspberry Lemonade, Orange, and Dragonfruit Mango juice.
- Drape the table with the plastic tablecloth.
- Carefully pour the bottled juice into the glass carafes being careful not to drip juice on the labels.
- Place a large bowl or ice bucket filled with ice on the table and put the sparkling grape juice and champagne in the ice to chill before guest begin arriving.
- Cut the fruit: slice the citrus and if the strawberries are large cut them into smaller pieces.
- Place the fruit into the divided serving dish and place it with plastic tongs on the table.
- Arrange the champagne flutes near the ice bucket.
- Arrange the carafes of juice on the table.
- Place napkins on the table.


Marie
What a fabulous idea! I can't wait to figure out a celebration to do this! Thank you so much for sharing at Merry Monday!
Arlene Mobley
Marie
Thank you! This is perfect for almost all occasions.