



Want to make your own dehydrated potato slices for scalloped potatoes? It is so easy to make them at home so you can make your own cheesy scalloped potatoes whenever you want. These dried potato slices are also perfect to take along on camping trips.
Why Dehydrate Potatoes
Here in Florida where it is hot and humid storing fresh potatoes can be tricky. They can start sprouting, getting soft, or going bad much faster than you expect, especially when you buy a big bag on sale or harvest more than you can use right away.
Drying potatoes is a great way to preserve them before they go to waste. Once dehydrated, they take up much less space, are way lighter and are easy to keep on hand for busy weeknight meals, potato soup, scalloped potato casseroles, skillet dinners, and breakfast casseroles that use hash browned potatoes.
You can switch out cubed potatoes for scalloped in many recipes. Or you can make dehydrated cubed potatoes or dehydrated hash brown potatoes for long term storage.
Jump to:
- Why Dehydrate Potatoes
- Dehydrated Potato Slices Are Perfect for Camping
- Ingredients & Equipment
- FREE Dehydrating Quick Guide
- Potato Prep Tips
- What to do if you sliced the potatoes too thin?
- How to blanch the scalloped potato slices
- How to Dehydrate Scalloped Potatoes
- How to Tell When Dehydrated Scalloped Potato Slices Are Done
- What is the best temperature to dehydrate scalloped potatoes?
- How to store and use dehydrated scalloped potatoes
- Troubleshooting
- Potatoes for Long-Term Storage
- ⭐Leave a Star Rating
- How To Dehydrate Scallop Potatoes
And this is not just a Florida problem. Even if you live somewhere cooler, you may still run into the same issue if your kitchen is warm, your pantry does not have good airflow, or you bought more potatoes than your family can eat in time.
Dehydrating gives you one more simple way to save money, cut down on food waste, and stock your pantry with potatoes that are ready when you need them.
Dehydrated Potato Slices Are Perfect for Camping
Dehydrated potato slices are the perfect camping food to pack for your next outdoor adventure. Lightweight, easy to store, and simple to cook in a skillet over a campfire, they can be used in breakfast, lunch, or dinner recipes. From crispy potatoes and onions in the morning to hearty foil packet meals at night, dried potato slices make it easy to serve hearty meals without taking up much space in your cooler or food bin.
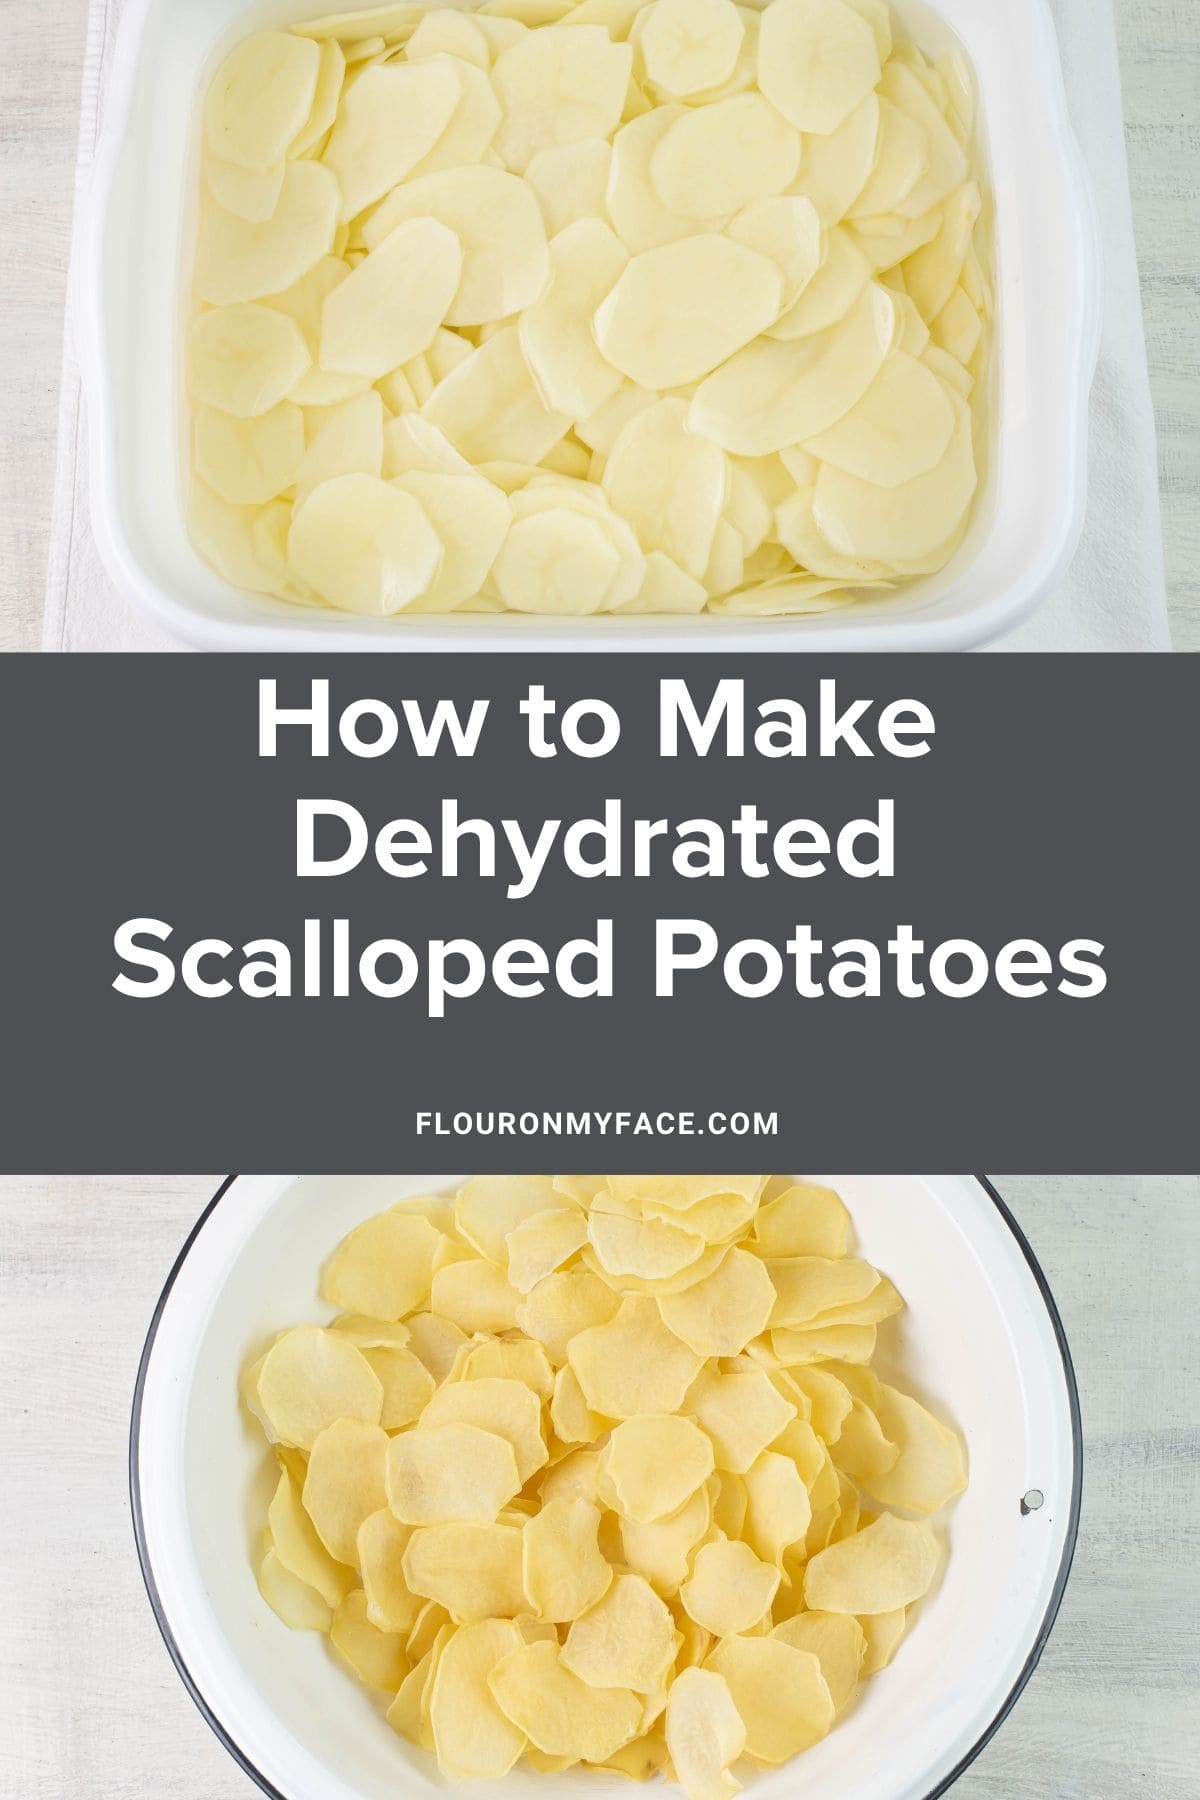
Below is a quick look at the ingredients and directions. You can find the entire ingredient amounts and step by step directions in the recipe card below. P. S. You can also save your favorite recipes to your personal recipe box! ⬇️
Ingredients & Equipment
Before you start, gather these supplies to make the process smooth and efficient:
- Russet potatoes: fresh crisp undamaged mature potatoes. Avoid using older soft potatoes or the flavor will not be very good when they are rehydrated. Today I am using 5 lbs. of russet potatoes which is a very good variety to use for drying. This recipe can be used for as many pounds of potatoes you can fit in your dehydrator.
- Cold water: I am estimating about 12 quarts plus of water I used. You will need to wash and rinse the potatoes very well. Then you will need more water to fill a huge pot for the blanching step.
- Salt: about two teaspoons of table salt or sea salt to add to the blanching water.
- Slicing the potatoes: I recommend a mandoline or vegetable slicer for this. It is almost impossible to slice potatoes this thin with a knife. The potatoes need to be sliced very thin to ensure uniform drying and cooking. I used this Safer Mandoline Slicer .I've recently bought a Vevor Manual Vegetable Fruit Slicer but haven't used it for potatoes yet. If you do a lot of dehydrating you might want to check the Vevor slicer out.
- Drying method: A good food dehydrator with adjustable temperature settings works best in my experience. My directions will be for the dehydrator I own. You can follow my prep and steps then adjust where you need to use the model you have for drying the spuds.
- Mesh tray liner sheets: They help keep smaller pieces from falling through the drying trays but also help with air flow. This is a must have accessory I have learned from the years of dehydrating I have done.
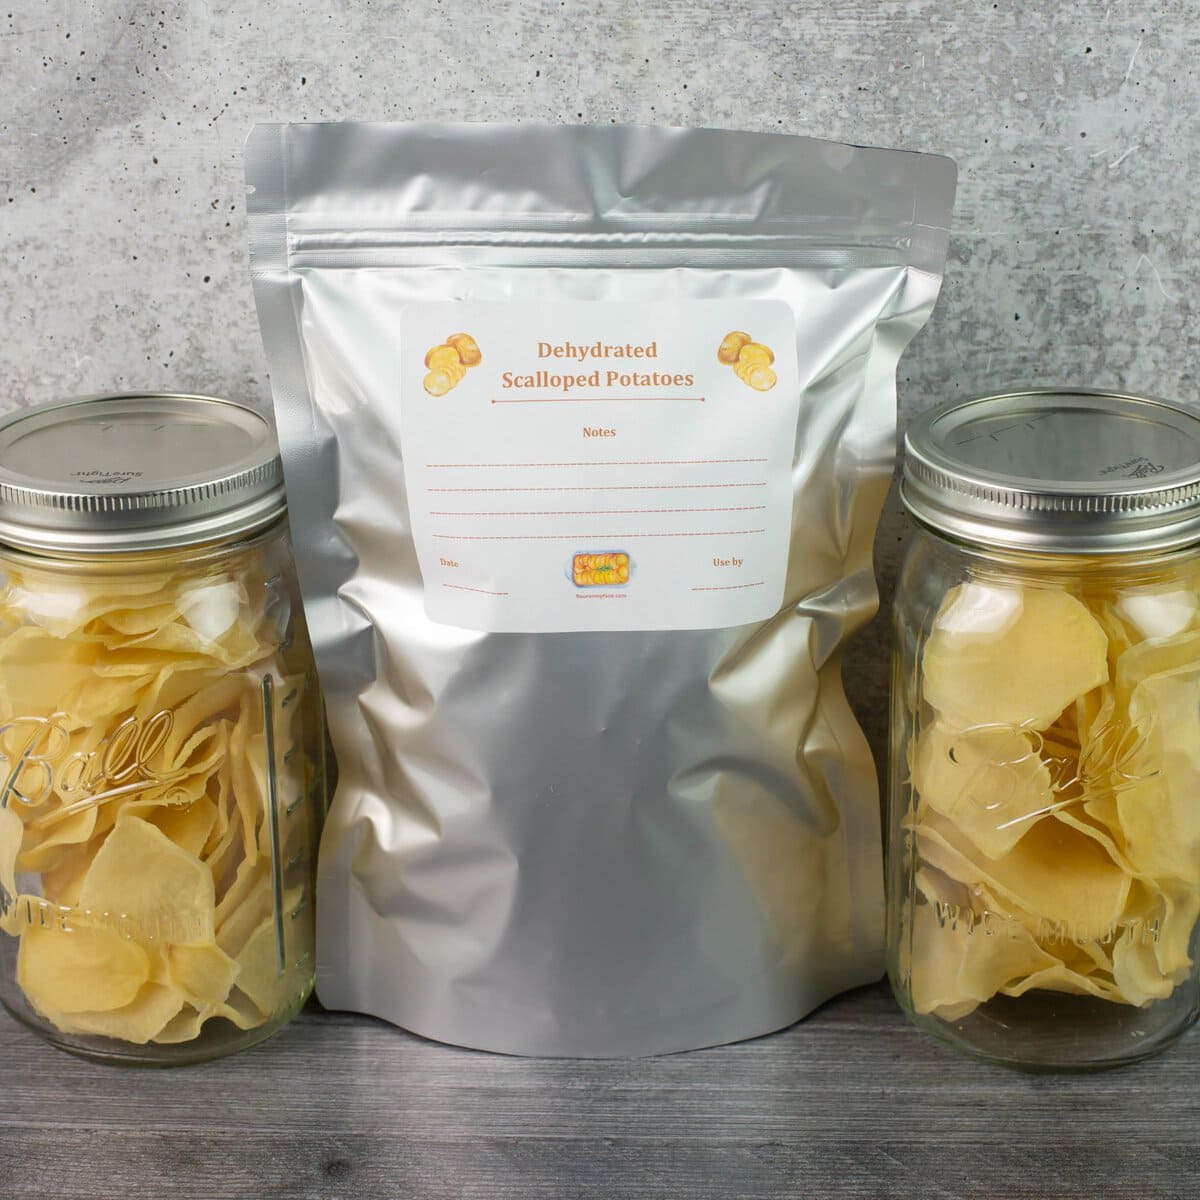
- Airtight storage containers: You have a couple of options for storage. You can use vacuum sealed mason jars for long term storage, or mylar bags with oxygen or moisture absorbers. I would not suggest using vacuum sealed bags for storage in this case. The sharp edges of the potatoes will pierce through the plastic as the air is drawn out and most of the slices will most likely get crushed from the pressure.
- Oxygen absorbers or moisture absorbers: these handy little packets will help keep all your dehydrated foods longer.
Scalloped Potatoes Label:
Label Mylar or Ziplock bags with my printable Scalloped Potatoes Label. You can find them in my shop along with many more labels to help you keep your pantry or freezer food well organized.
FREE Dehydrating Quick Guide
New to dehydrating? Click here to subscribe and get my free Quick Guide To Dehydrating.
Potato Prep Tips
Here are the steps I used to prepare my potatoes before I loaded them into the dehydrator.
- Washing the potatoes: I used an 8-quart dishpan in my sink to wash and scrub the potato skins clean. I buy them in bulk and use them every week to wash vegetables or when I'm peeling a large amount of vegetables. I peel them right into an empty dish pan. It makes prepping large amounts so much easier. These inexpensive pans are very handy.
- Peeling the potatoes: Peel the potatoes using a vegetable peeler. You can use a knife but using peeler removes all the peel and very little of the potato. Cut out any eyes or bad spots. Put the freshly peel potatoes into cold water. I use my dishpans for this step also. Once all of the potatoes are peeled rinse them well until the water runs clear to remove extra starch.
- Slicing the potatoes: It is very important to slice the potatoes ¼ of an inch thick or just slightly thicker. Carefully use a sharp knife or a mandolin to slice the potatoes ¼ to a scant ½ inch thick.
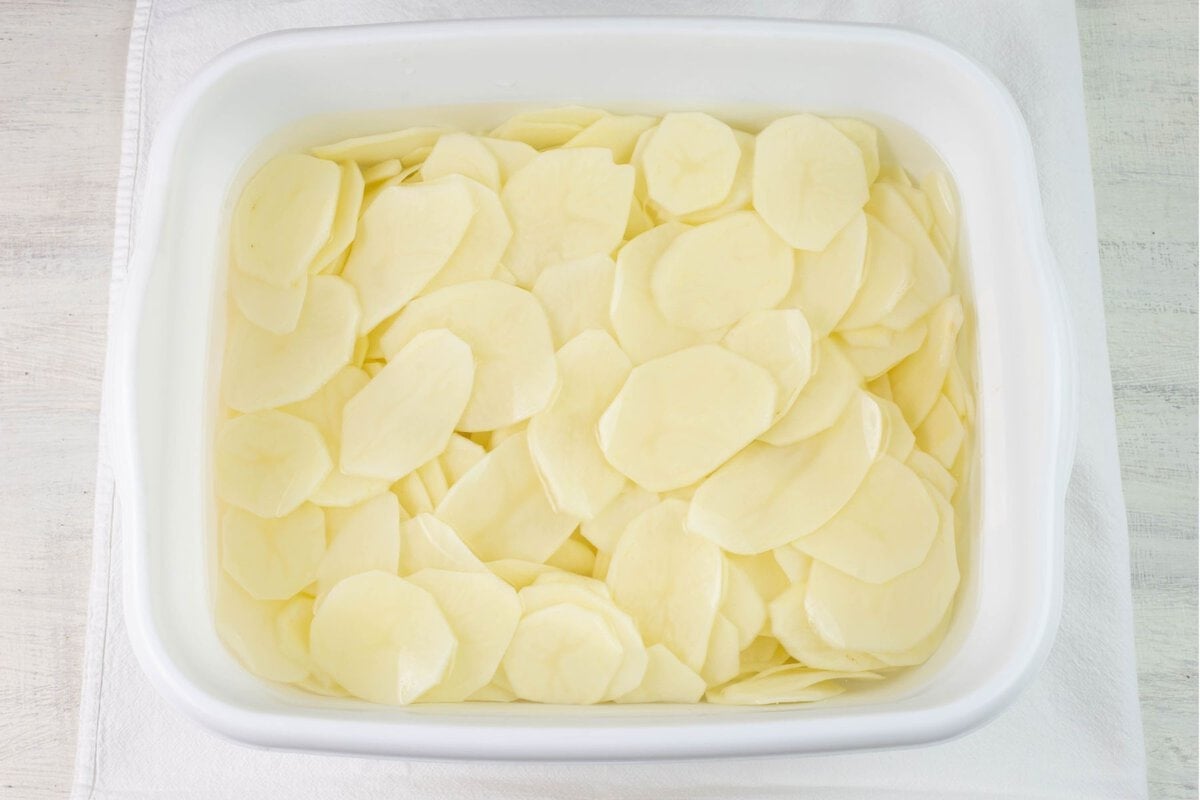
- How to prevent browning: As you slice the potatoes place the slices in a large bowl of cold water to stop them from browning.
What to do if you sliced the potatoes too thin?
If the sliced potatoes are too thin they will over cook and fall apart during the blanching step. This happened to me when I used a new mandoline for the first time to cut the potatoes. At that point there was no going back so I dehydrated them anyway. The very thin dehydrated potatoes can be used to make instant mashed potatoes or potato flour.
- Make instant mashed potatoes: Which is what I did with the 5 pounds I sliced too thin. I dehydrated them and blended them into dried potato flakes. Use a very strong blender or grinder or you will burn out the motor. Use them just like you would instant mashed potatoes that you buy.
How to blanch the scalloped potato slices
- How to blanch sliced potatoes: Bring a large stock pot of salted water to a boil. Once boiling add the scalloped potato slices to the pot. Do not over fill the pot. Set a timer for 1 minute. After 1 minute carefully drain in a large colander. Place the potatoes in a bowl or plastic tub and immediately cover with ice cubes and a very small amount of cold water to flash cool them quickly so they don't continue to cook.
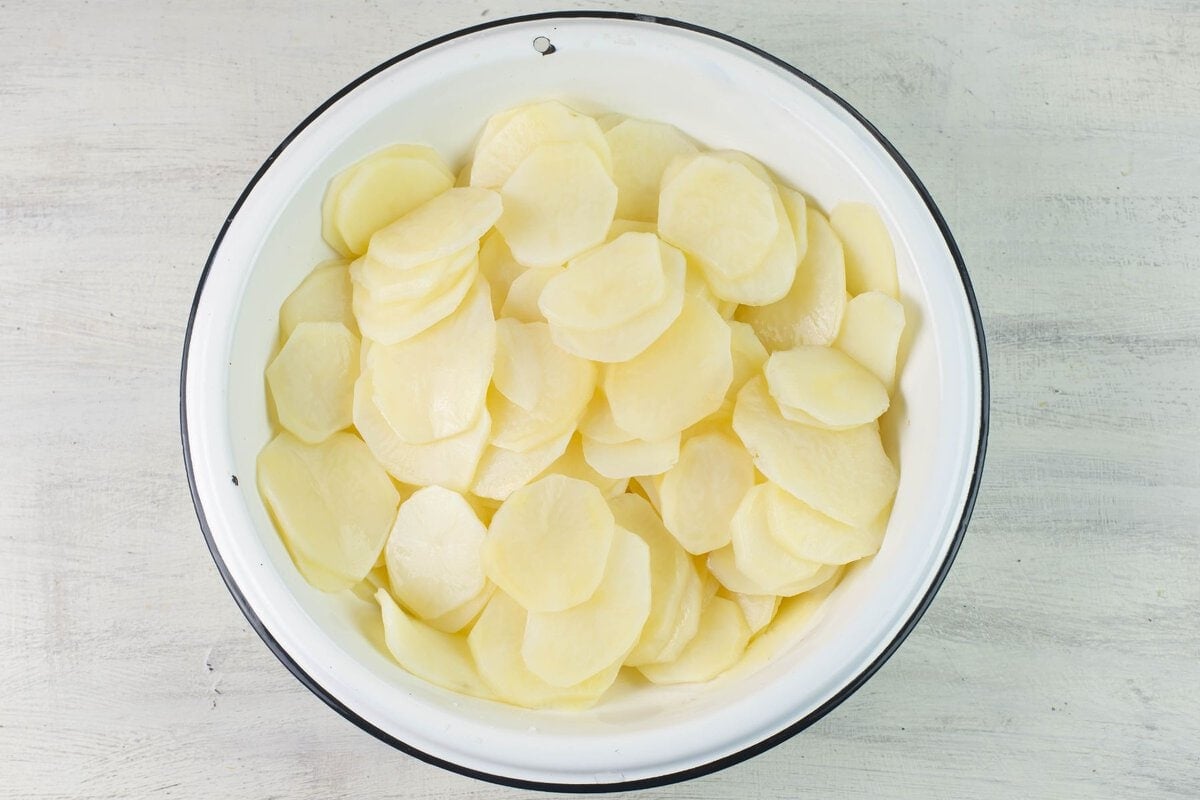
If you skip this flash cooling step the potatoes will continue to can cook from the heat of the potatoes when they are drained. Then pieces will become too soft and fall apart or break into small pieces. Expect a small amount of pieces to do this anyway. But by cooling them in an ice bath it cuts back on the amount of waste.
How to Dehydrate Scalloped Potatoes
Here are my easy directions on how to turn whole potatoes into dried scallop potatoes that you can use to make homemade scalloped potatoes, add them to soups, or take them when you go hiking or camping so you can have light weight easy camping food on hand.
- Step 1: Prep the potatoes following my prep steps above and in the recipe card carefully.
- Step 2: Arrange the blanched and cooled sliced potatoes over each dehydrator tray. Do not overlap them or they will stick together as they dry. Load the trays into the dehydrator. Place the lid on top or attach it depending on the model you are using.
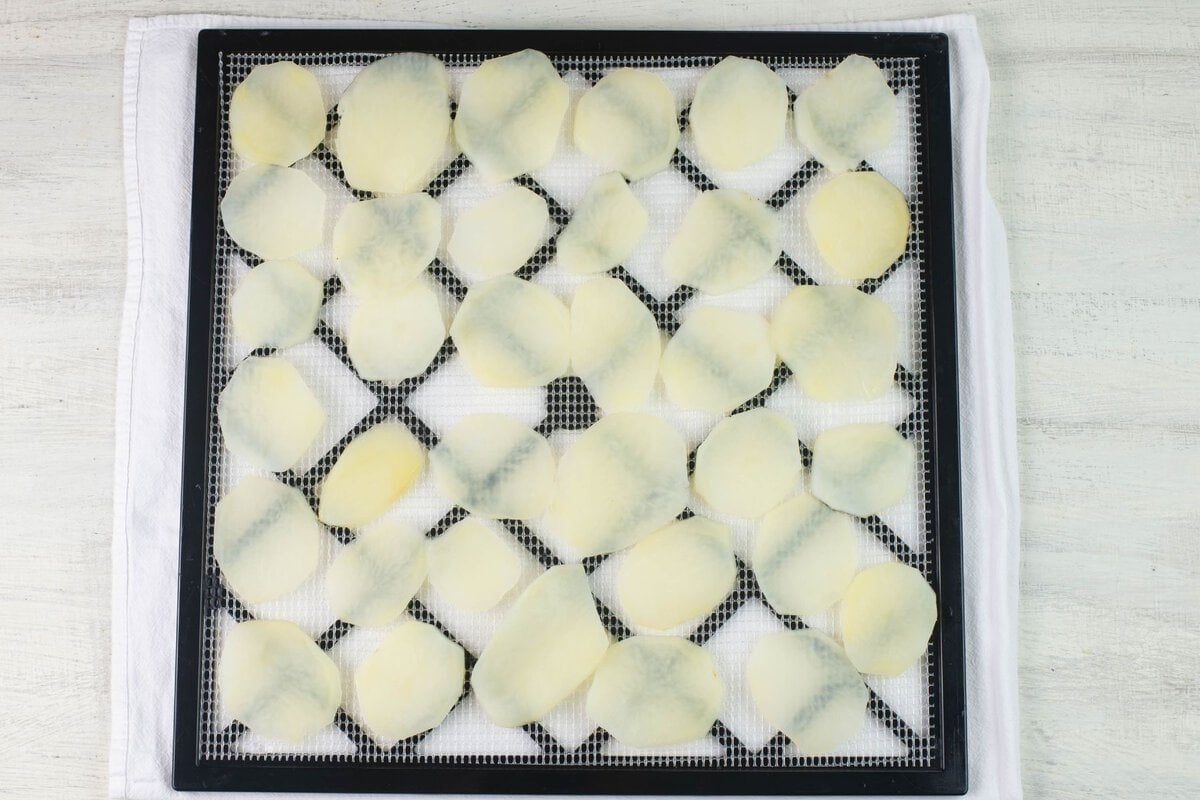
Step 3: Set the temperature of your dehydrator to 125 degrees F. Set a timer for 8 to 12 hours.
Step 4: Every 4 hours check the slices and rotate the trays so the air can evenly dry each side of the tray.
Step 5: Around the 6th hour check how dry the slices are. I always check the thickest slices. If your slices are unevenly cut you might need to flip each slice over to help them dry when you rotate the trays. My slices were cut very evenly because I used a vegetable slicer so I did not flip them.
How to Tell When Dehydrated Scalloped Potato Slices Are Done
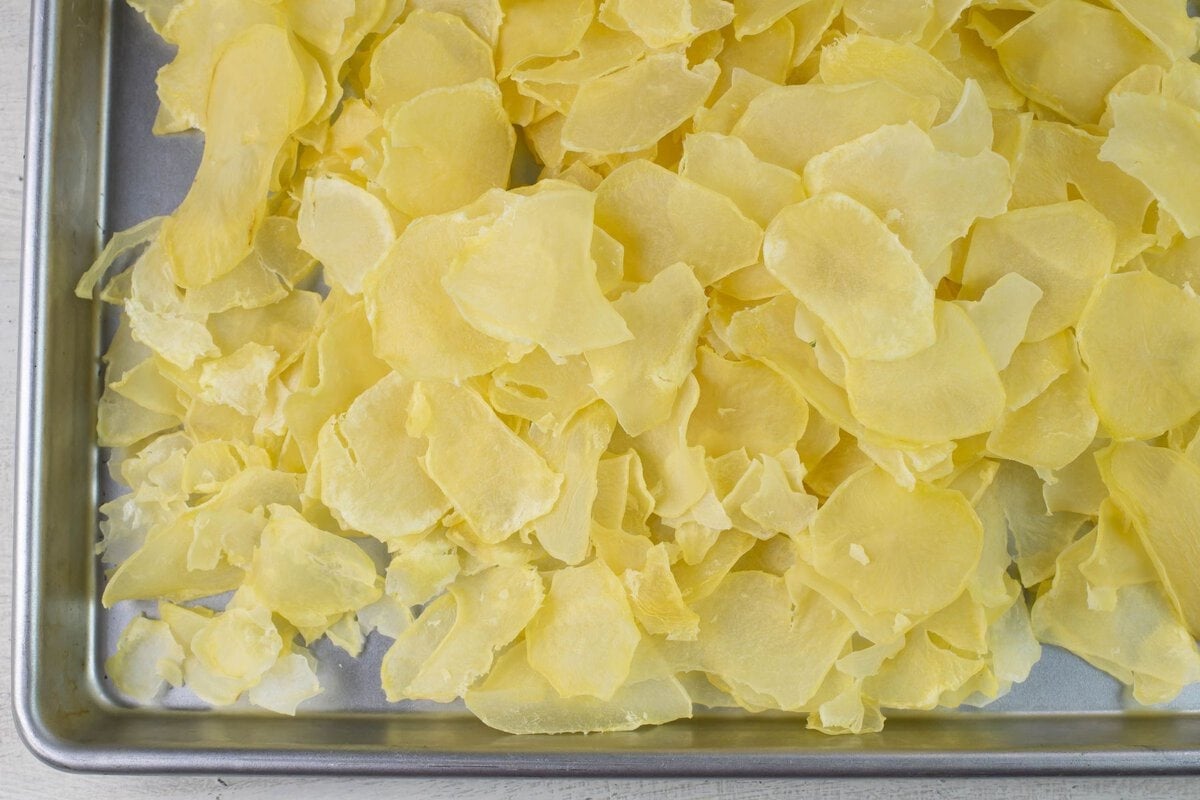
Remove a few random thicker slices from each tray. Allow them to cool to room temperature before checking for doneness. The potato slices are fully dehydrated when they look slightly translucent and feel very hard and brittle. They should snap rather than bend. There should not be any soft areas. Press down on the center with a finger tip to check.
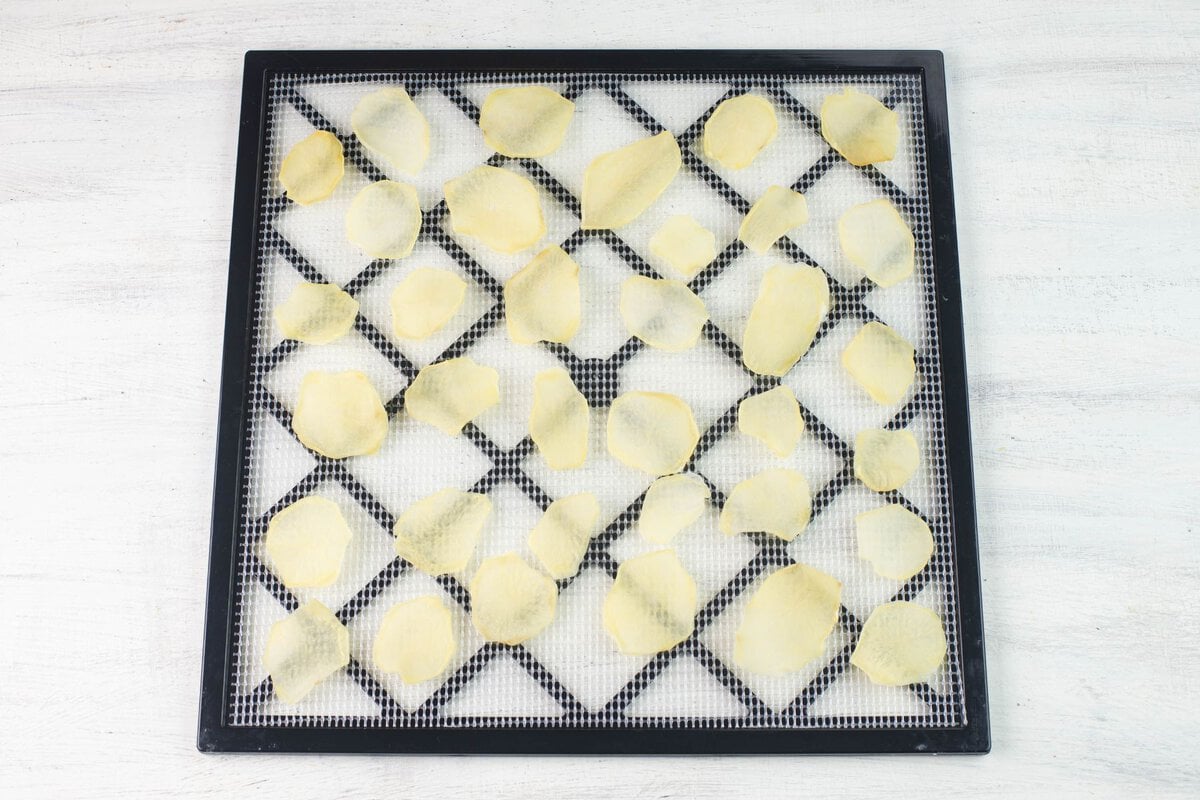
Step 6: Once done turn the dehydrator off and allow the pieces to cool down to room temperature on the tray. Once cool remove them from the trays to a bowl so you can easily transfer them to containers.
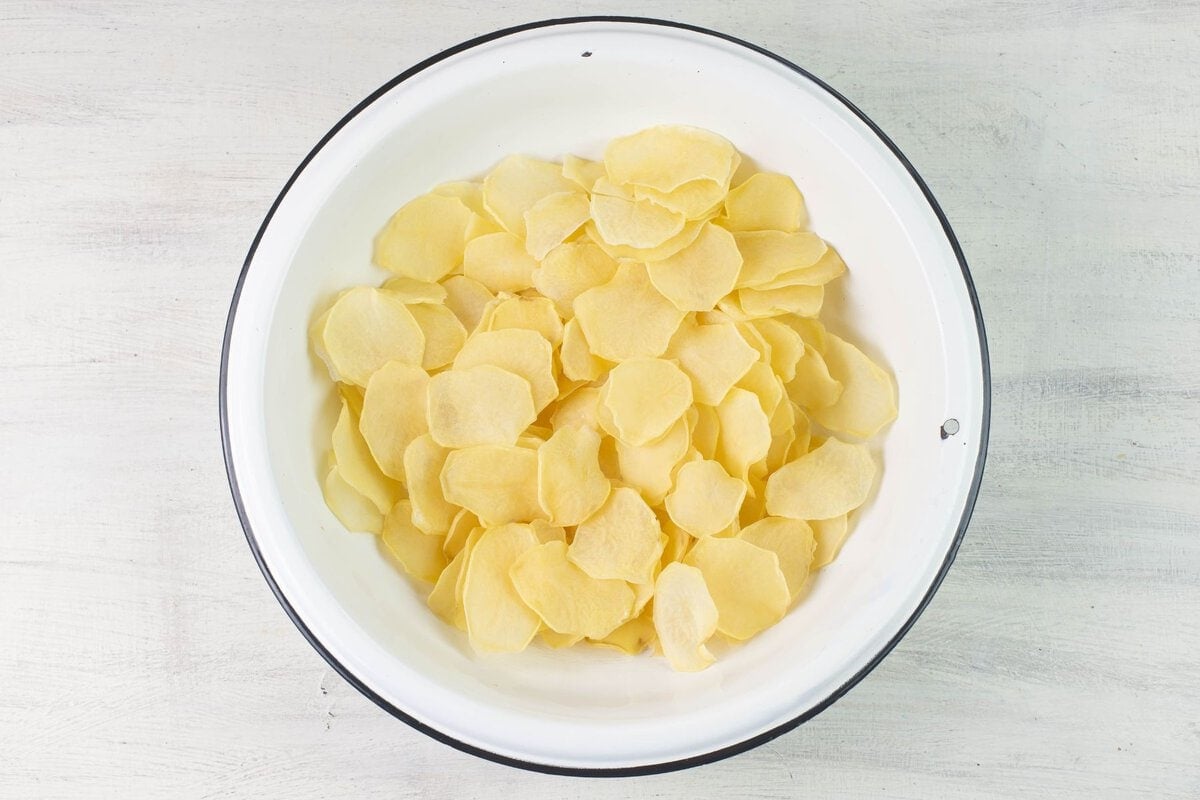
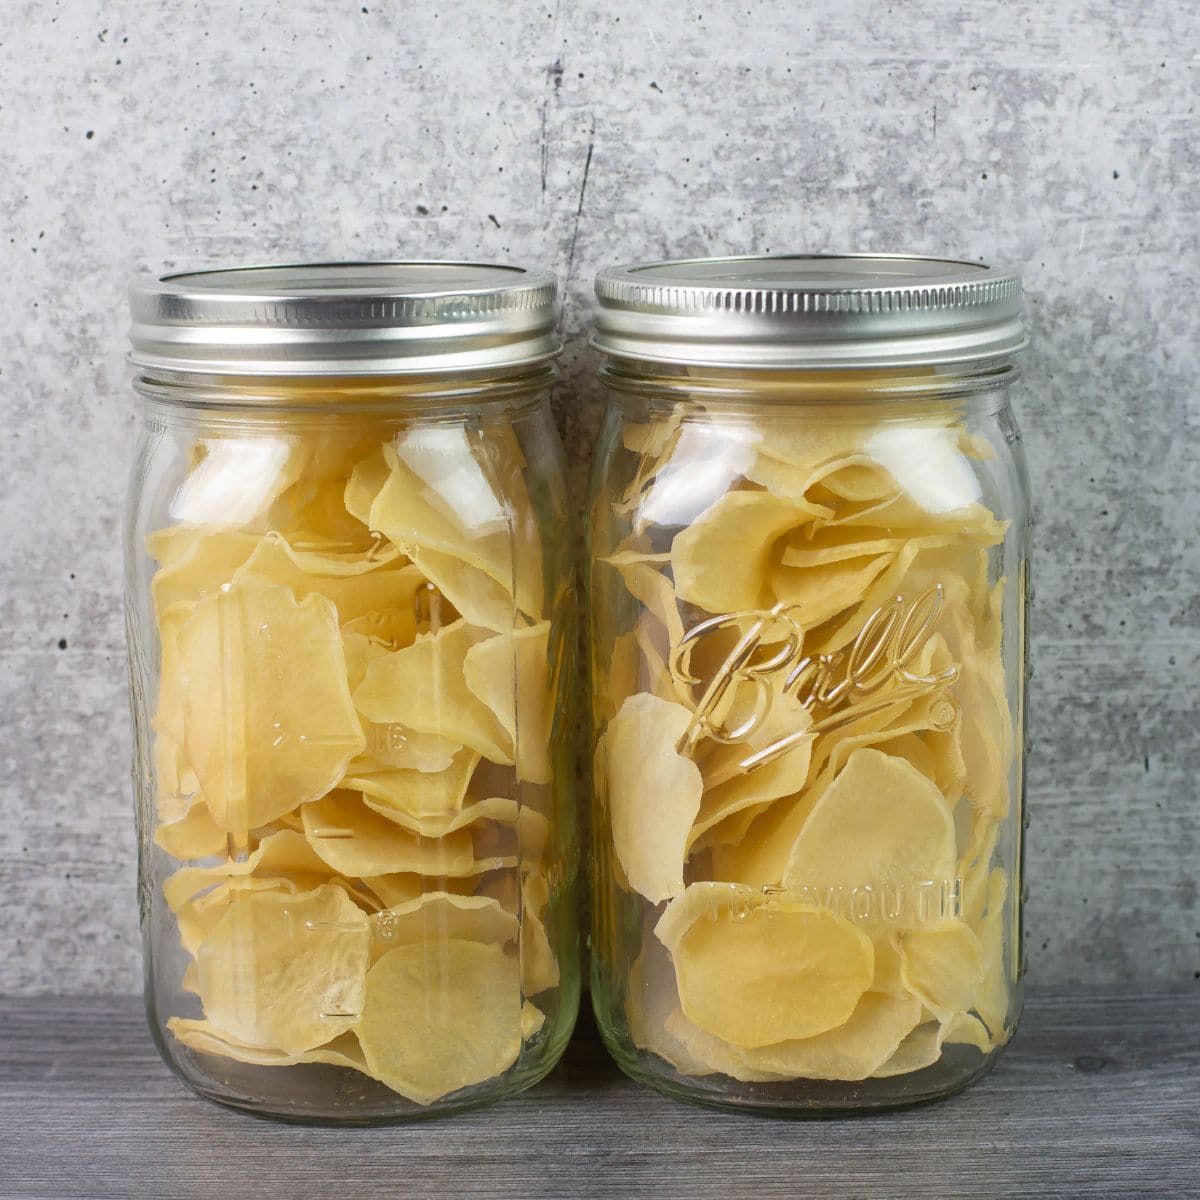
Step 7: Transfer the dried potato slices to mason jars or Mylar bags to store them.
What is the best temperature to dehydrate scalloped potatoes?
- 125 degrees Fahrenheit is the recommended temperature to dehydrate potatoes and most other vegetables. Vegetables have less moisture than fruit and if you dehydrate potatoes at too high of a temperature you may run into "case hardening". Case hardening is when the outer layer of the vegetable is hard and dried but the center is still soft and moist. You never want this to happen when you are dehydrating vegetables. They will spoil, mold from the moisture and be a total waste of time and money. Not to mention the disappointment when you go to use it for a recipe and find that it has to go into the trash.
- How do you know when they are done? They are very hard. There are no soft or mushy spots anywhere on each slice. If in doubt return them and keep drying them until it is almost impossible to snap them in half.
How to store and use dehydrated scalloped potatoes
Always check stored dehydrated potatoes for softness, condensation, mold, discoloration, or an unusual odor before using. Discard any that show mold.
- Zip-top freezer bag: if using bags best if used in 3 to 6 months.
- Airtight Mason Jars: 4 to 6 months
- Vacuum sealed mason Jars: 6 to 12 months
- Heat-sealed Mylar bags with an oxygen absorber: 1 year or longer
Troubleshooting
- Potato slices fell apart during blanching. This will happen if you made the slices too thin.
- Browning potatoes: The potatoes turned a nasty brown or black color while prepping or during dehydrating. You did not keep them covered in cold water while peeling and slicing or you didn't blanch them.
- Unevenly dried: If during the dehydrating process some slices dried more than others or parts of some slices are dried but the center is still moist and soft. This is usually a slicing issue. The pieces were not evenly sliced. If you tried to use a knife to cut them this is the number one issue in dehydrating. Unevenly sliced fruits or vegetables will not dry evenly.
- Rehydrated scalloped potatoes took forever to cook or when using them in a recipe they never softened. The potatoes were mostly likely sliced too thick.
Potatoes for Long-Term Storage
Dehydrating scalloped potato slices is an easy way to preserve potatoes for long-term storage and meals later. Once dried and stored properly, they are ready to rehydrate and use in casseroles, soups, and homemade scalloped potato recipes any time you want.
⭐Leave a Star Rating
Have you tried the recipe? Leave a star rating in the recipe card below to let me know how the recipe turn out.
Email questions or recipe requests to flouronmyface@gmail.com. Follow me on Pinterest, YouTube, Instagram and Facebook.
How To Dehydrate Scallop Potatoes
Ingredients
- 5 lbs. Russet Potatoes (or as many as you have)
- 12 quarts water (approximate)
- 2 teaspoons salt
Instructions
- Prep the potatoes: Prepare, slice, blanch, and cool the potatoes following the prep instructions above.
- Arrange on dehydrator trays: Place the cooled potato slices in a single layer on the dehydrator trays. Do not overlap the slices, or they may stick together as they dry. Load the trays into the dehydrator and secure the lid.
- Dehydrate the potatoes: Set the dehydrator to 125°F and dehydrate for 8 to 12 hours, or until completely dry.
- Rotate the trays: Check the potatoes about every 4 hours and rotate the dehydrator trays for even drying.
- Check for dryness: Starting around the 6-hour mark, check the thickest potato slices. If the slices are uneven in thickness, flip them when rotating the trays to help them dry evenly.
- Test for doneness: Remove a few of the thicker slices and let them cool to room temperature. Fully dehydrated potato slices will look slightly translucent and feel very hard and brittle. They should snap instead of bend and have no soft spots, especially in the center.
- Cool completely: Turn off the dehydrator and allow the dried potato slices to cool completely on the trays. Transfer the cooled potatoes to a bowl for easy packing.
- Store: Pack the dehydrated potato slices into airtight mason jars or Mylar bags and store as directed.
Recipe Expert Tips
- Slice the potatoes evenly: Use a mandoline or vegetable slicer to cut the potatoes into uniform slices. Even slices will dehydrate at the same rate and help prevent some pieces from staying soft.
- Do not skip blanching: Blanching the potato slices before dehydrating helps preserve their color and texture and prepares them for more even drying.
- Keep slices in a single layer: Arrange the potatoes so they do not overlap on the dehydrator trays. Overlapping slices can stick together and may not dry completely.
- Check the thickest slices first: Thicker pieces take the longest to dry. Let a few cool to room temperature before testing-they should be hard, brittle, and snap instead of bend.
- Cool completely before storing: Never pack warm dehydrated potatoes into jars or Mylar bags. Trapped heat can create condensation, which may lead to moisture and spoilage.


Leave a Reply