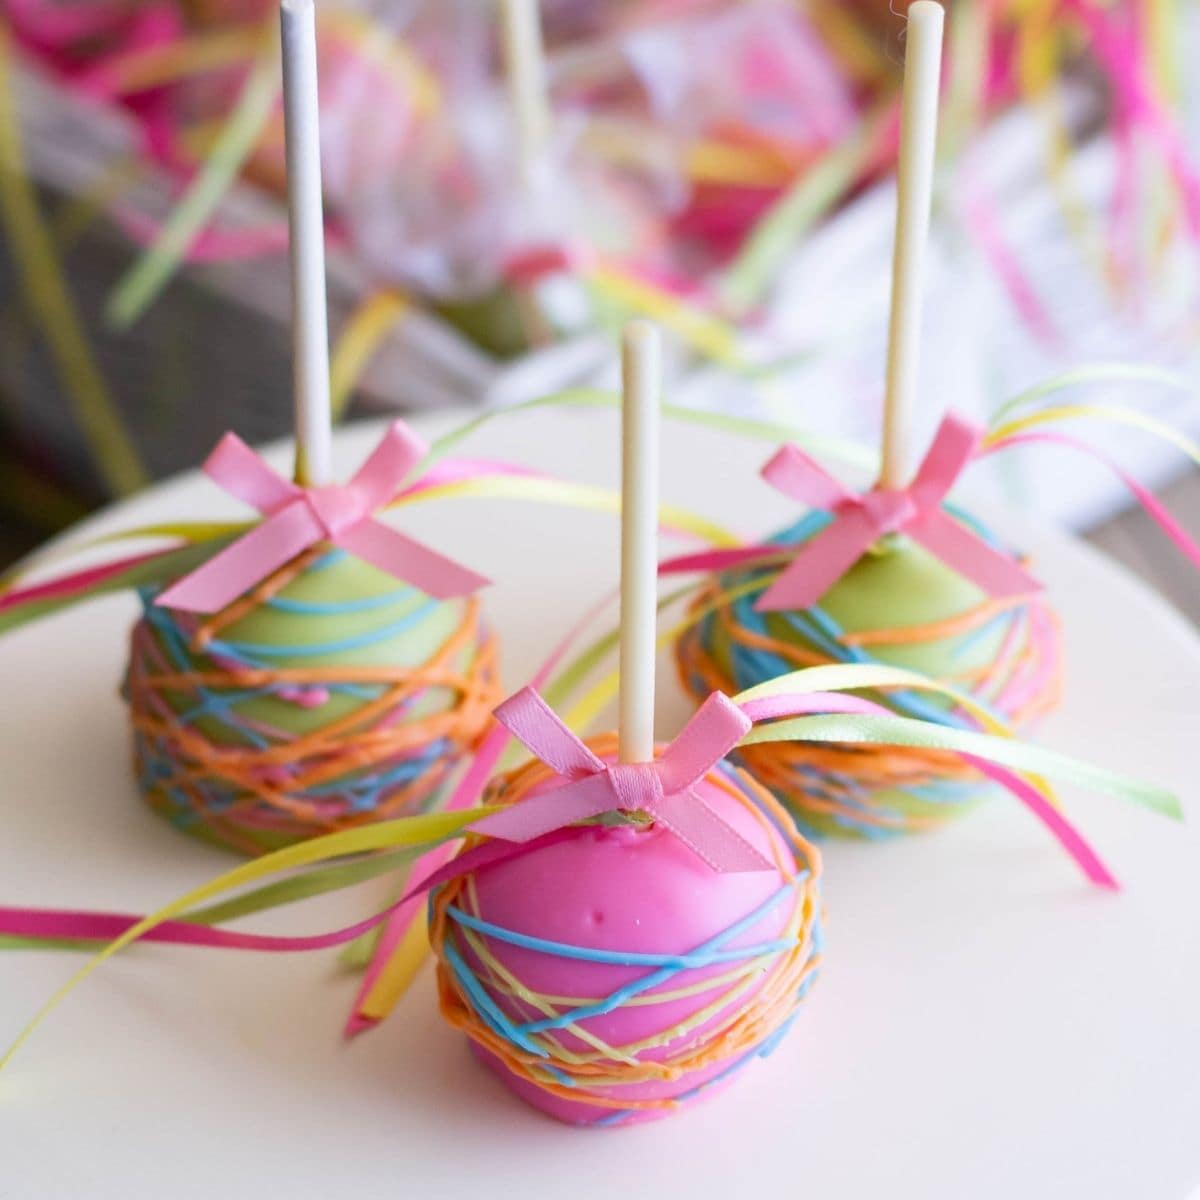
Paisley Baby Shower Cake Pops for a girl baby shower or rainbow themed party.
I've mentioned a few times that we host a lot of baby showers. My oldest daughter Megan has friends who seem to be spitting out another baby every time I turn around.
Most of them are on their 3rd or 4th child so I'm pretty sure the baby showers are about to slow down.
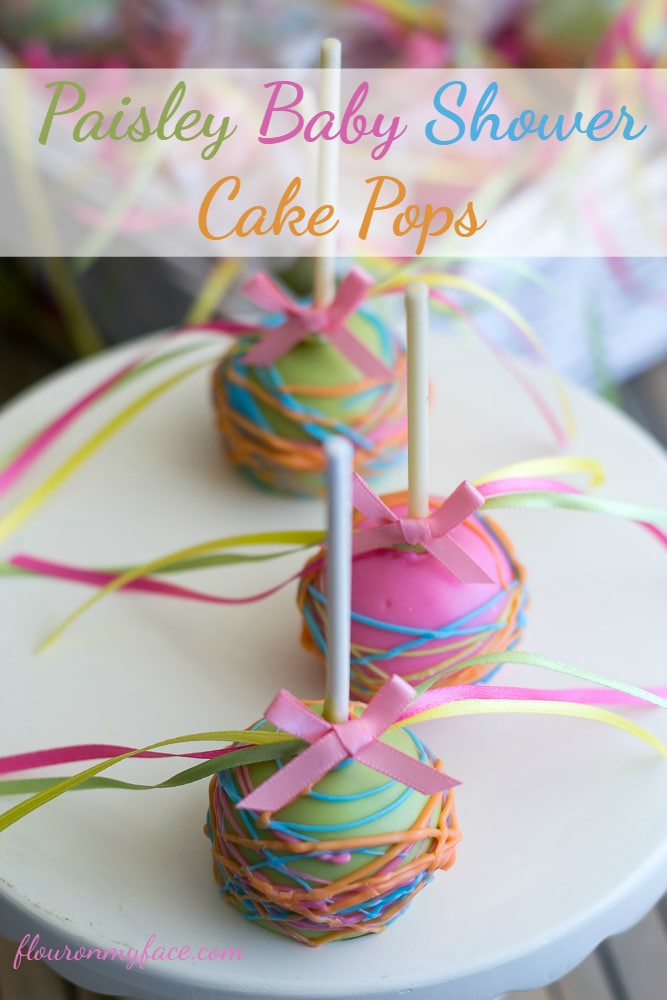
A few month ago my daughter hosted a Paisley Girl Baby Shower theme for her friend Melea who is having a baby girl who will be, (surprise, surprise) named Paisley.
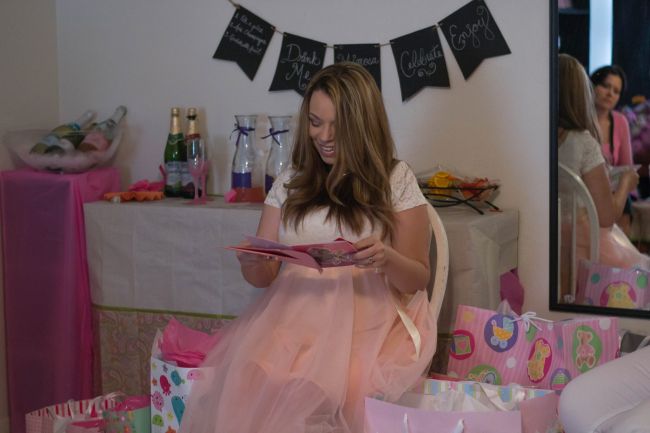
You can see in the background the easy DIY Mimosa Bar that I shared last week that my daughter also made for the baby shower.
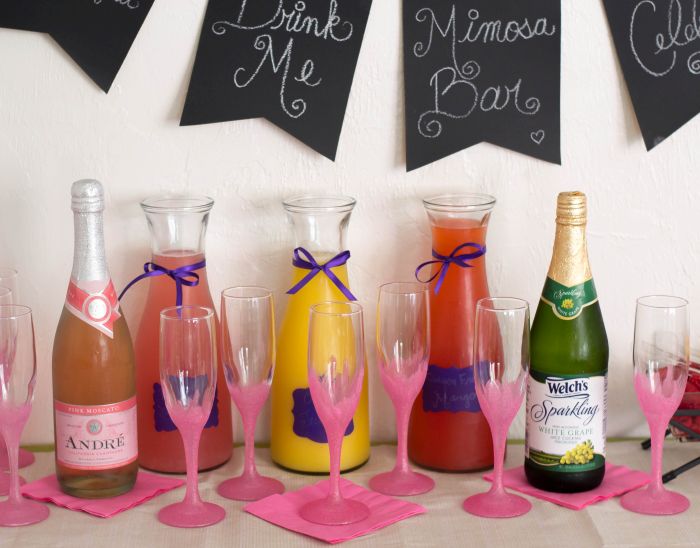
Since I began making cake pops about 5 or 6 years ago I have been declared the official cake pop maker for all baby showers, birthday parties and generally anytime we are hosting some sort of celebration.
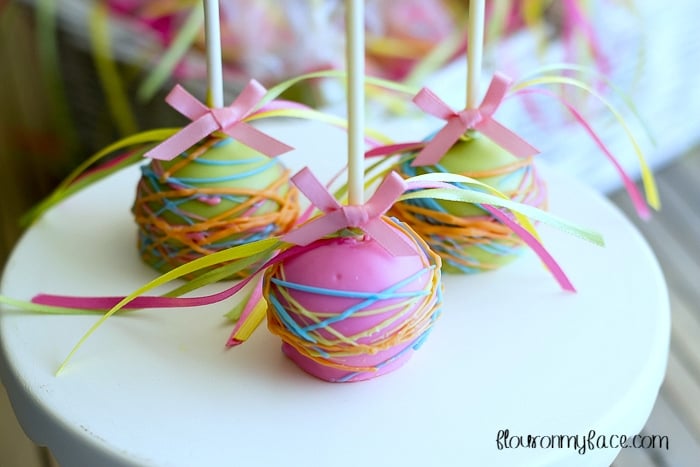
I don't mind. I love making them. I like making life simple so I make them very simply by dipping them in candy melts and drizzling them with a colorful swirl.
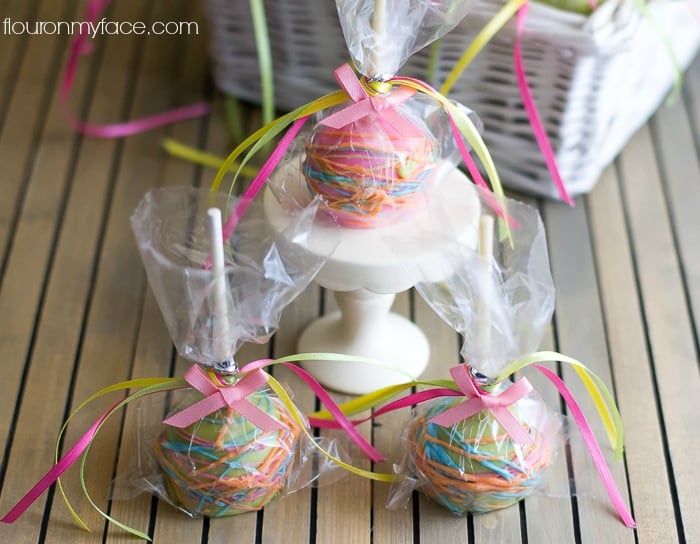
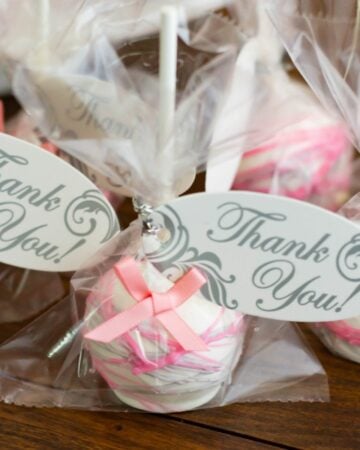
To mix things up I will pick the colors of cake and coating to match the party theme and I will package them to match the theme.
They look gorgeous and everyone always loves them.
If your new to making cake pops you can check out my step by step How To Make Cake Pops post.
If you'd like to check out some other Baby Shower Cake Pops:
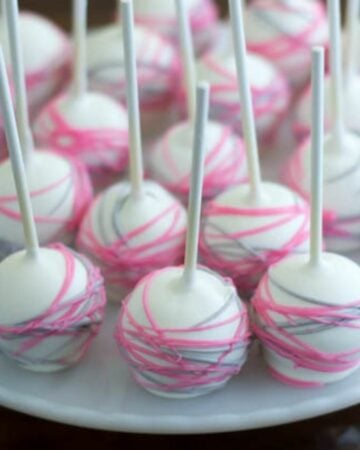
- Pink and Grey Baby Shower Cake Pops
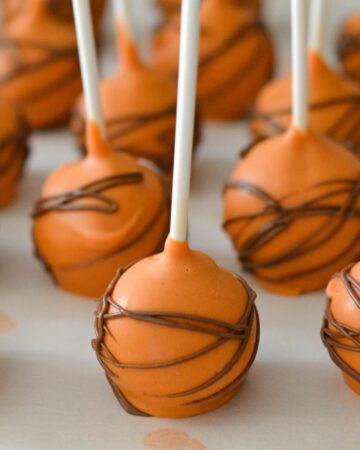
- Fall Baby Shower Pumpkin Spice Cake Pops
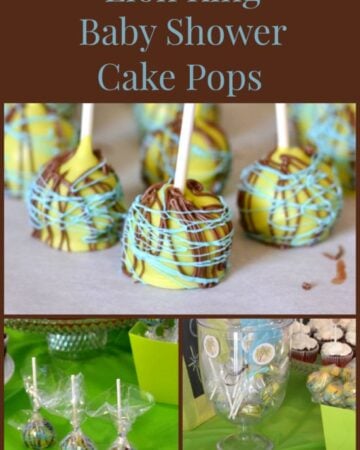
- Baby Boy Lion King Baby Shower Cake Pops
How to Make Paisley Baby Shower Cake Pops
Ingredients
- 1 boxed white cake mix plus ingredients to make
- 5 drops Americolor bright pink food dye
- 5 drops Americolor neon green food dye
- 1 can cream cheese frosting
- 1 bag Wilton Bright Pink Candy Melts
- 1 bag Wilton Neon Green Candy Melts
- ¼ cup Wilton Baby Blue Candy Melts
- ¼ cup Wilton Neon Orange Candy Melts
- ¼ cup Bright Pink Candy Melts
- Crisco solid shortening
- 36-48 Wilton lollipop sticks
- 36-48 Wilton cellophane treat bags and ties
- 2 packages Martha Stewert mini Pink Bows (Joann's Fabric Store)
Directions
- Mix the cake mix as directed on the package and evenly divide the batter between two bowls.
- To one bowl add the pink food dye and mix until completely incorporated into the batter. Pour into a prepare 8 inch cake pan.
- Repeat with the green food dye and pour into a prepared pan.
- Bake the cakes as directed on the package and cool completely.
- In two separate bowls crumble each cooled cake into fine crumbs.
- Mix a ¼ cup of frosting into each bowl of crumbs.
- Add more frosting as needed by a teaspoon at a time until all dry crumbs are moistened and a teaspoon of the dough holds together when rolled into a ball.
- Using a small cookie dough scoop form about 24 cake balls from each bowl.
- Place the cake balls on a cookie sheet in a single layer as you form them.
- Chill in the refrigerator until firm (about 15 minutes) or until you are ready to dip them.
- Melt half a bag of Wilton Bright Pink candy melts at 10-20-second intervals in a narrow and deep container adding 1-2 teaspoons of a Crisco shortening to the container to help thin the candy coating for 20 seconds.
- After 20-seconds stir and return to the microwave for 10 seconds and stir again. Repeat until the candy coating is thin enough to slowly run off a spoon.
- Add more shortening in small amounts as needed.
- Dip the tip of a lollipop stick ¼ inch into the melted candy melts. Insert the stick into the pink cake pop balls and return to the cookie sheet cake ball down. Gently tap the cake pop on the cookie sheet to form a slight base for the cake pop to stand upright. Repeat with all pink cake pop balls. Return the cookie tray to the refrigerator so they can firm up.
- Repeat with the green cake and green candy melts.
- When ready to dip the cake pops remove the cookie tray from the refrigerator and reheat the candy melts until they are thin again. No need to add any more shortening at this point.
- Grasp one cake pop by the end of the stick and dip it down into the melted candy melts to the stick, covering the entire cake pop ball.
- Gently tap and twirl the cake pop over the container allowing the excess to drip back into the container.
- Place the cake pop down on a cookie sheet covered with parchment paper centering it and standing it straight up.
- Repeat with remaining cake pops, melting more candy melts as needed.
- Allow candy coating to harden completely 30-60 minutes.
- Decorate the cake pops with a drizzle of melted candy melts in pink, blue and orange.
- Makes 36-48 depending on how large the cake pop balls are.
Email questions or recipe requests to flouronmyface@gmail.com. Follow me on Pinterest, YouTube, Instagram and Facebook.
Paisley Baby Shower Cake Pops
Equipment
- 2 packages Martha Stewart mini Pink Bows (Joann's Fabric Store)
Ingredients
- 1 box white cake mix, prepared
- 5 drops Americolor bright pink food dye
- 5 drops Americolor neon green food dye
- 1 tub cream cheese frosting
- 1 bag Wilton Bright Pink Candy Melts
- 1 bag Wilton Neon Green Candy Melts
- ¼ cup Wilton Baby Blue Candy Melts
- ¼ cup Wilton Neon Orange Candy Melts
- ¼ cup Bright Pink Candy Melts
- 2 tablespoons Crisco solid shortening
Instructions
- Mix the cake mix as directed on the package and evenly divide the batter between two bowls.
- To one bowl add the pink food dye and mix until completely incorporated into the batter. Pour into a prepare 8 inch cake pan.
- Repeat with the green food dye and pour into a prepared pan.
- Bake the cakes as directed on the package and cool completely.
- In two separate bowls crumble each cooled cake into fine crumbs.
- Mix a ¼ cup of frosting into each bowl of crumbs.
- Add more frosting as needed by a teaspoon at a time until all dry crumbs are moistened and a teaspoon of the dough holds together when rolled into a ball.
- Using a small cookie dough scoop form about 24 cake balls from each bowl.
- Place the cake balls on a cookie sheet in a single layer as you form them.
- Chill in the refrigerator until firm (about 15 minutes) or until you are ready to dip them.
- Melt half a bag of Wilton Bright Pink candy melts at 10-20-second intervals in a narrow and deep container adding 1-2 teaspoons of a Crisco shortening to the container to help thin the candy coating for 20 seconds.
- After 20-seconds stir and return to the microwave for 10 seconds and stir again. Repeat until the candy coating is thin enough to slowly run off a spoon.
- Add more shortening in small amounts as needed.
- Dip the tip of a lollipop stick ¼ inch into the melted candy melts. Insert the stick into the pink cake pop balls and return to the cookie sheet cake ball down. Gently tap the cake pop on the cookie sheet to form a slight base for the cake pop to stand upright. Repeat with all pink cake pop balls. Return the cookie tray to the refrigerator so they can firm up.
- Repeat with the green cake and green candy melts.
- When ready to dip the cake pops remove the cookie tray from the refrigerator and reheat the candy melts until they are thin again. No need to add any more shortening at this point.
- Grasp one cake pop by the end of the stick and dip it down into the melted candy melts to the stick, covering the entire cake pop ball.
- Gently tap and twirl the cake pop over the container allowing the excess to drip back into the container.
- Place the cake pop down on a cookie sheet covered with parchment paper centering it and standing it straight up.
- Repeat with remaining cake pops, melting more candy melts as needed.
- Allow candy coating to harden completely 30-60 minutes.
- Decorate the cake pops with a drizzle of melted candy melts in pink, blue and orange.
Recipe Expert Tips
- Makes 36-48 depending on how large the cake pop balls are.


Leave a Reply