


Dehydrating green beans is a simple and budget-friendly way to stock your pantry with this tasty, and versatile vegetable. If you're building your food storage, prepping for camping or hiking trips, or just looking for a healthy snack alternative, this guide will show you everything you need to know to get started!

Why I use dehydrating as part of my meal planning:
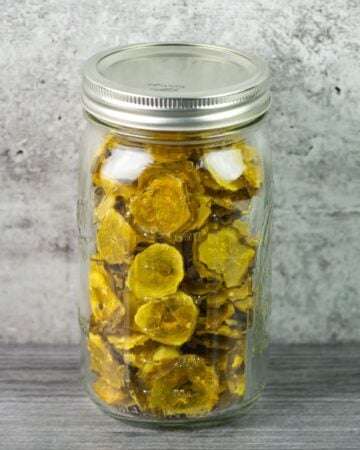
As a hard core meal planner I love stocking my pantry with my favorite dehydrated vegetables. Dehydrated Grape Tomatoes, Yellow Squash, Bell Peppers, Mushrooms and even frozen mixed vegetables make their way into my soup and stew pot all year long.
The benefits of dehydrating vegetables:
- I don't have to worry if my favorite vegetables are in season because I always have some in my pantry.
- I don't have to make any last minute runs to the store when I'm cooking.
- I don't have to worry about freezer burn.
Neither will you once you get the hang of dehydrating.
I use multiple ways to preserve my produce. Dehydrating is just one food preserving method I use in my meal planning.
An example of the ways I meal prep and make sure I always have a stocked pantry and freezer on hand is canning, quick pickling or making refrigerator pickles, freezer meals and freezer meal prep.
Dehydrating fresh green beans, string beans or wax beans to use as an ingredient in my recipes is part of my meal planning. Dehydrating is one of the easiest kitchen preserving skills you can master and it really comes in handy if you have a garden. And if you don't garden you can buy in-season produce at the farmers markets or grocery store when prices are low.
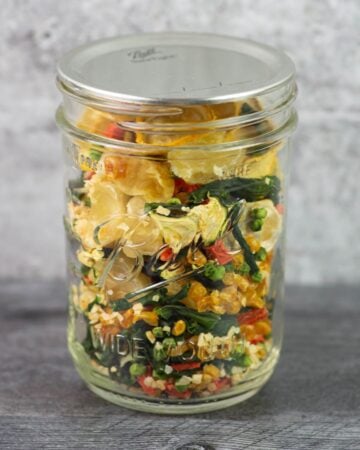
Meal preppers will love having a stash of dried green beans to use in my dried vegetable soup mix.
Dehydrating Equipment
- Dehydrator: I am using my Excalibur 9 Tray Dehydrator. If you are new to preserving with dehydration you can use a round counter top dehydrator, the oven or even an air fryer. If you are using a smaller appliance or the air fryer keep in mind you may need to dry multiply batches depending on how many pounds of green beans you have to process.
- Mesh tray liners: These flexible reusable tray liners are a must have as far as I am concerned. They keep the food from falling through the wide gaps in the trays. Some food drying appliances come with them.
- Sharp knife: You'll need to carefully trim off the ends of each green bean.
- Large bowl or sink tub: I love to buy inexpensive sink size tubs or basins at the dollar store. They come in very handy when you are blanching, harvesting or preparing large quantities of fruits, vegetables and herbs.
- Large colander: You will use this to wash, rinse and drain. If you have a salad spinner you can use the one from it.
- 24 quart or larger stock pot: you will need this large pot when you are blanching the beans.
- Optional: Salad Spinner: a salad spinner is one of my favorite tool when dehydrating. You can spin most of the water off what any of the vegetables or fruit you wash or blanch. This will help cut down on some of the dehydrating time.
You only need 2 ingredients
Below is a quick look at the ingredients and directions. You can find the entire ingredient amounts and step by step directions in the recipe card below. P. S. You can also save your favorite recipes to your personal recipe box! ⬇️
- Fresh green beans
- Salted water
Blanching Green Beans
Do you really need to blanch vegetables before dehydrating them?
You might be thinking that blanching is an unnecessary step. You will still have edible vegetables once your done if you skip blanching them but most fresh vegetables benefit and should be blanched before dehydrating.
The most obvious problem you will run into if you skip this step is that the color of the vegetable is going to radically change after a few months.
I've been dehydrating for over 25 years and I have seen it first hand. I ended up throwing out jars of food because the color was so unappealing I wouldn't cook with it.
New to preserving with a dehydrator? Grab my FREE Quick Guide to Dehydrating.
👇See the step by step directions below!
Recipe Prep
- Wash the fresh green beans in cold water to remove any dirt or debris. Drain well in a colander.
- You will need an container large enough to make an ice bath to flash cool the blanched beans.

Step by Step Directions
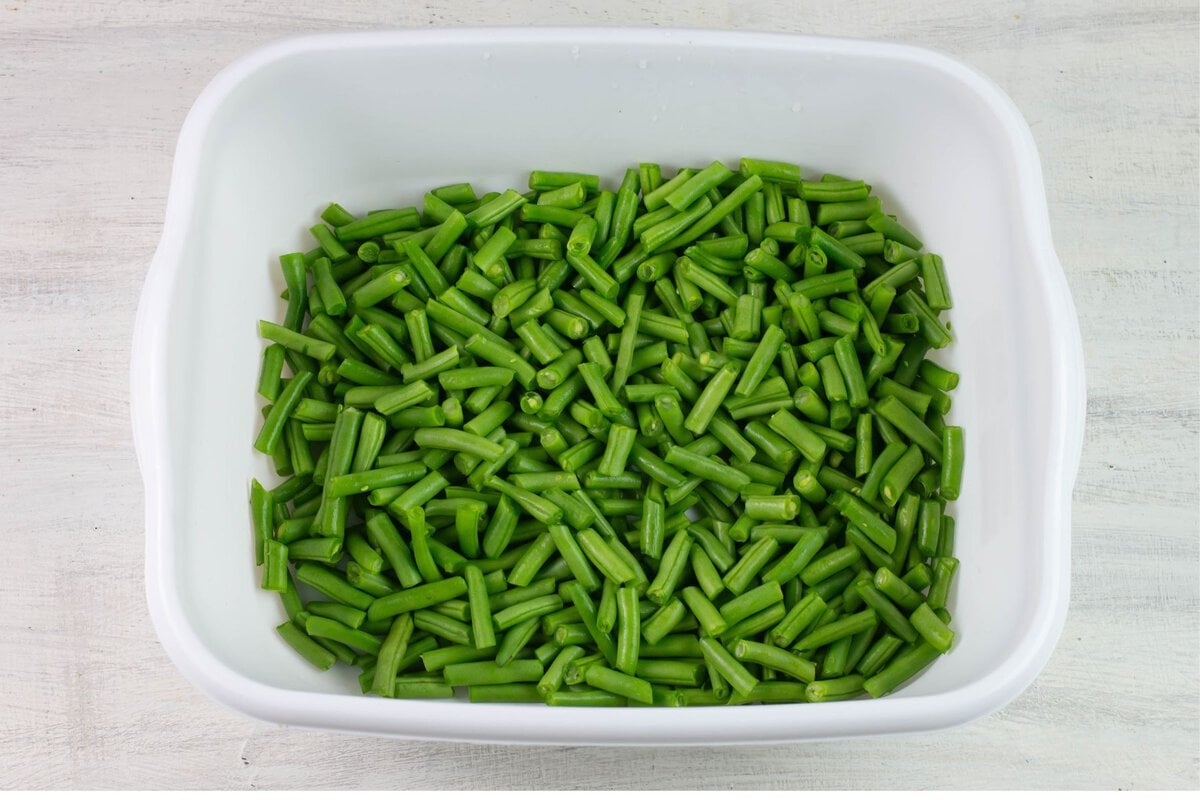
- Step 1: Trimming and Cutting: Using a sharp paring knife carefully trim the ends and any bad spots. Cut each whole green bean down to 1-2 inch pieces and put them in the colander, a bowl or I like to use an inexspensive plastic tub that fits in my sink.
- Step 2: As you are trimming and cutting the green beans bring a large stock pot full of salted water to a boil. If you start heating the pot while you are cutting the beans it should be boiling by the time you are done prepping the beans. This will help save you some time.
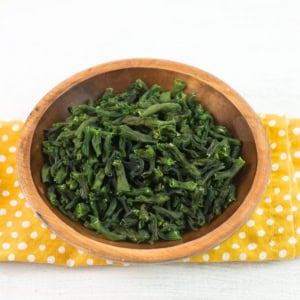
- Step 3: Blanching: Dump the cut green beans into the boiling water. Bring the water back to a boil. Set a timer for 4 minutes. While you are blanching the green beans prepare an ice bath by filling a scrubbed clean sink, or a very large bowl with ice cubes. If you have a double sink you can drain on one side and use the other side for the ice bath. If not set the bowl or tub aside as you will need to drain the blanching water into the sink. I will be using the plastic tub that fits in my sink.
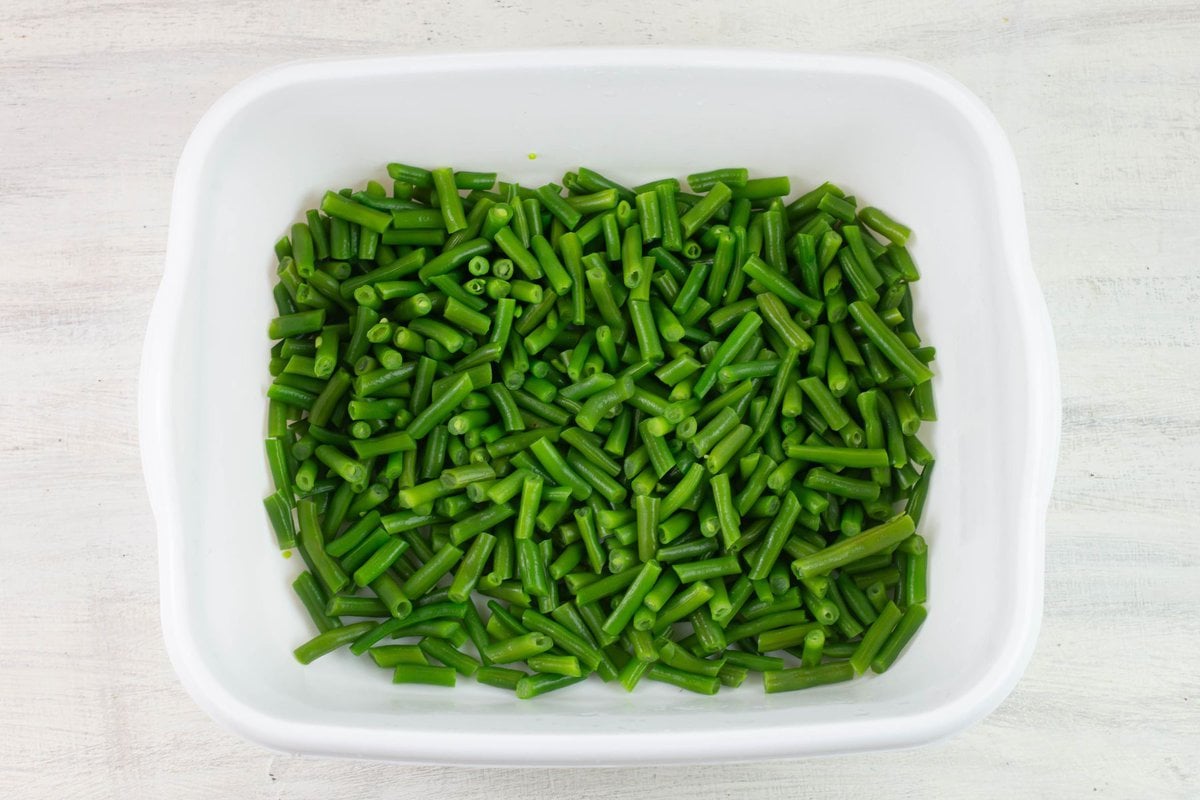
- Step 4: Once the 4 minute blanching time is up carefully drain the beans in a large colander in the sink. Pour the hot drained beans into whatever vessel you are using for the ice bath. You should already have it filled with ice cubes. Add cold water until the hot green beans are covered. Allow the beans to cool completely before draining them in the colander again.
Notice the bright vibrant color of the beans after they have been blanched.
- Step 5: Drying: Remove as much water from the cooled beans by either spreading them out on a large cookie sheet and gently patting them with a lint free cloth towel or a bunch of paper towels. I like to use my salad spinner for this part. It will remove most of the moisture very quickly.
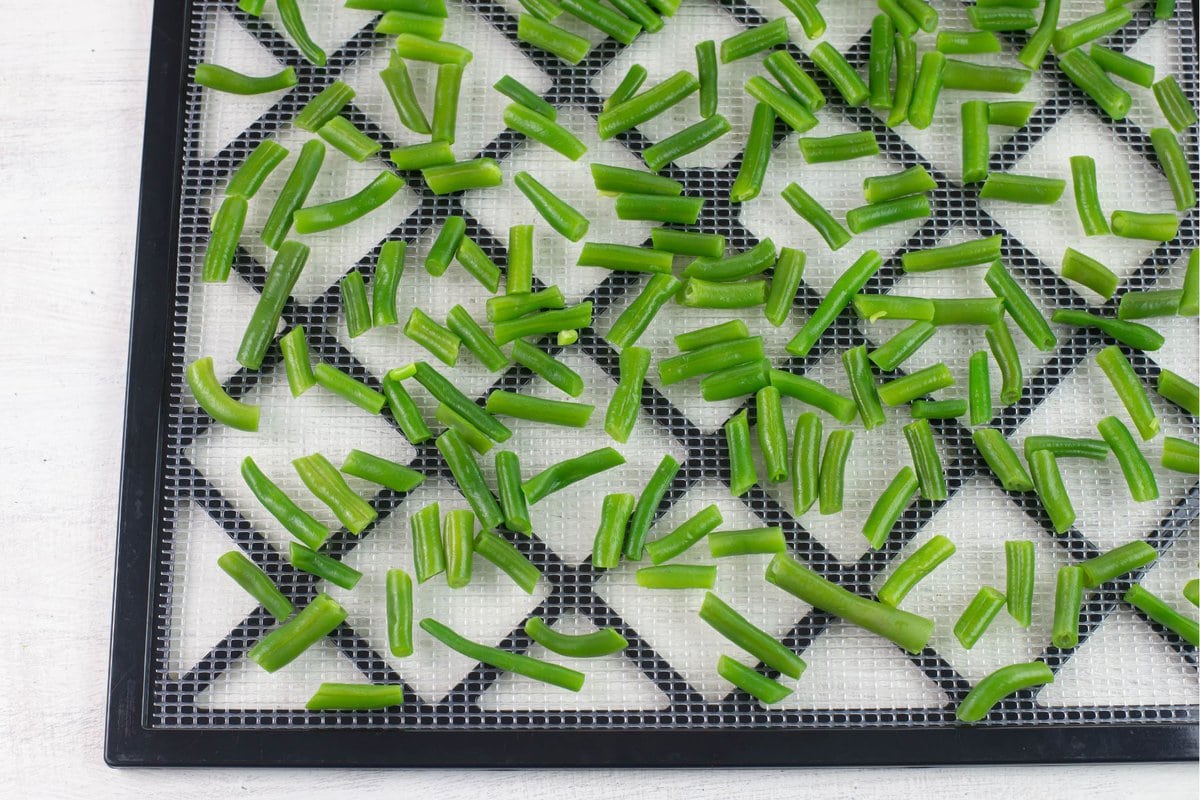
- Step 6: Loading the trays: Spread the blanched green beans over your dehydrator trays that have been lined with silicone or plastic mesh screens. The mesh screens will stop the smaller pieces from falling through the spaces in the trays as they dry and shrink. Leave some space between the pieces so the hot air will flow freely.
- Step 7: Dehydrating: Load the trays into the dehydrator as you fill them until you've loaded all of the trays. Set the temperature of the dehydrator to 135 F. if your dehydrator has a temperature control setting. Set the timer for 8 to 12 hours. The amount of time it takes to fully remove all of the moisture and properly dry will vary. How wet the vegetable was, how closely you packed the trays and even the humidity of your how will effect the drying time.
- Step 8: Rotating the trays: After 4 hours rotate the trays and check to see how dry the pieces are getting. If they have shrunk considerably and are getting hard by 4 hours you will need to shorten your dehydrating time. You should check on them every hour or two to see how dry they are getting.
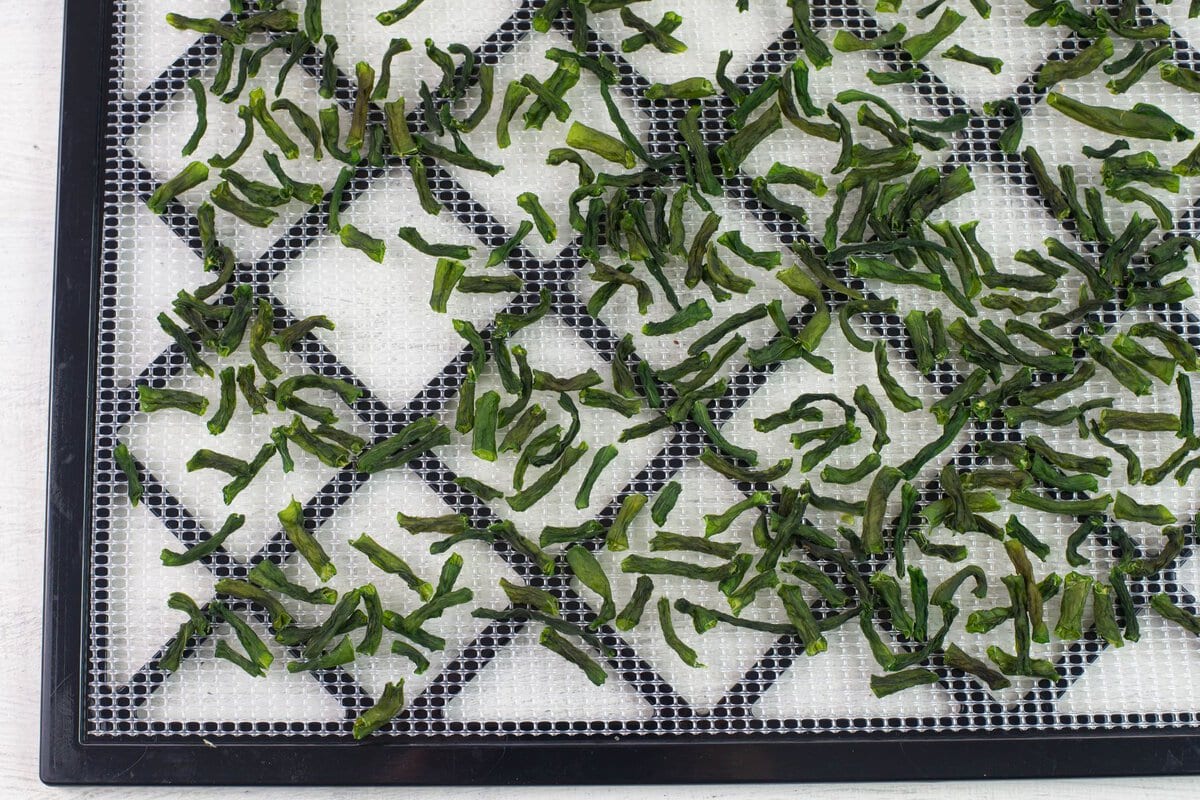
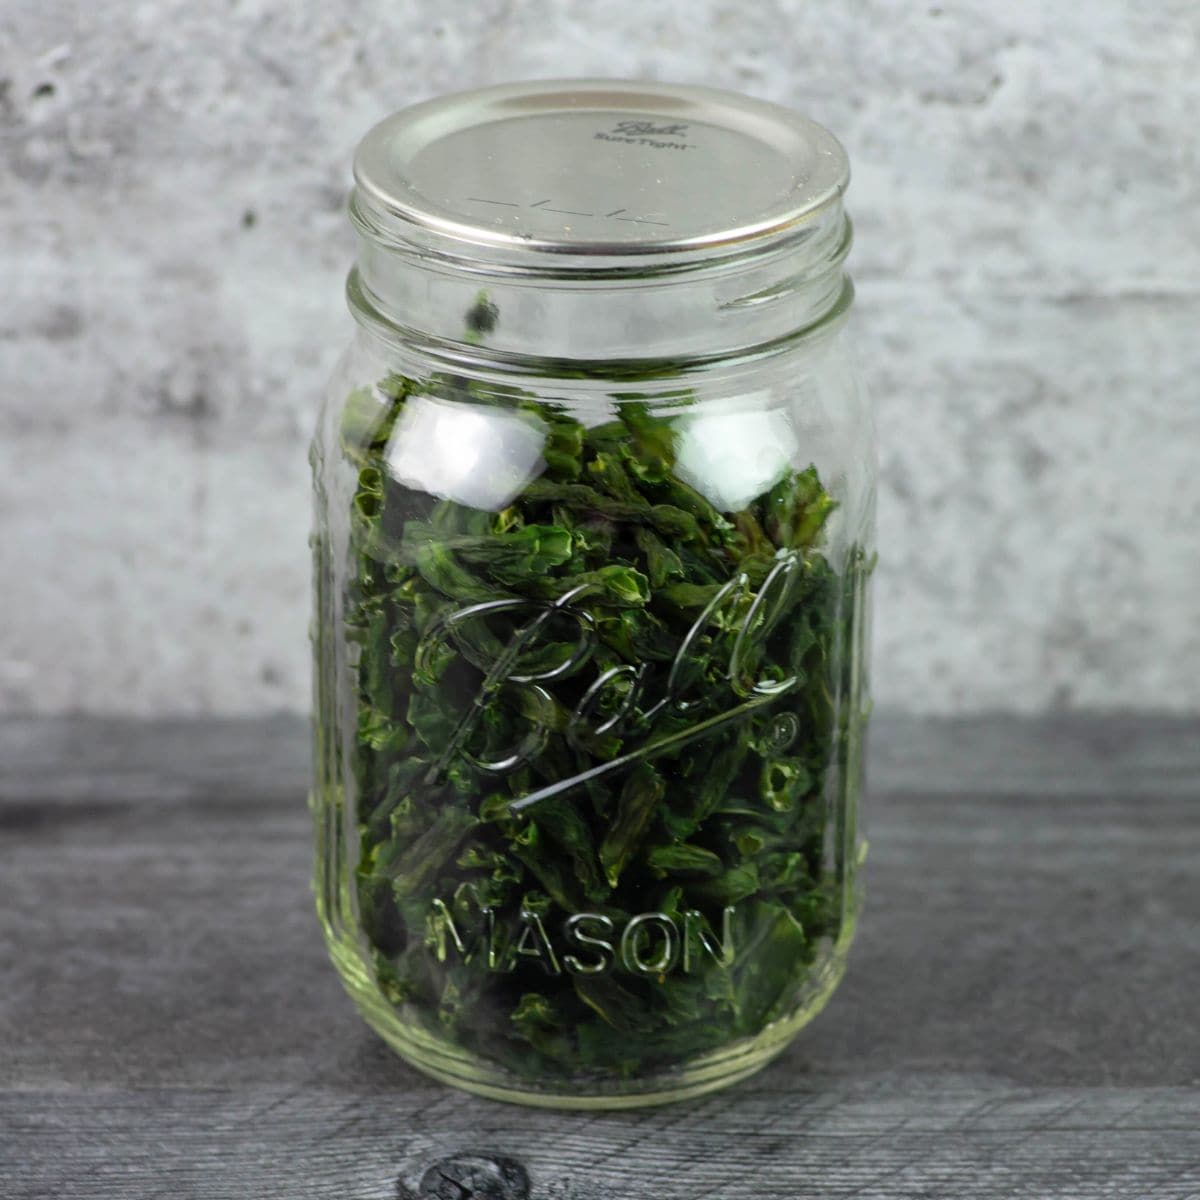
- Step 9: It took 7 ½ hours for my green beans to dehydrate completely. The beans should feel hard and crisp. As you can see the pieces have shrunk by about 50%.
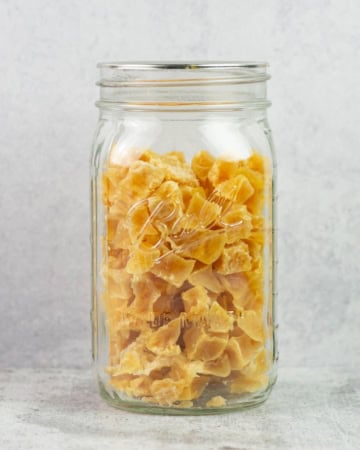
- Step 10: Cool the dried beans on the counter completely before transferring them to glass jars to condition.
- Step 11: Condition the jars of bean in a dark cabinet for 1 week. Every day shake the jar to move the pieces around. Check closely for any moisture that is forming on the inside of the jar.
If there is any moisture return them to the dehydrator and dehydrate them again for another hour or two until completely dry.

How I use Dehydrated Green Beans
Dried green beans can be used in place of fresh in most soups, stews and casseroles.
- You can add them to a dried vegetable soup mix so you have ready to add vegetable mix on hand to add to recipes.
- I like to add a scoop when I am making soups or stews that will simmer on the stove. This way the dried beans will rehydrate with no other work involved.
- If I am adding them to a casserole recipe, salad, or serving as a side dish I will rehydrated them in hot water. To do this place the amount of beans you need in a bowl and pour a cup of hot water over them. Once they have plumped up drain and add to the recipe.
📌Pro Dehydrating Tips
Things that can effect to the drying time
- How thick and the size you have cut the beans.
- How wet the beans were when you loaded them into the dehydrator.
- The dehydrator model you are using.
- The temperature of the dehydrator. If you are using a dehydrator that does not have a temperature setting you should check the manufacturers information to see what temperature your model is running at. Usually these types of dehydrators run at a higher temperature. Some as high as 165 F. You will need to adjust the time considerably. But don't worry you can over dehydrate vegetables. You will still be able to eat them.
- The temperature and humidity of the area you live in: I live in humid Florida and during the summer months it will take longer for me then it may take for you if you live in a low humidity area.
- The temperature and or humidity of your home: The outside environment will make a difference.
- How to know when the green beans are done dehydrating. Green beans are done dehydrating when they are hard and crispy. Press down on the center of a thick bean to check and make sure the center has dried.
Dehydrating green beans is an easy and effective way to make the most of your garden's bounty or store-bought produce. With just a bit of effort, you'll have a shelf-stable, nutrient-packed ingredient ready for soups, casseroles, or on-the-go snacking. Give it a try and enjoy the satisfaction of preserving fresh vegetables while saving money.
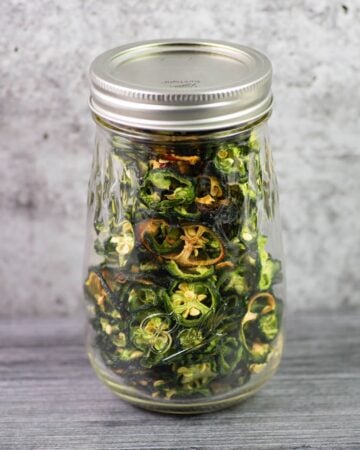
Dehydrated Vegetables
Check out these other easy step by step directions to preserve seasonal produce with a dehydrator.


⭐Leave a Star Rating
Have you tried the recipe? Leave a star rating in the recipe card below to let me know how the recipe turn out.
Email questions or recipe requests to flouronmyface@gmail.com. Follow me on Pinterest, YouTube, Instagram and Facebook.
How To Make Dehydrated Green Beans
Ingredients
- 4 lbs. fresh green beans
- 20 quarts water
- 2 teaspoons salt
Instructions
Prep
- Wash the fresh green beans in cold water and drain well.
- Prepare a bowl, plastic tub or sink for an ice bath.
- Trim the ends and cut the green beans into 1 to 2 inch pieces.
Blanching
- Bring a large stock pot full of salted water to a boil. Dump the cut green beans into the boiling water for 4 minutes. Pour through a large colander and drain.
- Immediately dump the drained beans into the ice bath. Allow them to cool completely.
- Drain the cooled and blanched green beans in the colander and remove any un-melted ice cubes. Drain until all the water is gone.
- Remove as much moisture as possible by using a salad spinner or pouring the beans out on a cookie sheet covered with a lint free dish towel and then patting them dry.
Dehydrating Green Beans
- Spread the beans over a lined dehydrator tray in a single layer leaving some space in-between each piece. Repeat will all the green beans using as many trays as needed.
- Load the trays into or onto the dehydrator.
- Set the temperature of the dehydrator to 135 °F. if your dehydrator has a temperature control setting. If not just turn it on.
- Set a timer for 8 to 12 hours.
- Every couple of hours rotate the trays to get even drying. Check how dry the pieces are getting. Drying times will vary.
- The pieces will feel very hard and crisp when done.
- Cool to room temperature before transferring them to glass jars to condition.
- Place the jars in a dark cabinet to condition for 1 week. Shake the jar once a day for seven days. Look for any moisture that is settling on the inside of the jar. If any dampness is seen return to the dehydrator and process for another hour until completely dried.
- Store in airtight containers once properly dried.
Recipe Expert Tips
- Kitchen Tip: These tubs come in so handy for so many different kitchen uses.I use them to wash all my fresh vegetables. You can pick them up at most retail box stores. I use them so much that I buy them in bulk at the Dollar Store.
- Drying: You will want to try to get the pieces of beans as dry as possible for loading them into the dehydrator. If for some reason you can't remove the extra moisture it will add about an extra hour or more of dehydrating time. So starting with the dried pieces of the vegetable will save on your power bill and not add extra dehydrating time.
- Rotating Trays: If you are using a round dehydrator move the upper trays to the bottom and the bottom trays to the top of the dehydrator. The heat blows up from the bottom in the round ones. If you have a square appliance pull the trays out and turn the back side to the front of the appliance.
Leave a Reply