

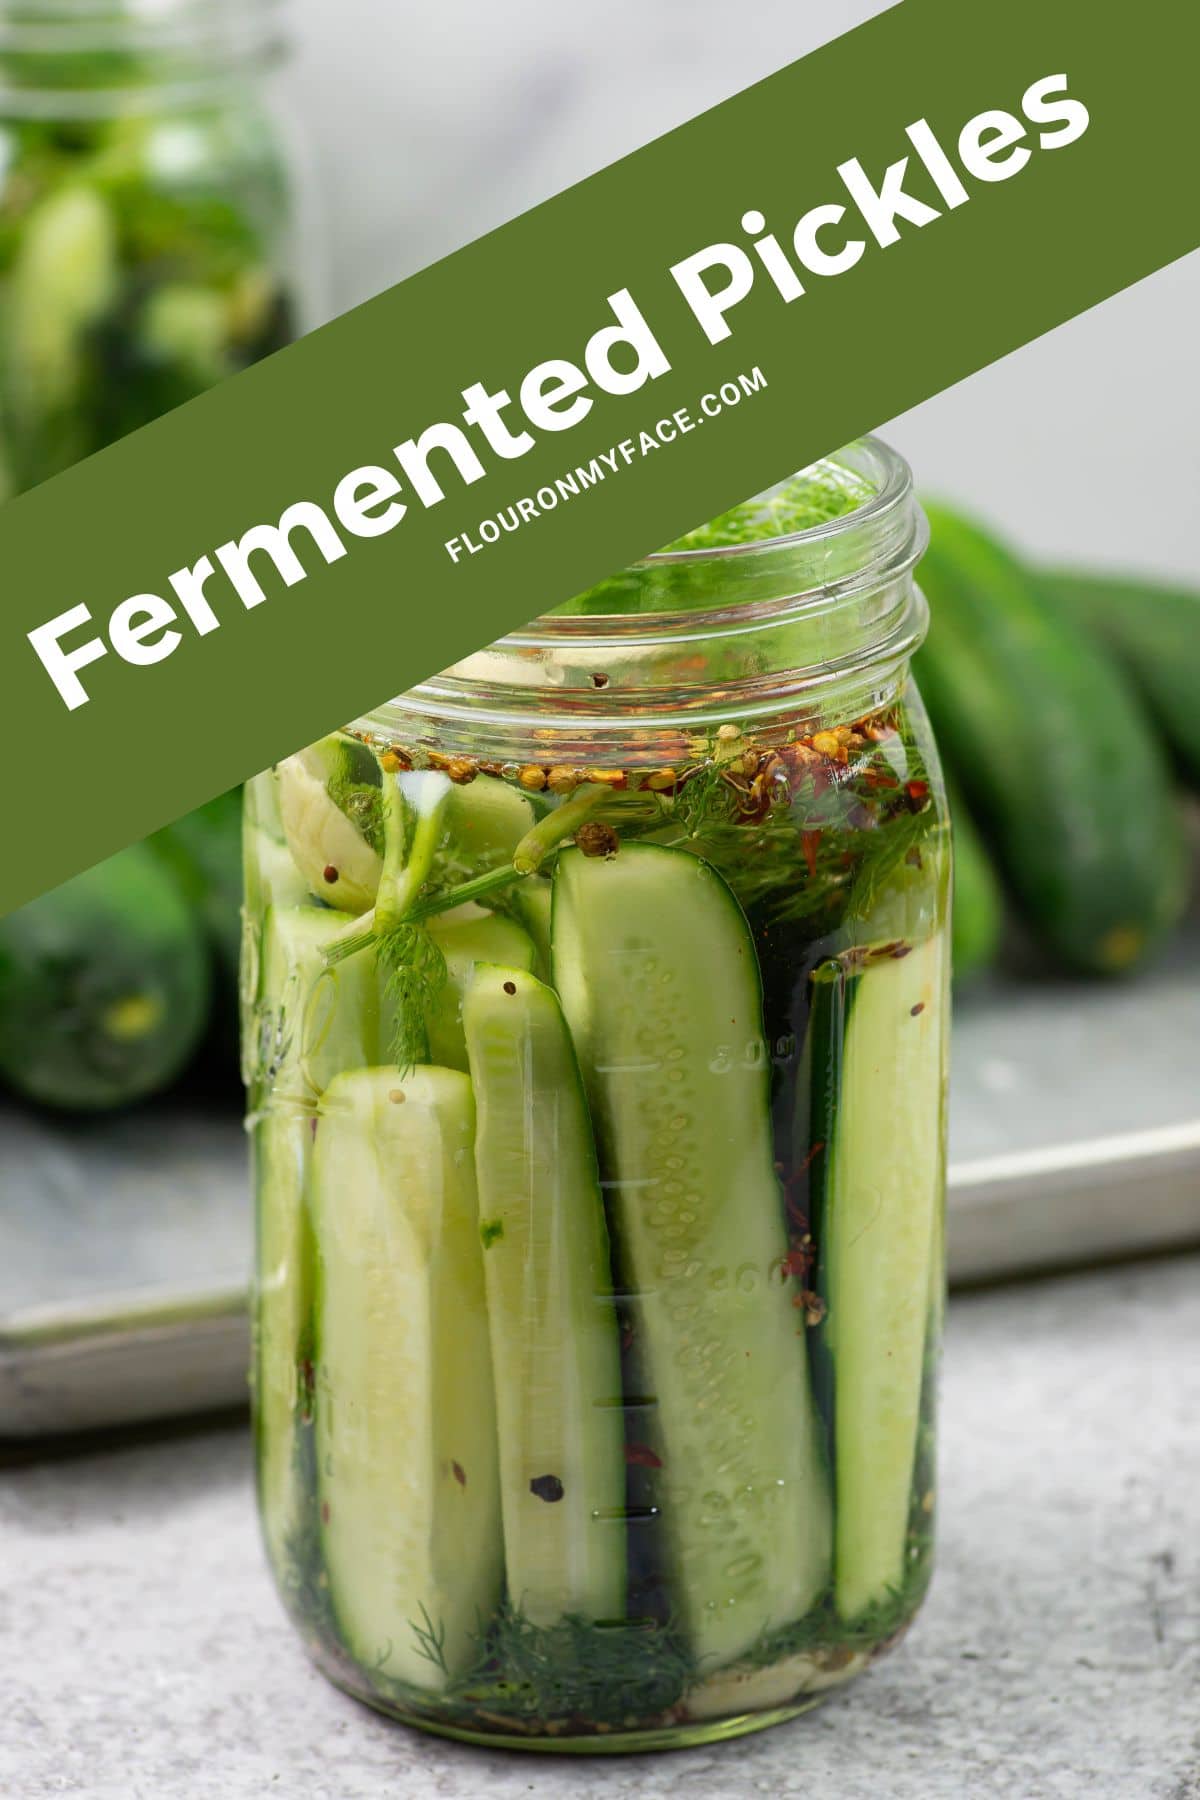
Welcome to the wonderful world of fermenting! Whether you're a longtime pickle lover, a home cook looking to explore new recipes, or simply curious about this ancient method of preserving food - you've come to the right place.
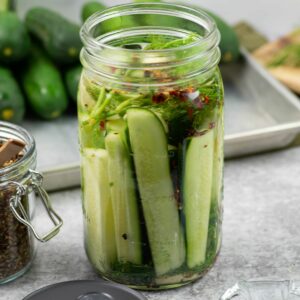
Today I'm going to show you how to make delicious fermented pickles step by step. You'll be able to use any fresh cucumbers that are on hand and have them transformed into salty, tangy crunchy perfection within days.
Here at Flour On My Face we love making pickles!
Why Make Fermented Pickles at Home?
Making fermented pickles at home is not just about the delicious taste, it's also a fantastic way to explore the world of fermentation, a process that has been used for centuries to preserve food.
Experimenting with different cucumber varieties, such as Kirby or Persian cucumbers, can add a unique twist to your homemade pickles.
Plus, there's a certain satisfaction in creating something from scratch that store-bought versions just can't match.
The Benefits of Fermenting
Fermentation isn't just a method of preservation; it also enhances the nutritional profile of foods.
Plus, fermented foods like pickles have a distinctive tangy flavor that many people find irresistible.
Tools and Equipment
To get started with fermenting, you'll need a few basic tools:
- quart size wide mouth mason jars
- fermenting weights to keep the cucumbers submerged
- pickling pipes are self burping ferment caps that have a one way waterless valve to vent gas automatically while home fermenting vegetables (optional)
- You can also use a fermenting lid for mason jars instead of the pickling pipes.
- a lint free cloth or piece of cheesecloth to cover the jar if you do not have a fermentation lid
- a knife for cutting the cucumbers.
- a fermentation crock can also be useful but isn't necessary.
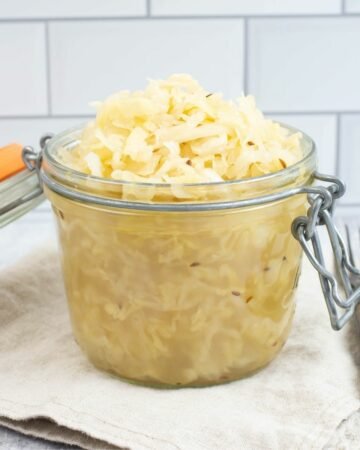
I have been using this Mason Jar Fermentation Kit. You can read more about the kit in my How To Make Sauerkraut recipe.
Fermented Pickles Ingredients
Below is a quick look at the ingredients and directions. You can find the entire ingredient amounts and step by step directions in the recipe card below. P. S. You can also save your favorite recipes to your personal recipe box! ⬇️
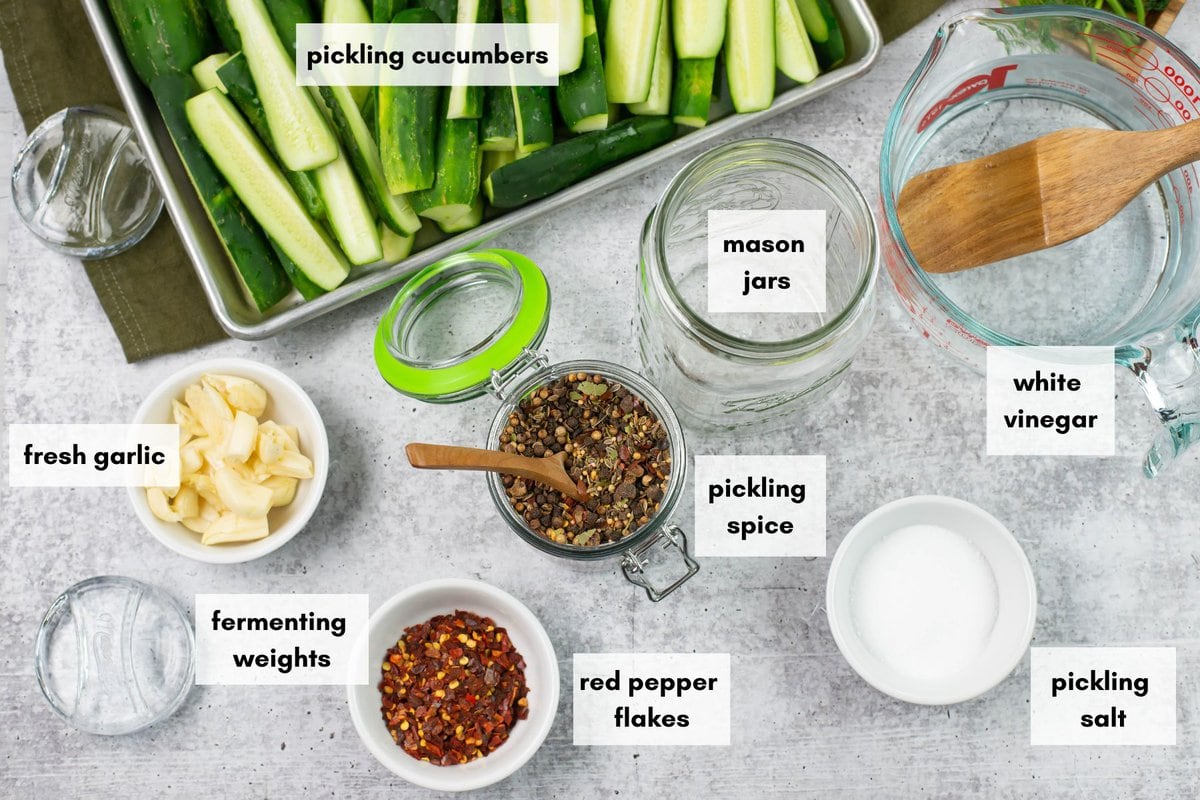
- Unwaxed pickling cucumbers: These cucumbers are ideal for pickling due to their firm texture and thin skins. The lack of wax allows the brine to penetrate effectively, resulting in a tastier pickle. They are standard in most pickle recipes.
- Fresh dill: Dill imparts a distinctive and fresh flavor to the pickles, a flavor synonymous with dill pickles. It's usually added to the jar before the cucumbers.
- Fresh Garlic: Garlic cloves are a common addition to pickle recipes, providing a robust, aromatic flavor that complements the tanginess of the pickles.
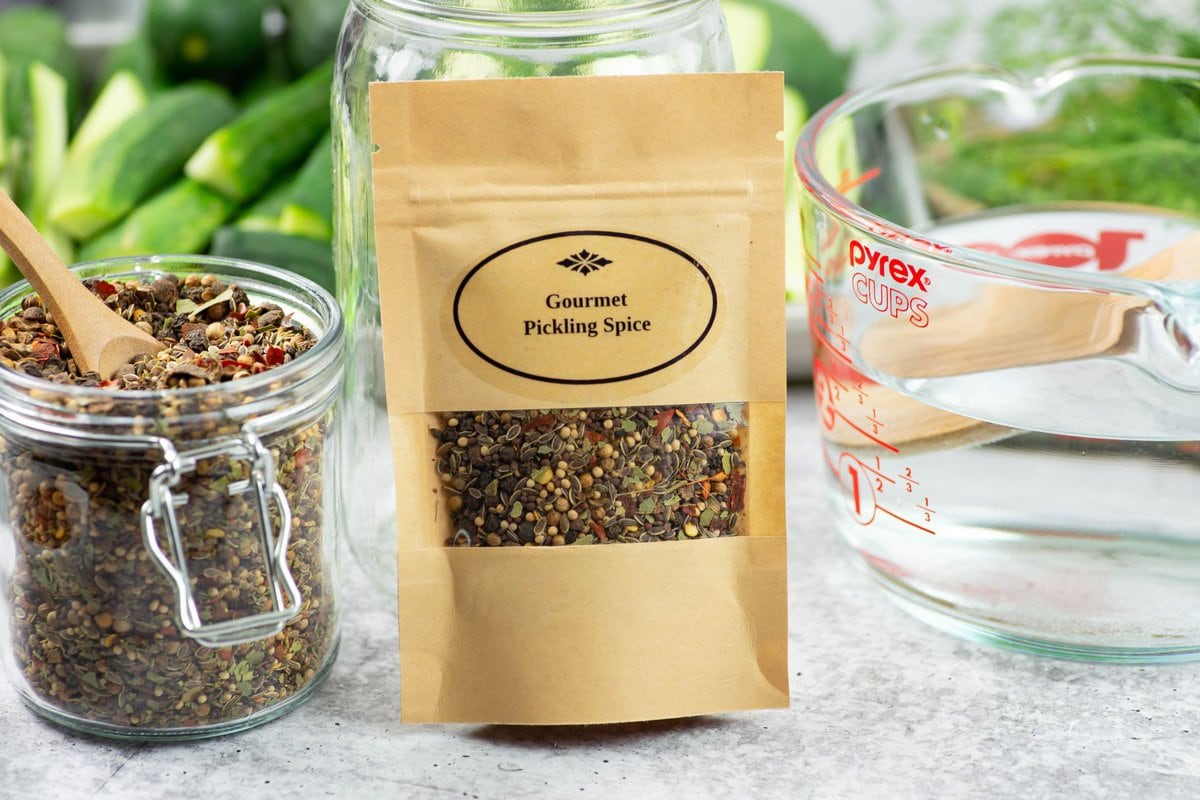
- Pickling spice: This is a blend of spices that typically includes things like mustard seeds, allspice, coriander, cloves, and bay leaves. It infuses the brine and the cucumbers with a complex flavor profile.
- Filtered water: Filtered water is used in pickling recipes to ensure that no unwanted minerals or chemicals interfere with the fermentation process. It helps to maintain the crispness and flavor of the cucumbers.
- Pickling salt: This is a pure granulated salt that dissolves easily in water, forming the brine that pickles the cucumbers. It is free of any additives like iodine or anti-caking agents that can darken pickles or make the brine cloudy.
- For spicy dills red pepper flakes: If you like your pickles with a kick, adding red pepper flakes infuses them with a fiery heat. The amount can be adjusted to taste.
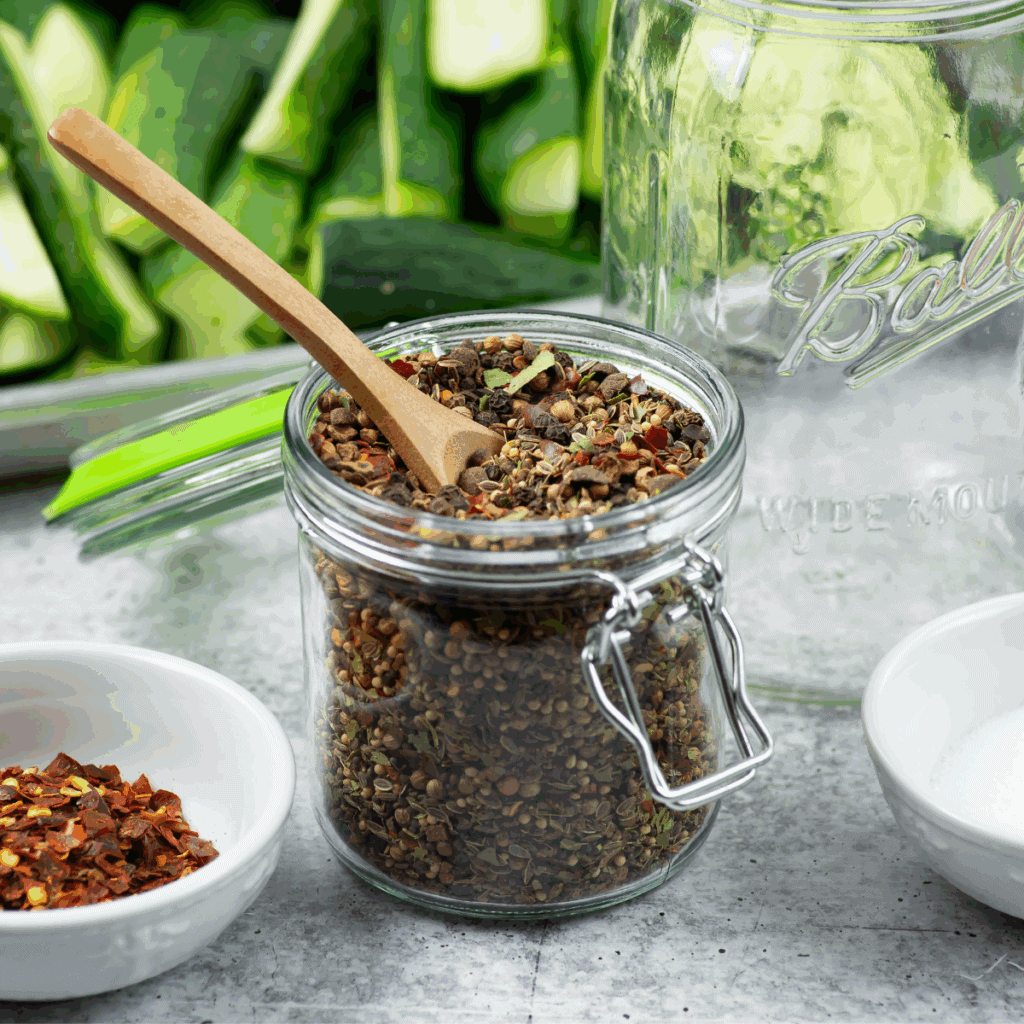
Gourmet Pickling Spice
A bold blend of eight hand-selected herbs and spices that adds just the right punch to all your pickling projects-crunchy cucumbers, tangy beets, zesty pickled onions, carrots, or your favorite veggie blends. Endless homemade pickle possibilities!
Preparing Your Cucumbers for Fermentation
- Choose fresh, firm unblemished cucumbers.
- Wash them thoroughly to remove any dirt or debris.
- Cut off the blossom end of each cucumber, as it can cause the pickles to become soft.
- Slice the cucumbers into rounds or wedges or leave them whole.
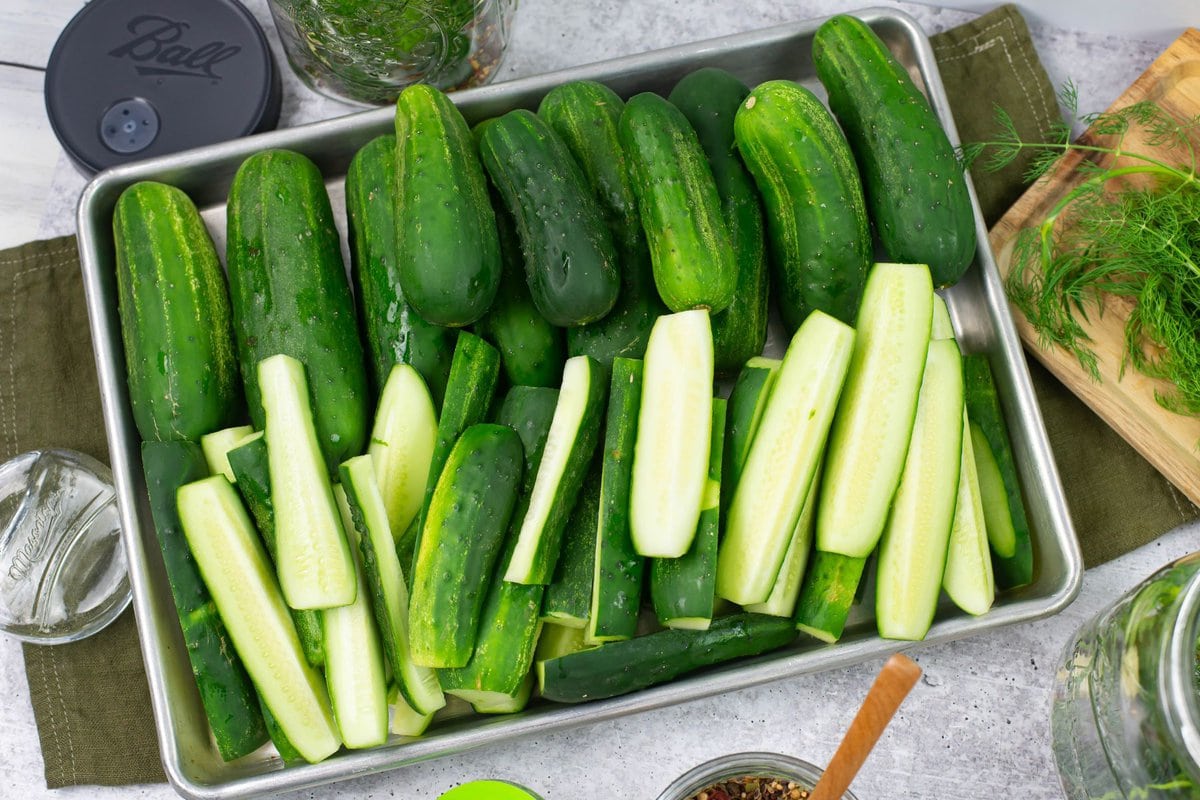
👇See the step by step directions below!
Step by Step Directions
These directions are to make 2 quart jars of fermented pickles. But depending on how many cucumbers you have and the size of the fermenting jars used you may be able to make more than 2 jars of pickles.
If you have a large pickling crock you can try my Kosher Dill Barrel Pickles.
In each jar are fermenting you will place the fresh dill, garlic cloves, and pickling spices. You will then add the brine to the jar.
If you are making more than two jars add the same amount of dill, garlic cloves and pickling spices. Then mix more brine to add to the extra jars.
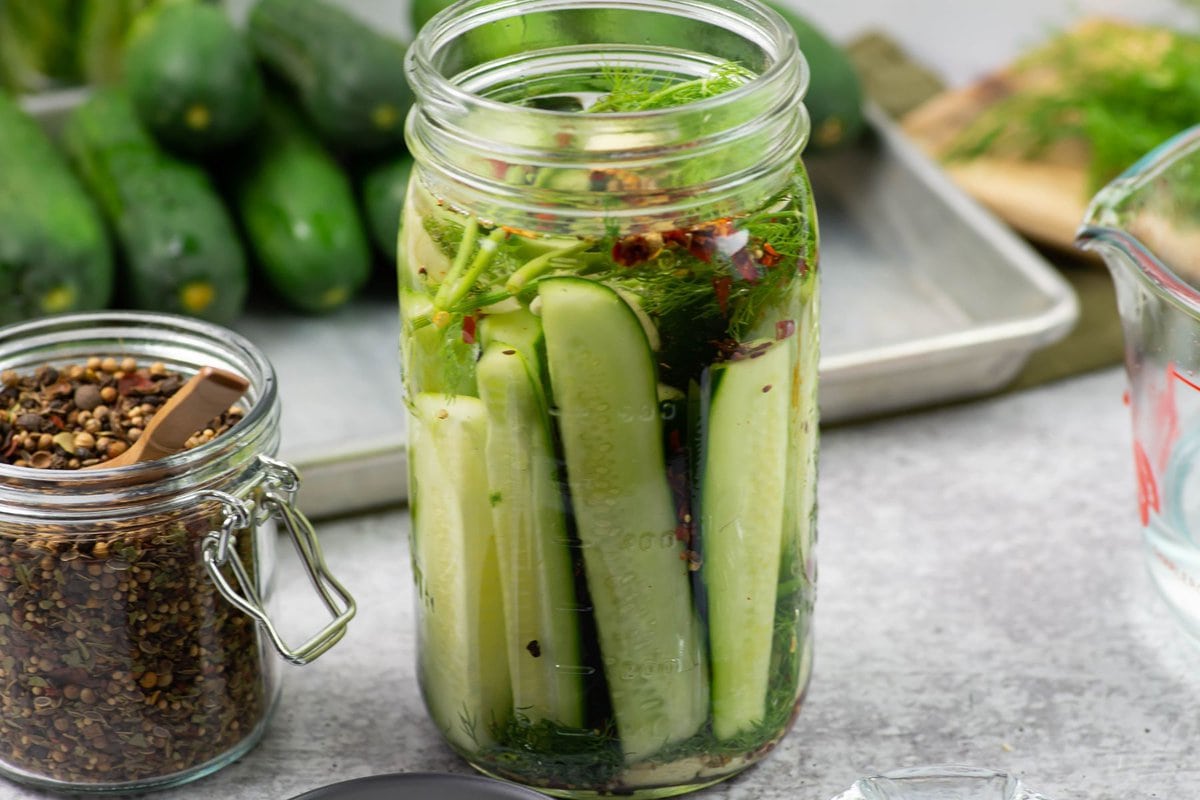
- Step 1: Push 3 or 4 large sprigs of fresh dill down into the bottom of each jar. Add the garlic cloves, pickling spices and red pepper flakes if using.
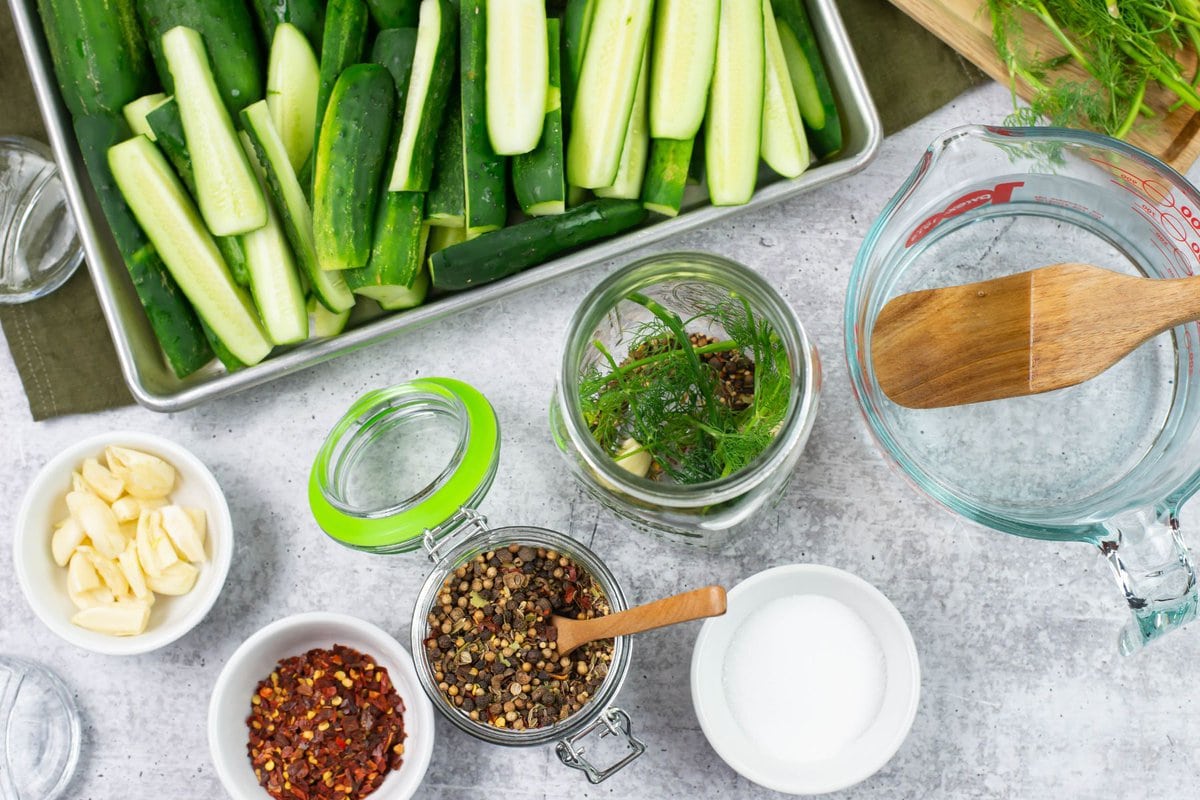
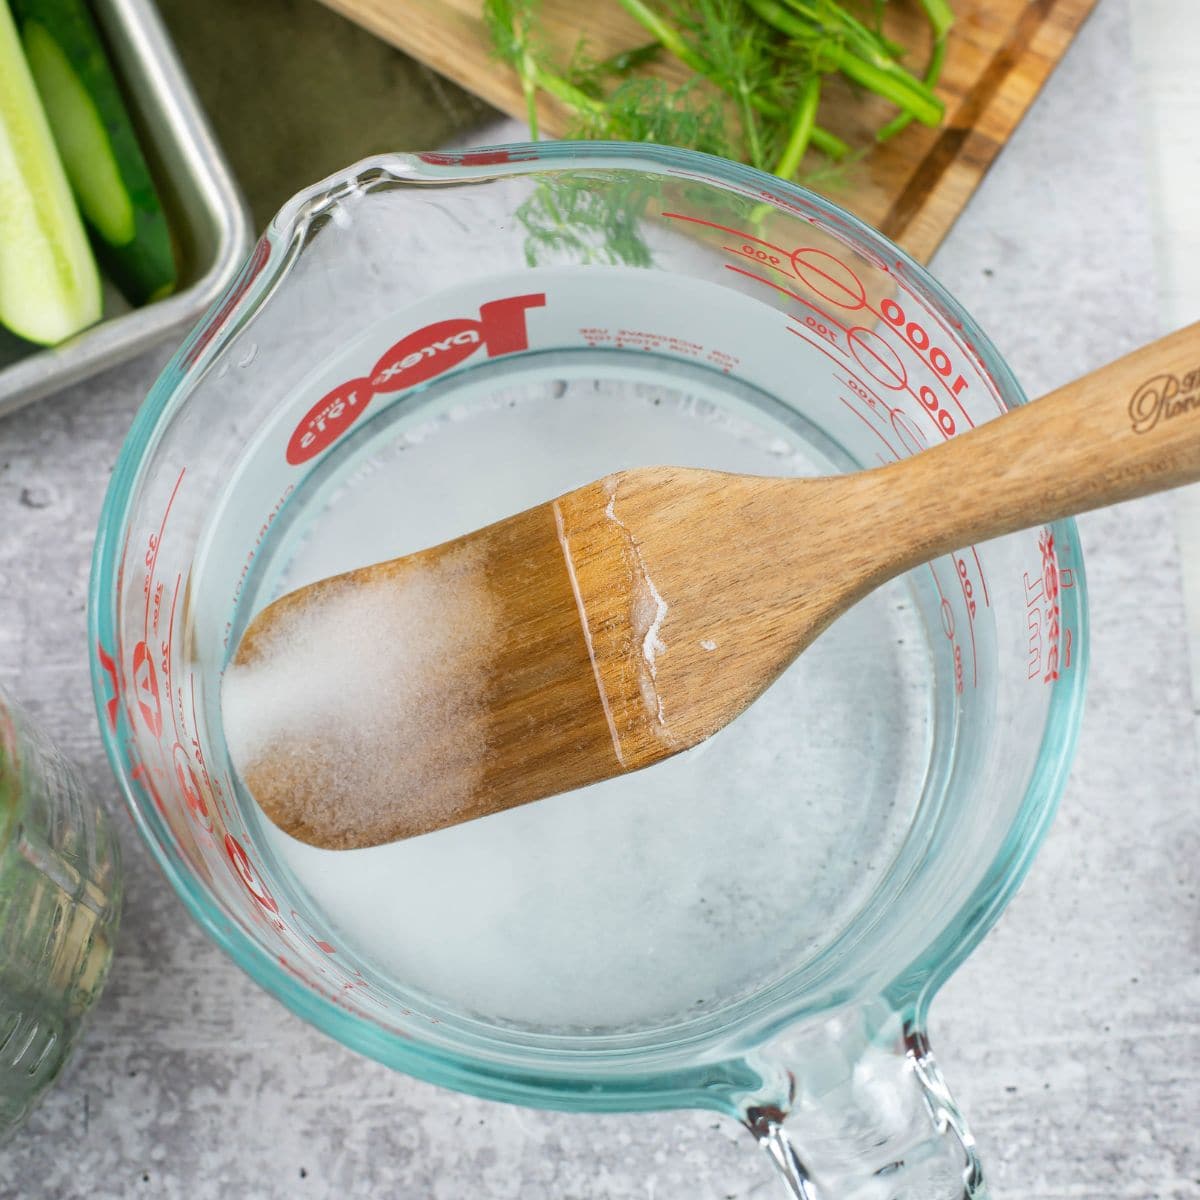
- Step 2: Prepare the fermenting brine in a large spouted measuring cup or bowl. Mix the pickling salt and filtered water until the salt completely dissolves.
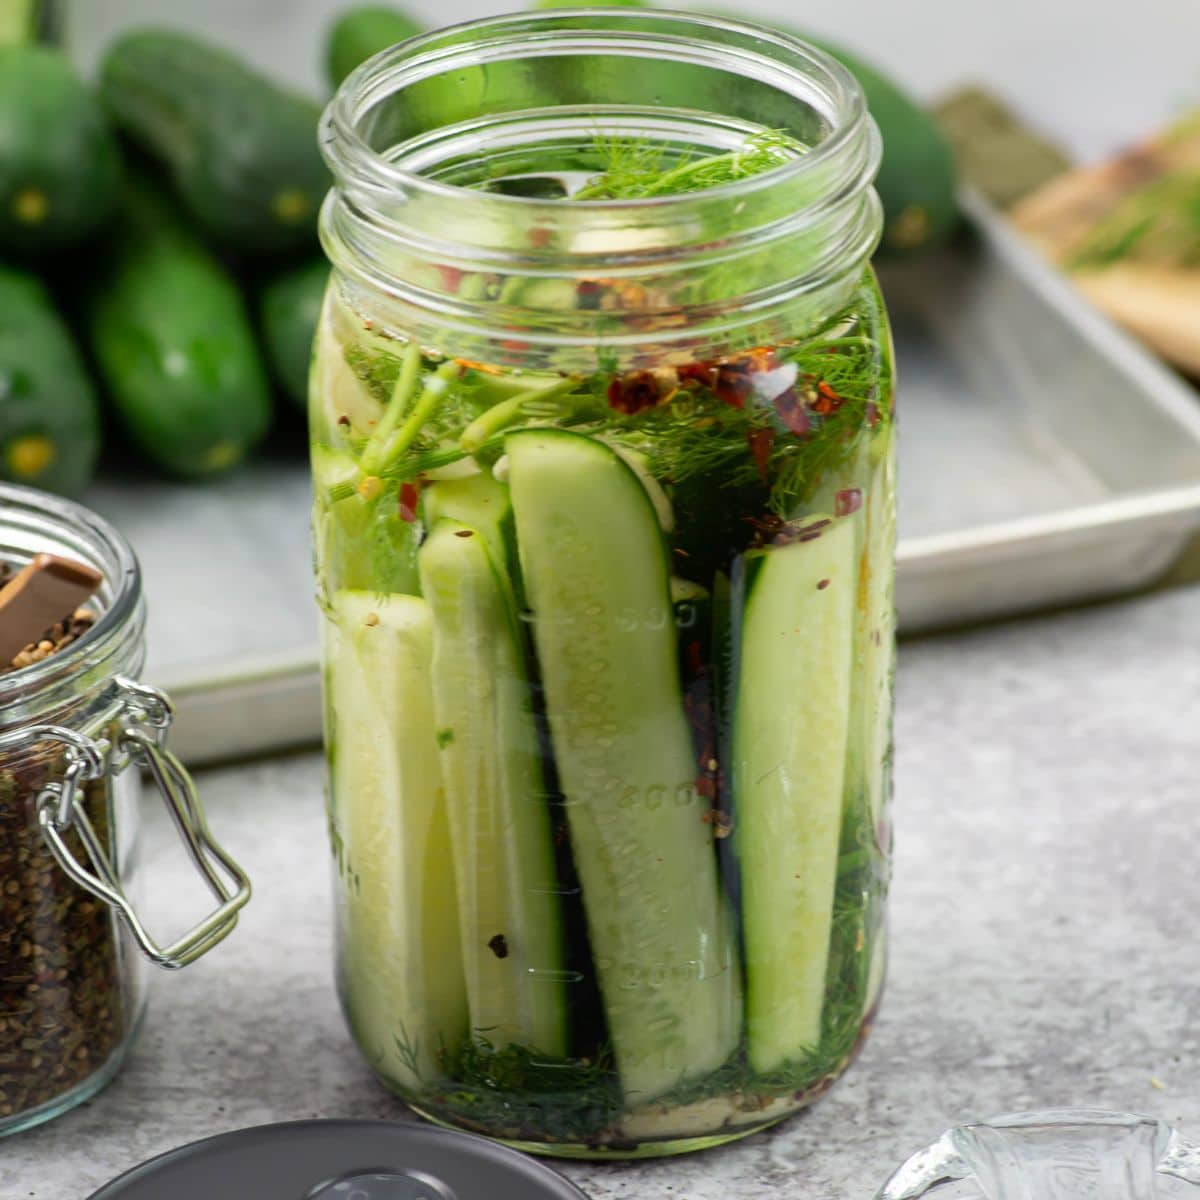
- Step 3: Pack the cucumber wedges, slices or whole cucumbers into your quart glass mason jars. If using whole or cucumber wedges make sure they stay below the neck of the jar so there is room for the fermentation weight.
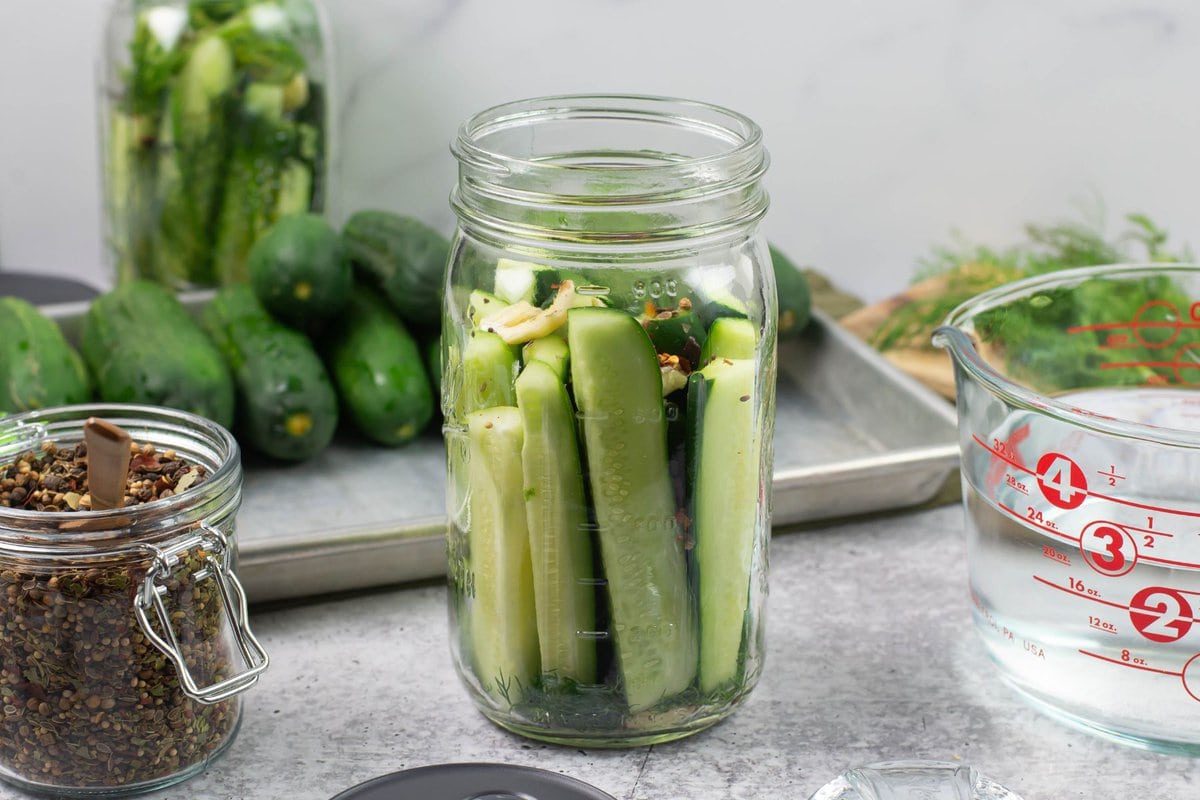
- Step 4: Pour the brine into the jar up to the the neck of the jar. Do not overfill the jar with brine.
- Step 5: Place a fermenting weight on top to hold the cucumbers under the fermenting brine. The cucumbers must be submerged in the brine at all times during the fermentation process.

- Step 6: Place a fermentation lid on top of each jar or cover the top of the jar with a piece of cheesecloth if you do not have a fermenting lid. It is important to use a venting lid when fermenting so the natural gasses that build up in the jar can be released.
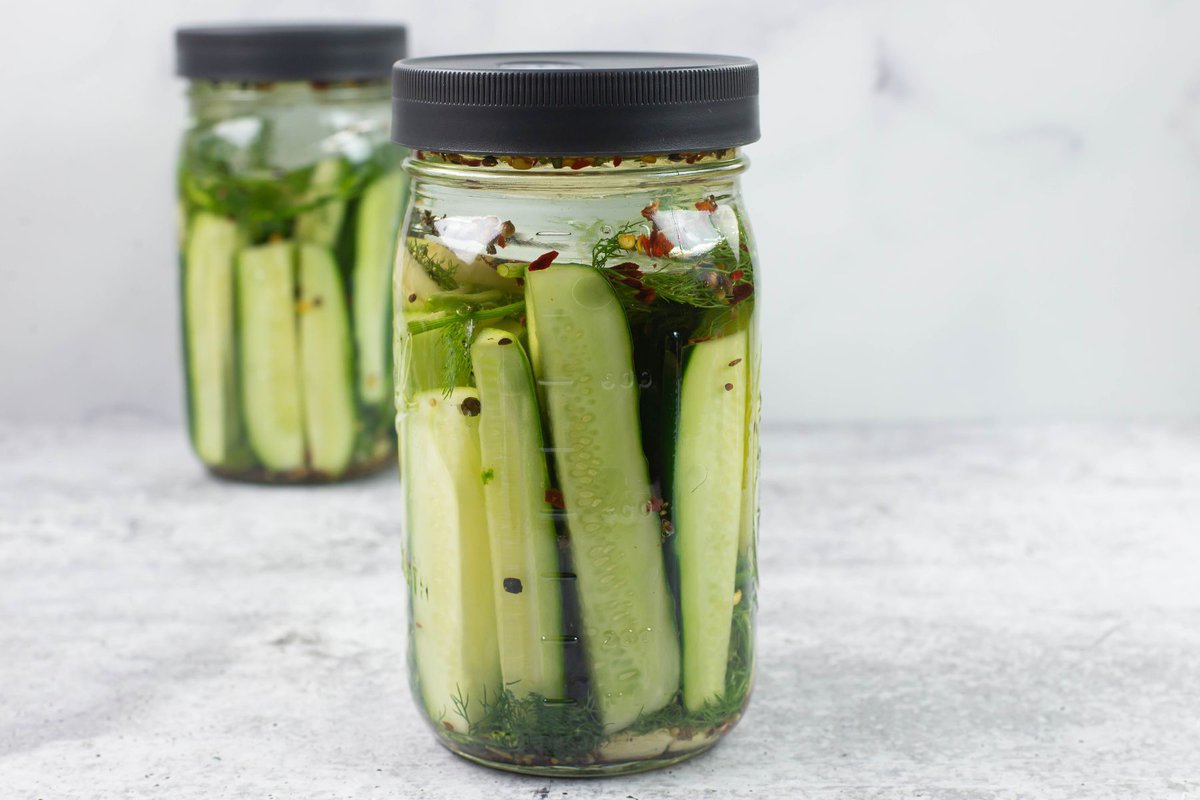
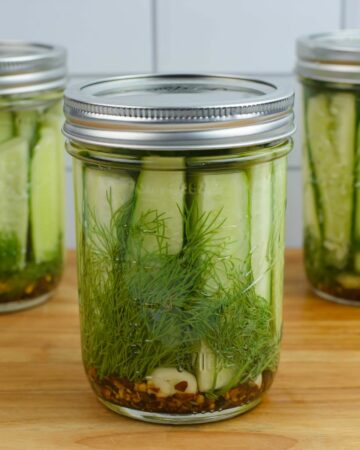
- Step 7: Place the jar in a cool, dark area out of direct sunlight and let it sit at room temperature while the fermentation process begins.
- Step 8: Check on the jars it daily and skim off any scum that forms on the surface. After a week or two, your pickles will be ready!
📌Fermenting Tip
The cooler your home is the better the results. A slow ferment at 60 to 70 degrees Fahrenheit will yield the best results. Higher temperatures in the summer will speed along the fermenting process and can cause the cucumbers to get soft faster.
While you can still eat the softer pickles a crunchy pickle tastes much better.
How Long to a Perfect Fermentation
The fermentation process can take anywhere from a few days to a couple of weeks, depending on the temperature and the level of sourness you prefer.
- Factors such as the type of vegetable, the specific strain of bacteria, the temperature, and your personal taste preferences can all influence the time it takes.
- For instance, if you prefer a milder flavor, you might find that a few days is sufficient.
- However, if you prefer a stronger, more sour flavor, you might want to let your pickles ferment for a couple of weeks.
It is crucial to monitor the process and take a taste to achieve the desired taste and texture you prefer.
How do you know when the pickles are done?
Recognizing when your pickles are finished fermenting can be determined by a few signs.
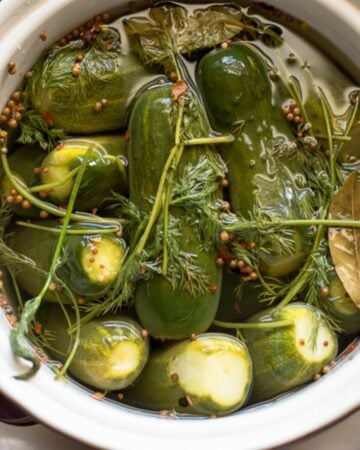
- Color: The transformation from cucumber to pickle is usually noticeable by a change in color from a bright green to a duller olive green.
- Cloudy Brine: The brine will become cloudy, which is a result of the lactic acid bacteria multiplying during the fermentation process. Furthermore, the bubbling that occurs during fermentation will slow down or stop completely.
- Taste: The most important indicator though, is taste. After about a week, you can taste a pickle. If it has reached your preferred level of sourness, then the fermentation process is complete.
At this point, you should move the pickles to the refrigerator to halt further fermentation.
Storage
Once fermented, pickles can be stored in the fridge for up to a year. Make sure to use clean utensils when removing pickles to prevent contamination.
Containers for Fermentation
You can use a variety of containers for fermenting pickles, including glass jars, ceramic pots, or food-grade plastic containers. Just make sure whatever you use is clean and non-reactive.
- Glass Jars: Glass jars, such as Mason jars or Fido jars, are a popular choice for fermentation due to their non-reactive nature and wide availability. They come in various sizes, allowing you to choose based on the quantity of pickles you plan to ferment.
- Ceramic Crocks: Traditional ceramic fermentation crocks are another option. They are often heavy and sturdy with a water seal that can help to prevent mold.
- Food-grade Plastic Containers: These containers are lightweight and affordable. Ensure they are marked as food-grade and BPA-free to avoid any potential chemical leaching.
- Stainless Steel Containers: These are non-reactive and excellent for large batches of fermentation. However, it's important to make sure the steel is high quality and not chipped or damaged.
Remember, regardless of the container you choose, cleanliness is essential to prevent any unwanted bacteria or yeast. Make sure to thoroughly clean and sterilize your container before use.
Storing Your Fermented Vegetables
To keep your fermented vegetables fresh and tasty, store them in the refrigerator. This slows down the fermentation process and helps maintain their crunchy texture.
Watch out for signs of spoilage, such as off-odors, slimy texture, or mold growth. If you notice any of these, it's best to discard the batch.
You can also store fermented vegetables in a cool and dark place, like a root cellar or basement. This slows down the fermentation process even further and allows for longer storage. Keep in mind that the flavors may continue to develop over time, so taste test periodically.
Regardless of where you choose to store your
Recipe FAQS
The best cucumbers for fermenting are pickling cucumbers, also known as kirby cucumbers. These have a firmer texture and thinner skin compared to other varieties, making them ideal for pickling.
The fermentation process can take anywhere from 3 days to a few weeks, depending on the temperature and desired level of tanginess. It's best to taste the cucumbers after a few days and continue fermenting until you achieve your desired flavor.
Signs of spoilage in fermented pickles include a foul odor, mold growth, and slimy or discolored texture. If you notice any of these signs, it is best to discard the batch and start fresh with proper sanitation practices. It's also important to properly seal and store your fermenting jars to prevent contamination.
📌Pro Pickling Tips
- The temperature in your home is important when fermenting vegetables.
- A slow ferment at 60 to 70 degrees Fahrenheit will yield the best results.
- Factors such as the type of vegetable, the specific strain of bacteria, the temperature, and your personal taste preferences can all influence the time it takes.
- Fermenting is a learn skill and the more you do it the better you will learn the process and find your preferred flavor of fermented pickles.
Embrace the Fermentation Adventure
Now that you have seen how easy it is to make fermented pickles I'm sure you can't wait to try it for yourself.
Fermented pickles or other vegetables like carrots, Brussel sprouts, cauliflower, just to name a few are a delicious way to enjoy the crunchy salty flavor of your favorite vegetables year-round.
Not only are they tasty, but fermentation can also help you extend their shelf life - and reduce your food waste!
So why not give it a try? Get creative and personalize the recipe with whatever flavor combinations you like best.
Try this fermented Dijon Mustard which will go perfect on a sandwich with a fermented pickle on the side!
You'll be sure to end up with a tasty treat that every pickle lover will savor - and you might even find a new favorite pickle flavor along the way.
So grab those vegetables from the garden, Farmer Market or grocery store, mix up the ingredients in your kitchen, and once it's ready, give fermented pickles a try!
Looking for More Fermentation Fun?
You can also experiment with fermenting fruits, like apples for a refreshing cider or strawberries for a sweet and sour snack.
Don't limit yourself to just vegetables - the possibilities are endless!
Keep exploring and learning about the fascinating world of fermentation. There's always something new and exciting to discover! So keep experimenting, keep tasting, and most importantly, have fun on your fermentation journey!
See you in the kitchen, fermenting away. Cheers to delicious flavors and
Happy fermenting!
More Pickle Recipes
There are many types of pickling recipes to try. Check out some of my other favorite pickle recipes.


⭐Leave a Star Rating
Have you tried the recipe? Leave a star rating in the recipe card below to let me know how the recipe turn out.
Email questions or recipe requests to flouronmyface@gmail.com. Follow me on Pinterest, YouTube, Instagram and Facebook.
Fermented Pickles
Ingredients
- 1 pound unwaxed pickling cucumbers (Kirby is a popular pickling cucumber)
- 4 cups filtered water
- 1 ½ tablespoons pickling salt
- 2 cloves garlic (per jar)
- 1 large bunch fresh dill (3 to 4 large stems of dill per jar)
- 1 tablespoon pickling spice (per jar)
- ½ teaspoon red pepper flakes (for spicy dill pickles add to each jar)
Instructions
Prep
- Choose fresh, firm unblemished cucumbers.
- Wash the cucumbers thoroughly to remove any dirt or debris.
- Cut off the blossom end of each cucumber, as it can cause the pickles to become soft.
- Slice the cucumbers into rounds or wedges or leave them whole.
Fermenting Pickles
- Push 3 or 4 large sprigs of fresh dill down into the bottom of each wide mouth quart size jar. Add the garlic cloves, pickling spices and red pepper flakes if using.
- Prepare the brine in a large spouted measuring cup or bowl by mixing the pickling salt and cool filtered water until the salt completely dissolves.
- Pack the cucumber wedges, slices or whole cucumbers into each quart mason jar. If using whole or cucumber wedges make sure they stay below the neck of the jar so there is room for the fermentation weight.
- Pour the brine into the jar up to the the neck of the jar. Do not overfill the jar with brine.
- Place a fermenting weight on top to hold the cucumbers under the fermenting brine. The cucumbers must be submerged in the brine at all times during the fermentation process.
- Place a fermentation lid on top of each jar or cover the top of the jar with a piece of cheesecloth if you do not have a fermenting lid. It is important to use a venting lid when fermenting so the natural gasses that build up in the jar can be released.
- Place the jar in a cool, dark area out of direct sunlight and let it sit at room temperature while the fermentation process begins.
- Check on the jars daily and skim off any scum that forms on the surface. After 3 days up to two weeks your pickles will be ready!
Recipe Expert Tips
- The temperature in your home is important when fermenting vegetables.
- A slow ferment at 60 to 70 degrees Fahrenheit will yield the best results.
- Factors such as the type of vegetable, the specific strain of bacteria, the temperature, and your personal taste preferences can all influence the time it takes.
- Fermenting is a learn skill and the more you do it the better you will learn the process and find your preferred flavor of fermented pickles.
Leave a Reply