

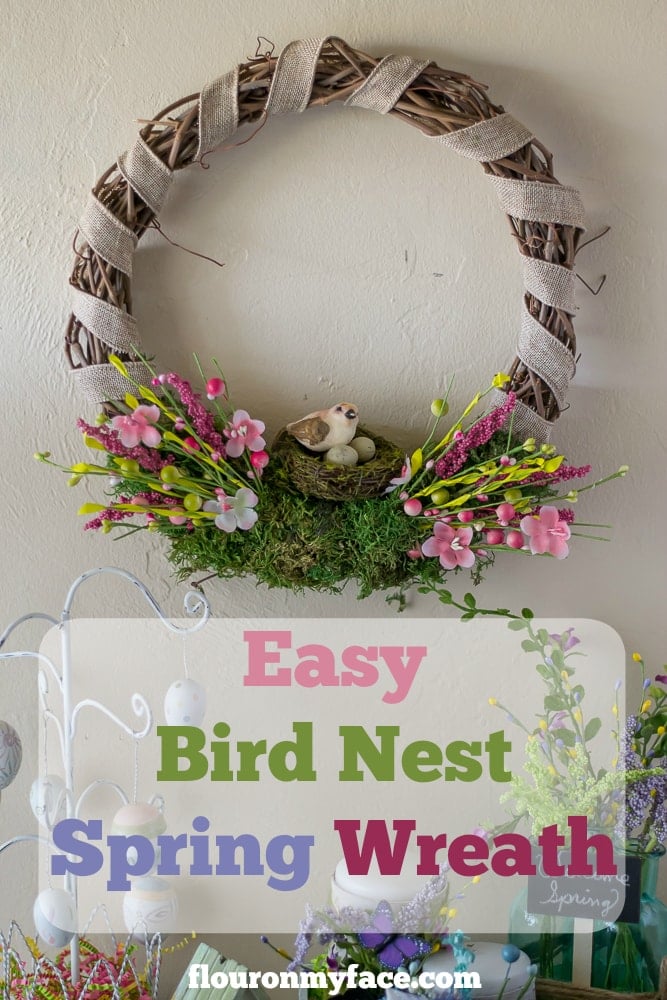
Bird Nest Spring Wreath
This cute Bird Nest Spring Wreath is so easy to make and will brighten up a wall or door with bright spring colors. Are you ready for Spring? We have been enjoying some beautiful Spring weather down here in Florida.
The best way to enjoy Spring is to do some DIY Spring decorating. I used a homemade grape vine wreath I made after trimming my grape vines but you can pick one up in the craft store or on Amazon.
Take the floral picks and arrange them along the bottom of the wreath without attaching them yet. This way you know how you are going to attach them after the moss is attached.
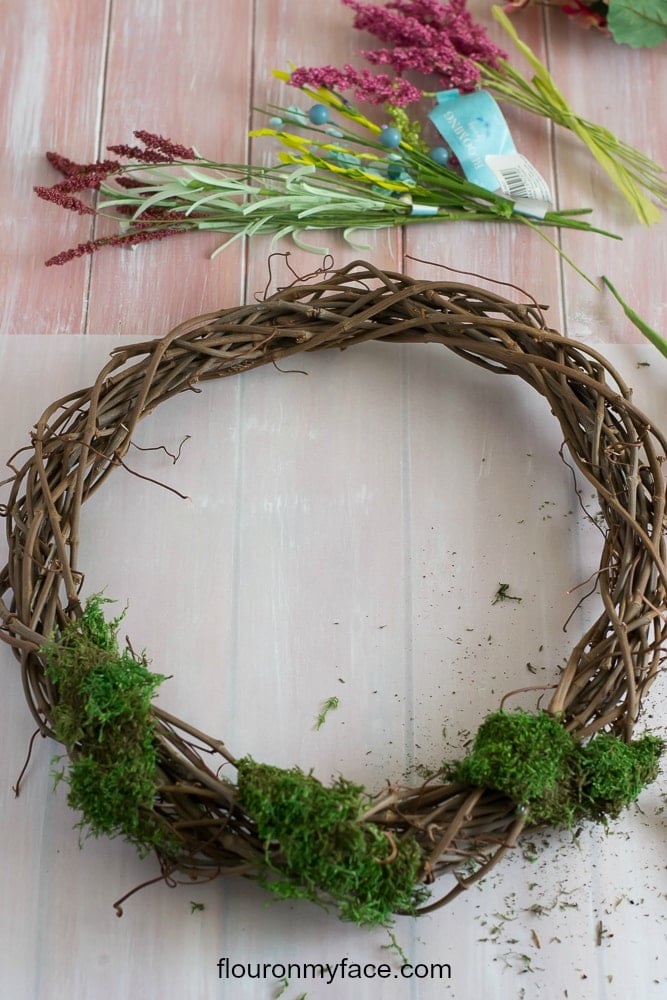
Glue some moss along the bottom of the wreath using low temp hot glue. Leave the area where you will stick the floral picks bare for now. Use as much moss as you like. You could glue moss to the entire wreath if you like.
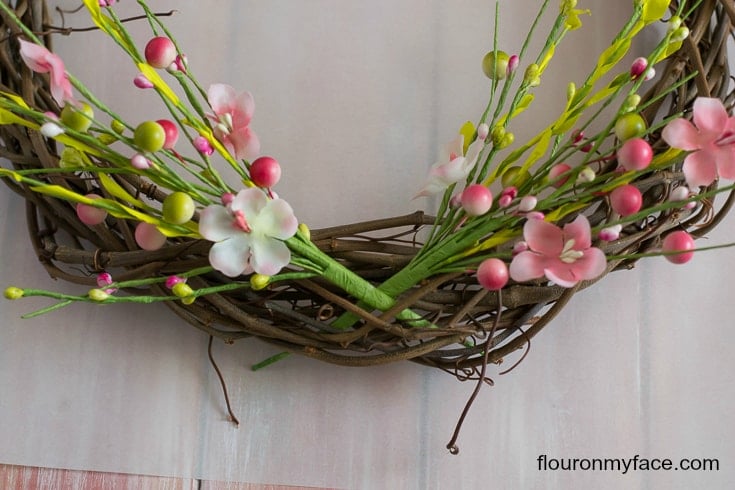
Stick the floral picks in between the vines of the wreath and bend the wire stems to secure them.
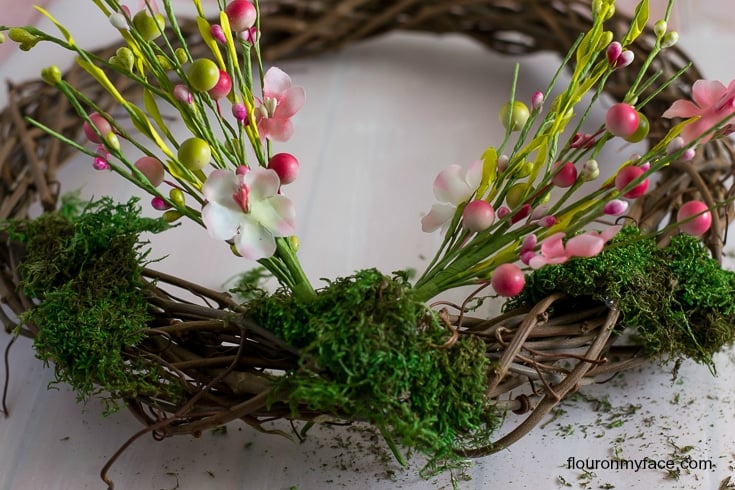
Fill the bare areas in with more moss once you have the floral picks secured. Add more flowers if you like. You can fill in with flowers and moss as much or as less as you'd like.

With a dot of hot glue secure the mini bird and mini eggs to the inside of the birds nest. Glue the nest to the center of the wreath between the floral picks.
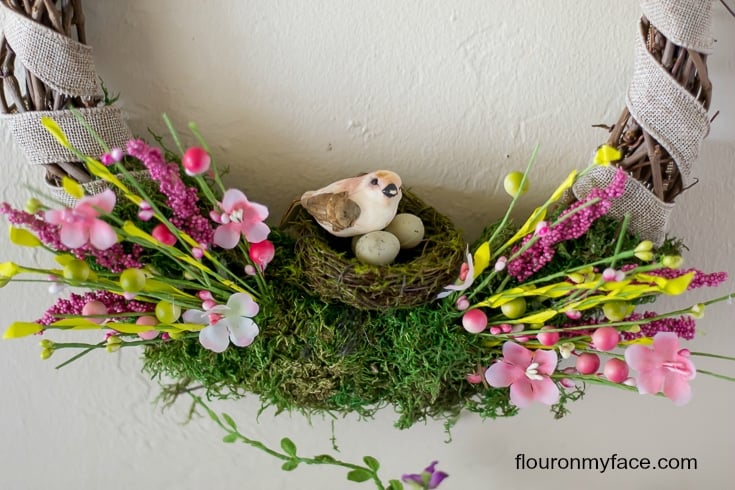
This easy Bird Nest Spring Wreath takes less than 30 minutes to make.
Now if you like bows on your wreaths you can form a bow out of the leftover burlap ribbon and attach it to the wreath below the birds nest. Or you could fill in that area with more flowers.
The fun part of making a DIY grapevine wreath is that you decide how you want it to look.
Disclosure: Product links are affiliate links. Should you make a purchase through one of these links I will earn a very small commission at no added cost to you. I appreciate the support!
How to make a Bird Nest Spring Wreath
Supplies
- 12 to 14-inch grapevine wreath
- ⅞ to 1-inch burlap ribbon
- Sheet Moss
- 3 to 4-inch mini bird nest
- mini bird
- mini bird eggs
- floral picks (bought at Joann's Fabrics)
- low temp mini hot glue gun
- low temp mini hot glue sticks
Directions
- Wrap the burlap ribbon around the wreath and secure with a couple of dots of hot glue.
- Before attaching the floral picks arrange them in a pleasing manner to see how you want them placed on the wreath.
- Remove the floral picks and glue some moss around the bottom section of the wreath.
- Attach the floral picks where you decided you wanted them bending and tucking the stems behind and into the wreath.
- Fill in any gaps with more moss.
- Glue the bird and eggs into the mini birds nest.
- Glue the birds nest to the wreath.
- Attach a bow if you desire.
Looking for more DIY Spring Decorating Ideas?
Spring Birch Bark Candles

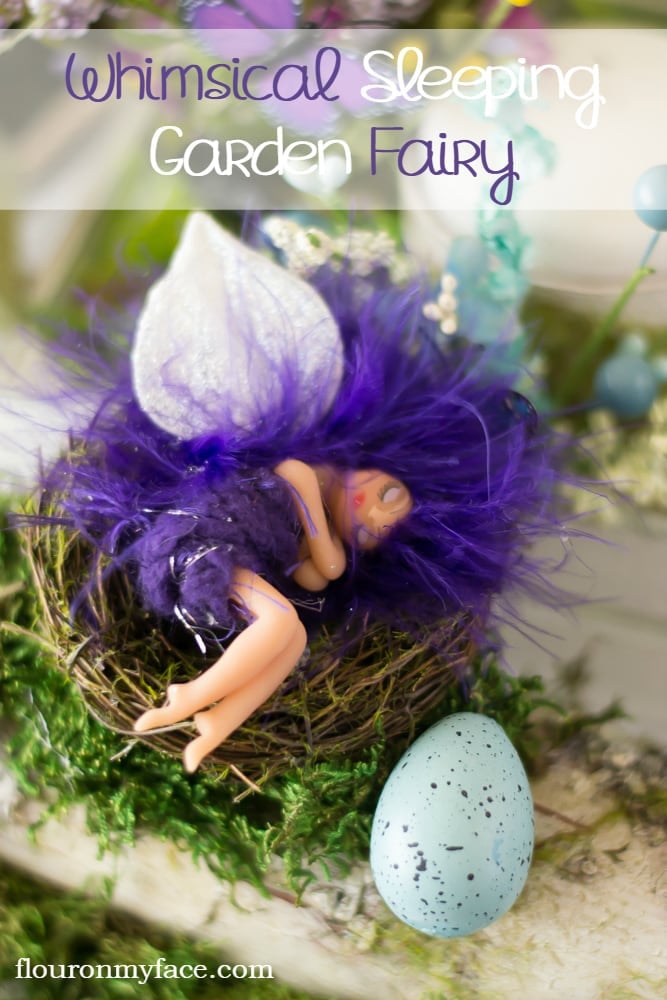
DIY Whimsical Sleeping Garden Fairy
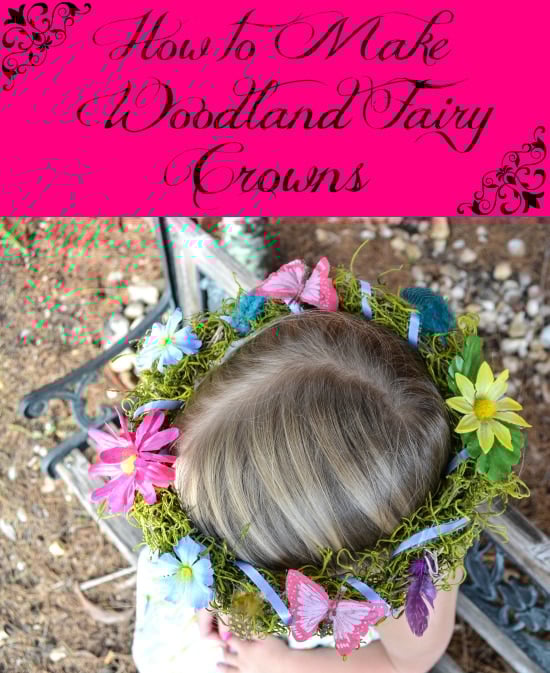
DIY Woodland Fairy Crowns

Bird Nest Spring Wreath
Materials
- 12 to 14- inch grape vine wreath
- ⅞ to 1- inch burlap ribbon
- Sheet Moss
- 3 to 4- inch mini bird nest
- mini bird
- mini bird eggs
- floral picks
- low temp hot glue gun
- low temp hot glue sticks
Instructions
- Wrap the burlap ribbon around the wreath and secure with a couple of dots of hot glue.
- Before attaching the floral picks arrange them in a pleasing manner to see how you want them placed on the wreath.
- Remove the floral picks and glue some moss around the bottom section of the wreath.
- Attach the floral picks where you decided you wanted them bending and tucking the stems behind and into the wreath.
- Fill in any gaps with more moss.
- Glue the bird and eggs into the mini birds nest.
- Glue the birds nest to the wreath.
- Attach a bow if you desire.


Leave a Reply