How to Build a Sturdy Storage Shed
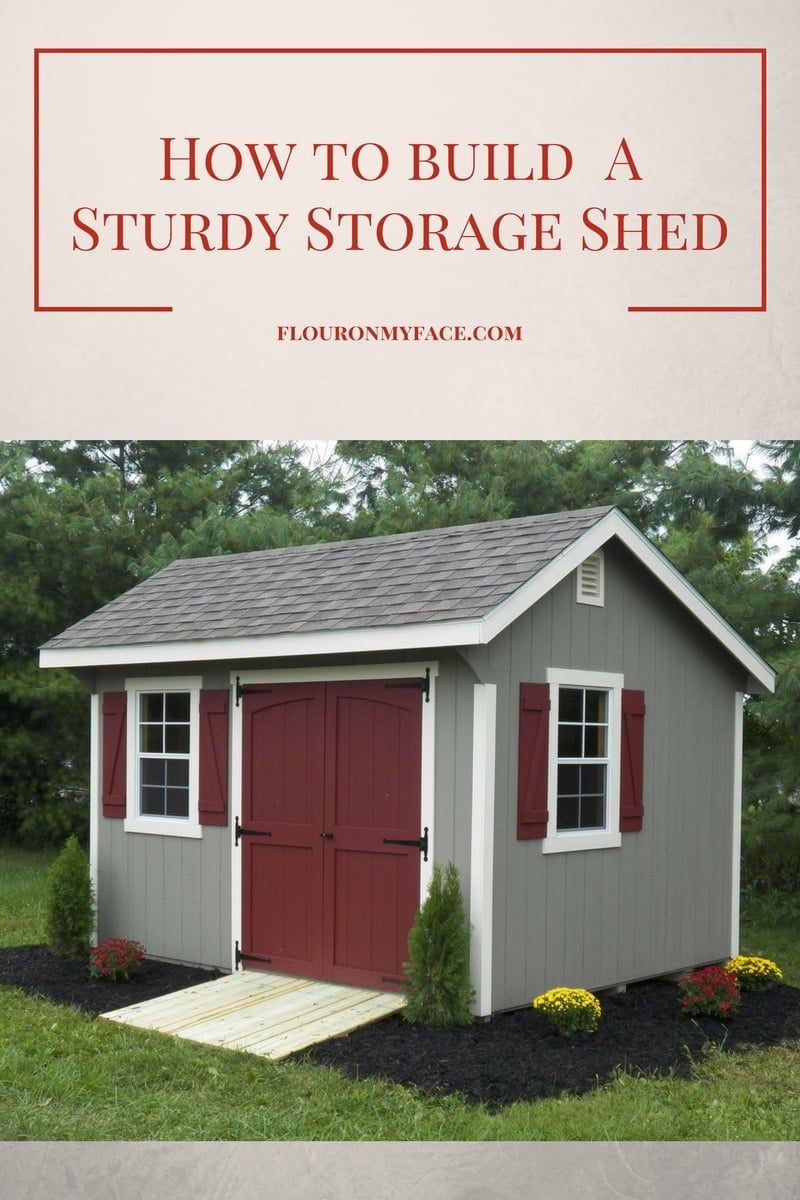
Fall is the perfect time to do all those DIY projects you put off over the summer because it was just too hot to work outside. Here are some tips on How to Build A Sturdy Storage Shed so you can safely store all those tools from the garden.
You can always run out and buy a cookie cutter shed or build-kit, it would be faster, sure. However, only you know how much space you'll need and what kind of goods you'll be storing inside. That's why it's a much better idea to build the shed on your own, with a custom design.
You should start with basic plans and modify them to suit your needs. For example, we'll provide instructions on building a decent-sized 9x13 foot shed, constructed with conventional materials and framing. You can use these plans to build a shed attached to your home, and you can even use better materials - depending on your budget.
The budget we have set for this particular blueprint is close to $2,400. Yours may or may not cost more depending on the materials you use and the size of your shed.
Build the Foundation
Even if you're building deep under the surface, you'll need a foundation. Start by staking out the four corners of the shed, conforming to the dimensions you set in your plans. The best way to do this is to place four wooden stakes at the corners and use string to wrap around the four stakes.
This gives you a visual representation your area.
Next, carve away a small depression in the ground to ensure you're working on a level surface. This is going to be tough if you're only using a shovel. You can always purchase or rent an excavator to minimize downtime and finish faster. They also work great for transporting and moving heavy materials, which you'll likely be doing for this project. Speed is always important, so utility equipment might be necessary.
Pour crushed limestone rock into the depression and compact it even further using a hand tamper. Do your best to level the surface of the rocks.
Place concrete blocks or treated lumber skids in the corners to act as a solid surface for the floor of your shed.
Build the Floor
Use pressure-treated wood to lay the floor of the shed, unless you're using another material. You'll want to lay the edges first, with lumber that lies flat and flush across the top of the foundation blocks. Then, measure and cut joists to rest on top of those flat boards, because this will act as a sill.
Nail all those components together, creating your frame. Add crossbeams to the joists, evenly across the floor. Obviously, if you've ever built anything like this before, the real floor will rest on top of these crossbeams.
Next, size and cut plywood to lay down on top of the crossbeams. You want all of your edges to remain flush - don't allow the plywood to hang over. This will be your floor.
Also, make sure you use galvanized nails if you're working with wood materials.
Add Walls
The first thing we'll mention is that we're not going to include windows in our shed - we don't want looters to see everything we have stored inside! Of course, this only applies if the shed is above ground. You won't be able to include windows anyway if you're building below the surface.
The next step is to build the frame of the walls before attaching them to the floor. This allows you to build sturdy, well-sealed walls with little to no weak points.
Using the materials you have picked out, build the frame first - just like we did with the floor - and then attach your paneling or surface material on top of that. In our case, we used T-111 vertical plywood siding which we nailed to the frame. You might have something a bit sturdier picked out, and that's fine.
Lay out the joists and cross-beams, and then move to the siding. By now, you probably have the hang of it.
Build and Attach the Roof
If you're building underground your roof will be a lot different. You should follow the same basic principles, however.
First, build the roof trusses by laying out a jig or piece of plywood on the floor. This will be used to secure the different components of your truss. This is most helpful for a sloped roof, which is what we'll be using for our shed.
Lay out the design for the trusses on the jig, and then begin working, building each truss independently. Once you have those done, you'll want to attach them to a set of rafters, which will support the majority of the roof.
Use this entire frame to attach the roof to your shed, building the paneling on top of the frame just like you did with the walls.
If your shed is outside, you'll want to ensure you shingle the roof and check all seams to keep the inside from weathering, especially if you have food stored within.
You will need to come up with an air ventilation or cooling system if you're storing food. You might be able to get away with not using anything if your shed is underground, because the soil might keep everything inside relatively cool. If the shed is on the surface, however, it will get extremely hot inside, especially if you used metal materials.
Other than that, the only thing left to do is build and attach your door.
All Done!
Congratulations, master builder! If you made it this far, then you've finished building your shed. Now you just need to stock it with the necessary supplies.
Megan Wild is a home construction blogger who loves exploring new ways to improve her home and increase its value. When she's not hammering away at her most recent project, she chronicles her thoughts on her blog, Your Wild Home.


Leave a Reply