How to Grow a Salsa Garden and Can Salsa for Winter
Is there anything better than fresh salsa on homemade tacos and burritos? If there is, I haven't found it yet. To keep in full supply of fresh ingredients for my favorite condiment, I decided to plant a dedicated salsa garden in a raised garden bed this summer. Here's How to Grow a Salsa Garden and Can Salsa for Winter.
How to Grow a Salsa Garden and Can Salsa for Winter
Planning Ahead: Fall Garden Prep
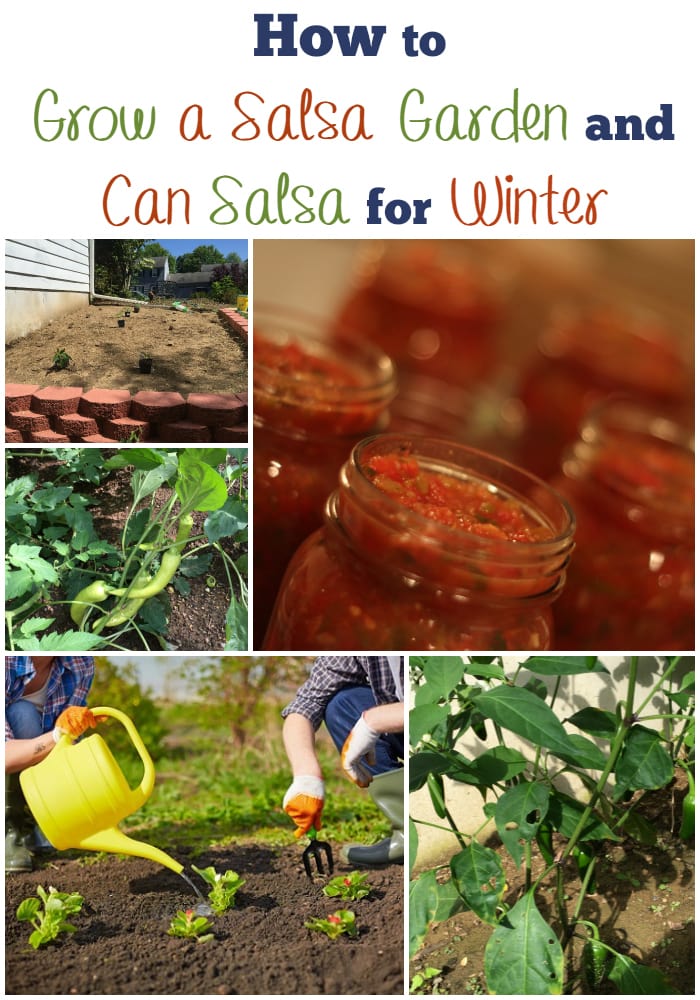
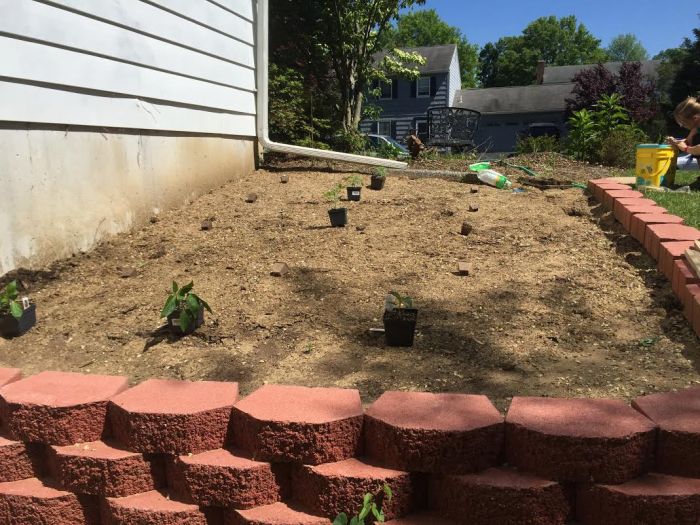
To give heavy feeders like tomatoes, peppers and onions the very best soil possible, I amended my raised bed with some mushroom soil and turned it into the existing soil of my bed. This is compost left over from growing mushrooms, and you can get it directly from mushroom farmers for pretty cheap, or you can sometimes find it at a local nursery. This is perfect for helping to sweeten acidic soils to balance the pH.
Once my soil was ready, I also planted my garlic cloves. Like tulips and daffodils, garlic is a bulb that should overwinter for best results. I planted mine in a single row around the north perimeter of my raised bed, spacing them 3-5 inches apart. Stinky garlic can deter squirrels and rabbits, so I'm creating a natural pest barrier this way as well.
Early Spring: Starting Seeds
As soon as the snow melts and the soil is no longer muddy or frozen - start checking in March, depending on your location - it's time to plant onion sets. These are mini onions that look a lot like garlic cloves, and you can get them at a local nursery. Plant them 3-5 inches apart along the south perimeter of your bed, completing the critter wall you made in the fall with garlic.
You can also start seeds for tomatoes and peppers indoors in the beginning of March. These plants require a long growing season, so starting them early is a plus. Make sure you have a sunny location and warm spot for them to grow to have at least two sets of full leaves before you transplant them to the garden.
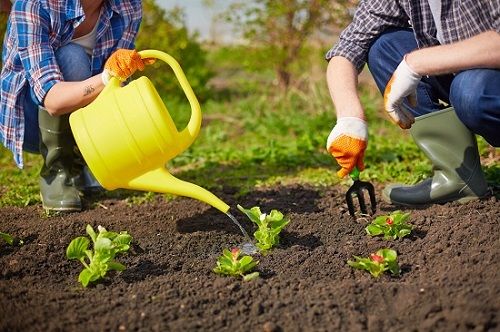
Late Spring: Transplanting Seedlings
Tomatoes and peppers are very tender, sun-loving plants, so you must wait until all danger of frost has passed before transplanting your seedlings into the garden.
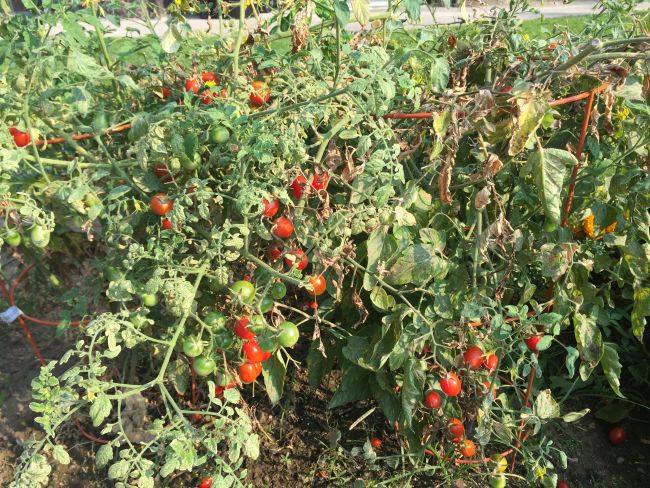
Our garden bed was about 5-feet by 10-feet, so I chose nine tomato plants. If you have a smaller garden, four tomato plants are usually plenty! I like to use a variety for the best flavor. I love heirloom varieties like Rose and Brandywine, which are super juicy and make a great base for fresh salsa.
I also like to plant a couple of paste tomato varieties as well: Amish Paste and Paisano are good choices for disease-resistant plants. Paste tomatoes will add body to your salsa later. You can make your own tomato paste for thickening or add diced paste tomatoes for chunkiness that holds up, even after canning. Lastly, I plant a few cherry tomato plants (usually sunsugar).
Plant the tomatoes along the north half of your bed, spacing them two feet apart.
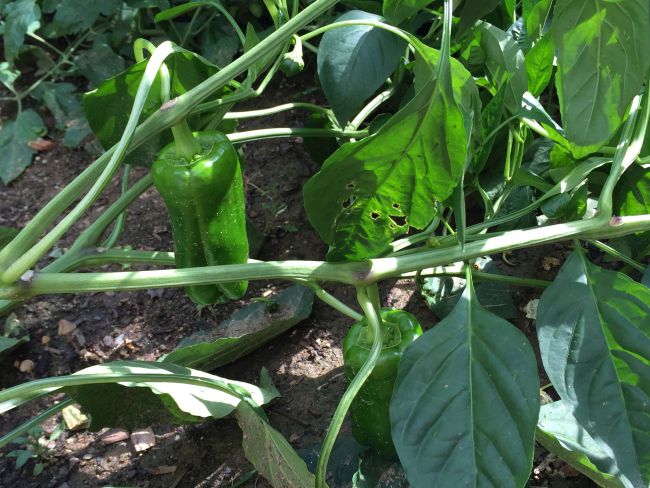
In the south half of your bed, plant a row of peppers spaced a foot apart. I chose two jalapeños, one banana peppers and one green bell peppers. This range of peppers lets me choose just how spicy I want my salsa to be.
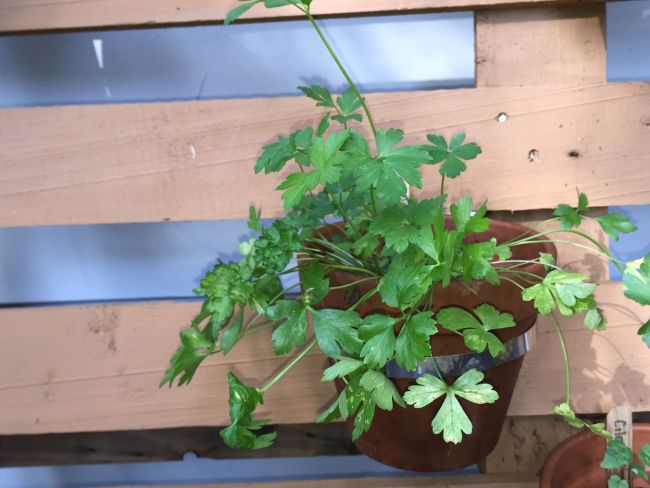
I also planted salsa herbs in my moveable pallet planter. I find that herbs do best this way because they are off the ground and away from hungry bunnies and chipmunks. I can also control the amount of sunlight they get. For salsa, I planted two cilantro plants along with oregano, mint and chives.
Summer: Maintaining the Garden
All of these plants are pretty easy to grow as long as they get about an inch of rain or hand watering per week. The tomatoes will need some extra care: Stake them when they start to flop over, and prune the tomato suckers on indeterminate plants to keep them from vining too much and giving you tiny tomatoes. It's also a good idea to cut off any lower leaves that touch the ground to minimize the spread of blight and disease.
By the time you have some red, ripe tomatoes, your garlic and onions will be bulbed up enough to pull as well, and you're ready to make fresh salsa.
Autumn: Canning Salsa for Winter
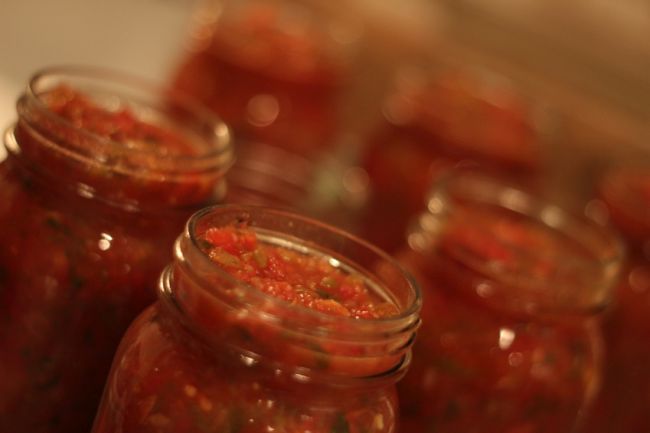
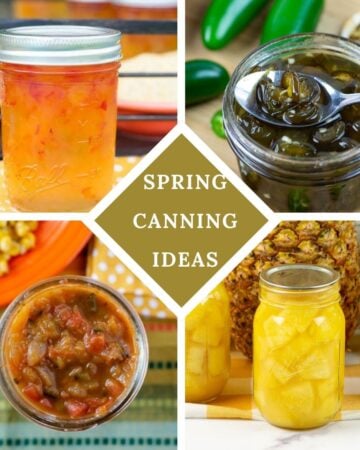
Though you can be as creative as your want with your fresh salsa recipes, canning requires a careful balance of acidity and salt to preserve the salsa safely up to a year. For this reason, it's best to use a tried-and-true recipe: My favorite is this simple and delicious canned salsa recipe.
If you've never canned before, it's actually pretty easy. Wash your Mason jars and sterilize them in a 200-degree oven for 10 minutes before filling the jars with cooked salsa. Tighten the lids and rings, then add the jars to a large pot of boiling water and process them for 10 minutes. When you remove the jars, set them on a towel so the shock of a cold stone counter doesn't shatter them. As they cool, the lids will ping as the vacuum seal is created.
That's all there is to it! Canned garden salsa makes a great homemade gift for the holidays, and the small garden bed is a great way to get started in the world of gardening. Why not give it a try next summer?
Ali Lawrence writes about healthy and sustainable living via her family blog Homey Improvements. She was born and raised in Alaska and dabbles in organic gardening, Pilates, and photography.


KC the Kitchen Chopper
I wish we could grow our own veggies here in SoCal. With the drought on, we just don't have the water. But I would love this project. Thanks for the info! Shared this around! 🙂
Arlene Mobley
KC
I've heard how bad the drought is out there. It's too bad. Maybe you could grow a few herbs on a window sill.
Ali
Hi KC, Sorry to hear about the drought- hopefully you'll get some water over the winter. That's a great suggestion Arlene gave- most herbs don't require a lot of water. Thanks for reading!