

4 Important Tips on How to Insulate Your Garden Shed
How to Insulate Your Garden Shed is just as important as spring cleaning the house or garage. Sometimes with all the work it takes to keep our home in tip top shape we forget that Spring cleaning includes taking care of all the buildings we may have including the garden shed.

4 important tips on How to Insulate Your Garden Shed
Are you running out of storage in your home? Do you wish you had a place you could use as a workshop? Do you have some potted plants that could use a warm spot in the winter, but are just too big for your current indoor area?
If you answered yes to any of these questions, but just don't have extra room in your house, you might want to consider insulating your garden shed to give you the space you need.
Insulating your wooden garden shed will help keep rodents and other unwanted pests out, and give you a temperature-controlled environment that can be used as an extension of your current living space.
Here is a basic guide and some helpful tips to insulate your garden shed and help you take advantage of the extra usable area it provides:
1. Seal All Gaps
Before you begin the insulation process, it's important to be sure all gaps, holes and other leaks are patched and sealed.
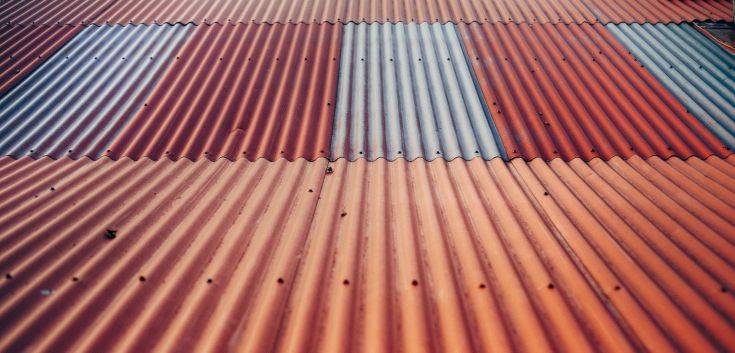
- Look for dark stains on the wood or spray a garden hose over the top of the shed to be sure no water is getting inside. If needed, repair the roof. Use sealant for small gaps or expanding spray foam for larger holes.
- Check the foundation and repair any areas that are weak or damaged.
- If you plan to use your shed as a workshop or to store items that might become damaged due to extreme temperatures, consider upgrading to double-paned windows and a weatherproof door.

2. Choosing the Right Insulation
Once you've eliminated air leaks, it's time to decide what type of insulation you need. The efficiency of insulation is determined by its R-value, which measures its resistance to heat flow. The higher the R-value, the better protection it offers per inch of thickness.
If your walls are 2 inches by 6 inches, you can install cavity insulation at levels up to R-21.3 or R-12.5 insulation for walls that are 2 inches by 4 inches.
There are four general types of insulation which can come in a variety of materials:
- Rolls and batts
- Rigid foam
- Loose-fill
- Foam-in-place
Because loose-fill and foam-in-place need to be blown in by a professional, you'll probably want to stick to either the roll, batt or rigid foam insulations. Batts and rolls usually come in 15- and 23-inch widths. Be sure to get faced insulation with the paper backing that works as a vapor barrier as well. If your studs are the standard 16 or 24 inches apart, roll or batt will be the least costly alternative.
For colder climates or nonstandard walls, rigid foam may be a better alternative, though it is a bit more expensive. Whichever you choose, be sure it includes a vapor barrier to help control moisture passing through the insulation. Moisture can cause the insulation to lose its R-value and allow mold and rot over time.

3. Installing the Wall Insulation
Before you purchase the insulation, measure your inside walls from the footer to the header boards and the distance from stud to stud. If your walls are the standard framed 2-inch by 4-inch at 16 inches, you can use a 15-inch, 3.5-inch thick batt or roll with about an R-11 rating.
- Cut the first piece of insulation to the correct length with a utility knife. If your shed is square, you should be able to cut all the pieces equal length.
- Insert the cut insulation between the inside studs, making sure the paper moisture barrier side is facing the interior of the building. Don't overstuff or compress the insulation into the wall, as this actually decreases its effectiveness.
- Align the vapor barrier lining over the studs. The paper side will be slightly wider, so you can attach it to the boards. Staple the lining to the studs, overlapping each piece as you go.
- If using rigid foam insulation, cut to size and then screw directly to the interior wall studs.
4. Installing the Roof Insulation
Use a faced insulation with at least an R-20 rating for the roof. Install it in the same way you did the wall pieces, but be sure to leave an additional 2 inch or greater gap between the insulation and the roof to allow for airflow and keep moisture from settling between the roof and the insulation.
Once the insulation is installed, you'll want to finish the walls. If you're going to use the building as a workshop, you might opt for drywall that you can paint, for a homey look. Otherwise, simply use wood screws and attach plywood sheets to the studs to cover the insulation. Begin with the ceiling, then work your way down to the walls.
Everyone can use more room. By insulating your garden shed, you can create a comfortable space that can be used year-round, for more than just the lawnmower.


Leave a Reply